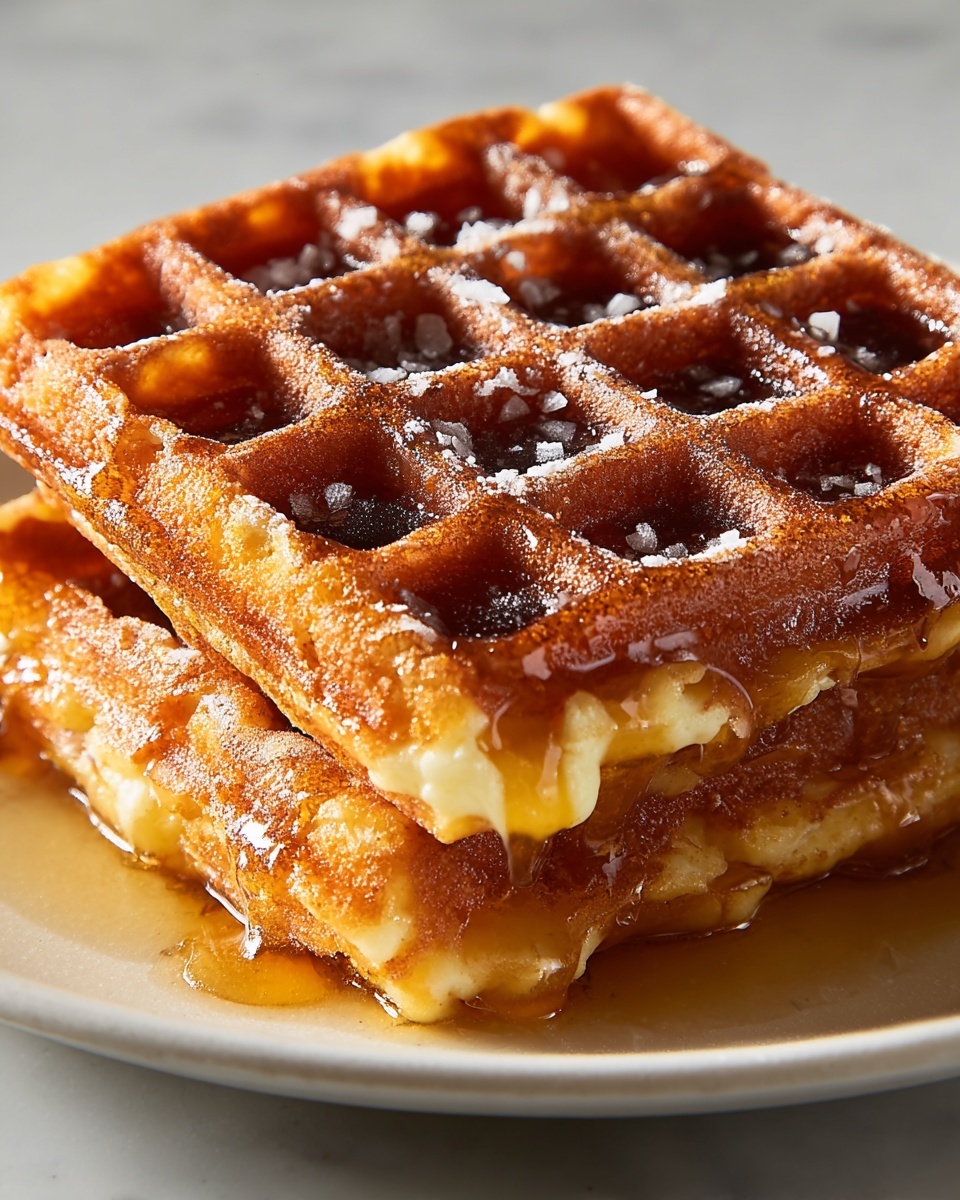
If you’ve ever craved a grilled cheese sandwich with an exciting twist, then you’re in for a treat with this Waffled Grilled Cheese Recipe. It takes the classic comfort food you love and elevates it by using a waffle iron, which gives you a crispy, golden exterior with those delightful waffle indentations that trap melty cheese with every bite. The combination of crunchy texture and ooey-gooey cheese inside makes this an absolute crowd-pleaser, perfect for a cozy lunch or a quick dinner that feels special without any fuss.

Ingredients You’ll Need
These simple ingredients come together beautifully in this recipe. Each one plays a crucial role in delivering the perfect balance of crispy, creamy, and flavorful elements that make the Waffled Grilled Cheese Recipe so irresistible.
- Bread: Choose a hearty bread like sourdough or a baguette for the best texture that holds up well in the waffle iron without getting soggy.
- Butter: Use 2 tablespoons for spreading on the bread, which helps create that signature golden crust and adds richness.
- Cheese: Pick 2-3 slices of a melty cheese like cheddar, American, or mozzarella—each gives a uniquely delicious melt and flavor.
- Optional Add-ins: Bacon, tomato, or fresh herbs can be added to give extra flavor layers and bring a personalized touch to your sandwich.
How to Make Waffled Grilled Cheese Recipe
Step 1: Preheat the Waffle Iron
Start by preheating your waffle iron to medium-high heat. This is essential because a hot surface ensures your bread crisps up nicely and your cheese melts perfectly without sticking.
Step 2: Prepare the Bread and Cheese
Spread butter evenly on one side of each bread slice. Then place your chosen cheese slices between the unbuttered sides of the bread, making sure the buttered sides face outward. This setup is key to achieving that classic golden crust and luscious cheese melt.
Step 3: Place the Sandwich in the Waffle Iron
Carefully put your sandwich into the preheated waffle iron, buttered side down, then close the lid gently. This method helps seal in all the melty goodness while giving you those perfect waffle impressions.
Step 4: Cook Until Golden and Melty
Press down lightly on the sandwich and cook for about 4-5 minutes. You’ll want to check it halfway through to make sure it’s cooking evenly. If needed, adjust the heat for a perfectly crisp finish and make sure that cheese is melted to perfection.
Step 5: Remove and Serve
Once the bread is beautifully golden and the cheese is irresistibly gooey, lift the sandwich out of the waffle iron. Cut it in half to reveal the melty cheese stretch inside and serve immediately while it’s hot and fresh.
How to Serve Waffled Grilled Cheese Recipe

Garnishes
Adding garnishes like fresh herbs such as basil or parsley can brighten the rich flavors of this sandwich. A light sprinkle of cracked black pepper or a drizzle of honey mustard can also add an exciting contrast.
Side Dishes
This waffled grilled cheese pairs wonderfully with classic tomato soup for the ultimate comfort meal. You can also serve it with a crisp side salad or sweet potato fries to round out your plate in delightful ways.
Creative Ways to Present
Try presenting your sandwich in fun shapes by using cookie cutters before placing it in the waffle iron, or top with a sunny-side-up egg for a brunch twist. Layer some caramelized onions or avocado slices inside for extra depth and flair.
Make Ahead and Storage
Storing Leftovers
If you’ve got leftovers, wrap your waffled grilled cheese tightly in plastic wrap or foil and store it in the refrigerator. It should stay fresh for up to 2 days, ready to be enjoyed again with just a little reheating.
Freezing
You can freeze these sandwiches by wrapping them individually in parchment and then foil before placing them in a freezer-safe bag. Frozen properly, they’ll keep for up to a month without losing much of their crispness.
Reheating
For reheating, the best method is to use a toaster oven or regular oven at 350°F (175°C) to crisp up the bread again while warming the cheese thoroughly. Avoid the microwave if you want to keep that signature waffle crunch intact.
FAQs
Can I use gluten-free bread for this recipe?
Absolutely! Just make sure to choose a sturdy gluten-free bread that can hold up to the waffle iron’s heat and pressure without falling apart.
What’s the best cheese for a gooey melt?
Cheddar, American, and mozzarella are top choices because they melt smoothly and provide that irresistible stretch and flavor that make grilled cheese so special.
Can I add veggies or meats inside the sandwich?
Yes! Bacon, tomato slices, or fresh herbs like basil bring extra flavor and texture, making your waffle grilled cheese uniquely yours.
Does this work with a panini press instead of a waffle iron?
You can use a panini press, but the unique waffle texture and crispness are best achieved with the waffle iron, which is the star of this recipe.
How do I clean the waffle iron after making grilled cheese?
Once it has cooled slightly, wipe down the plates with a warm, damp cloth to remove any melted cheese or crumbs, and avoid using abrasive cleaners that can damage the surface.
Final Thoughts
There’s something about the Waffled Grilled Cheese Recipe that takes a nostalgic favorite and transforms it into a fun, textured delight that the whole family will love. It’s easy to make but feels like a special treat every time. So grab your waffle iron, pick your favorite bread and cheese, and start enjoying this crispy, melty masterpiece in your own kitchen soon!
Print
Waffled Grilled Cheese Recipe
- Prep Time: 5 minutes
- Cook Time: 5 minutes
- Total Time: 10 minutes
- Yield: 1 sandwich
- Category: Lunch
- Method: Grilling
- Cuisine: American
- Diet: Vegetarian
Description
A creative twist on the classic grilled cheese sandwich, using a waffle iron to achieve a perfectly golden, crispy crust and gooey melted cheese inside. This quick and easy recipe allows for customization with optional add-ins like bacon, tomato, or fresh herbs, making it an ideal comfort food for any time of day.
Ingredients
Bread
- 2 slices hearty bread (such as sourdough or baguette)
Butter
- 2 tablespoons unsalted butter, softened (for spreading)
Cheese
- 2–3 slices melty cheese (cheddar, American, or mozzarella)
Optional Add-ins
- Bacon (cooked, optional)
- Tomato slices (optional)
- Fresh herbs like basil or thyme (optional)
Instructions
- Preheat Waffle Iron: Preheat your waffle iron to medium-high heat to ensure it is hot enough to crisp the bread and melt the cheese evenly.
- Prepare Bread and Cheese: Butter one side of each slice of bread evenly. Place the cheese slices between the unbuttered sides of the bread, adding any optional fillings like bacon, tomato, or herbs if desired.
- Place Sandwich in Waffle Iron: Once the waffle iron is heated, place the sandwich inside with the buttered sides facing out to achieve a crispy crust.
- Press and Cook: Close the waffle iron and gently press down to ensure even contact. Cook for about 4-5 minutes, or until the bread is golden brown and the cheese is melted.
- Check and Adjust: Open the waffle iron halfway through cooking to check for even crispness and adjust the heat if necessary to avoid burning.
- Remove and Serve: When the sandwich is perfectly golden and crispy, carefully remove it from the waffle iron.
- Cut and Enjoy: Cut the sandwich in half and serve immediately. For a delicious pairing, accompany with tomato soup for a comforting meal.
Notes
- Use hearty bread for best texture and structure.
- Butter the bread evenly for a uniformly crispy crust.
- Customize with add-ins like cooked bacon, tomato slices, or fresh herbs.
- Monitor cooking closely to prevent burning the bread.
- Serve immediately for the best gooey cheese experience.


