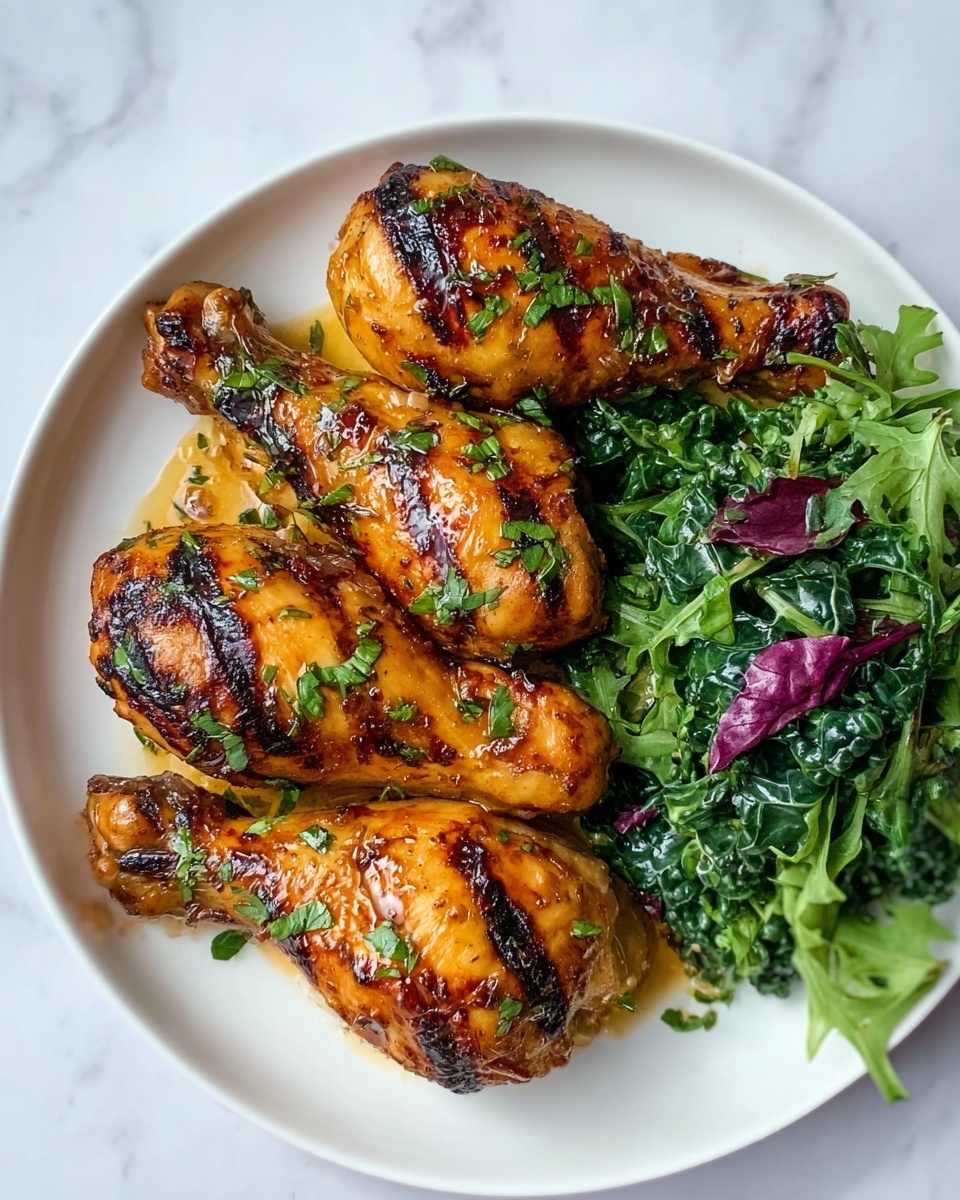
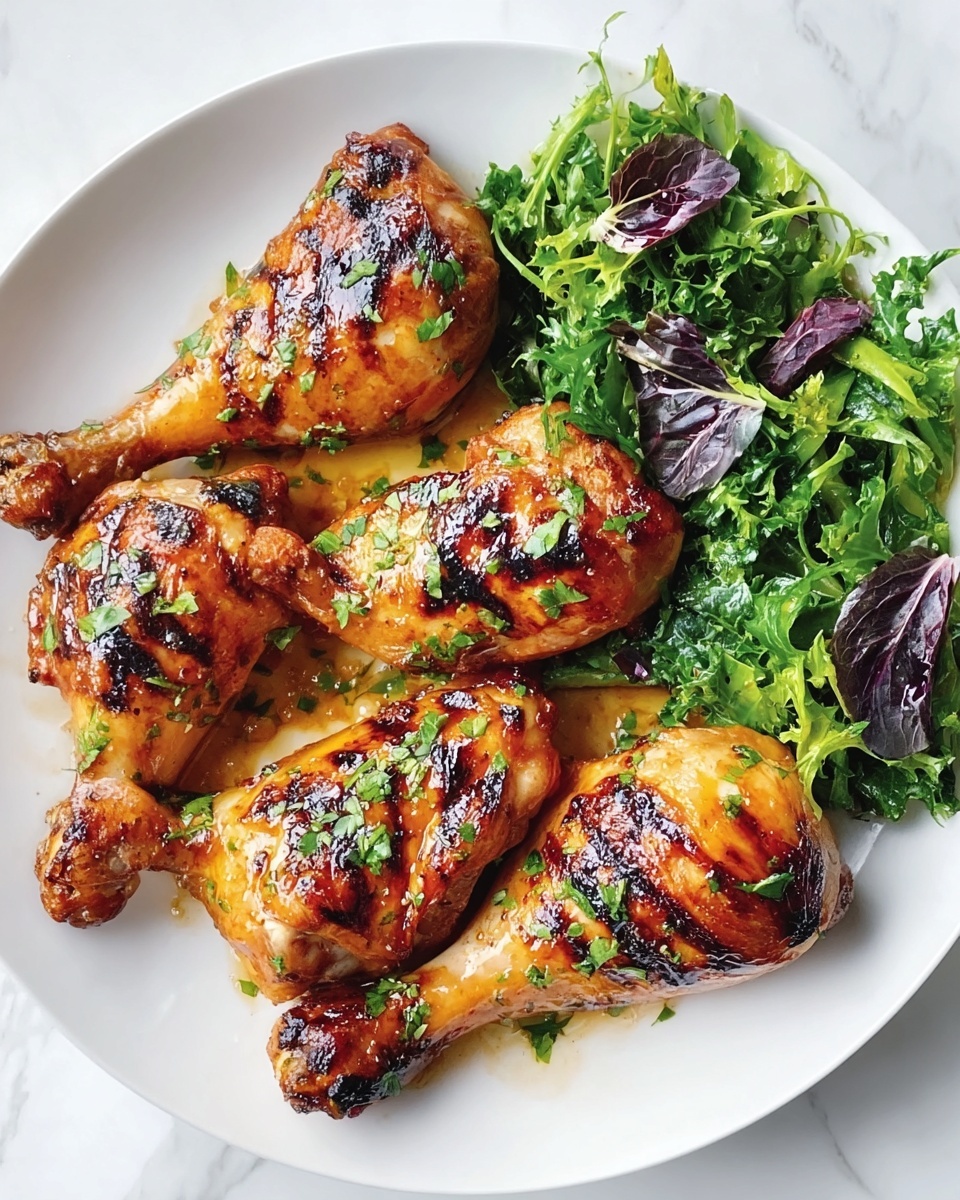
If you’re craving a juicy, flavorful chicken dish that’s effortlessly impressive, the Simple Buttermilk Brined Roast Chicken Legs Recipe is your new best friend. This recipe combines the tenderizing magic of a buttermilk brine with a perfectly seasoned roast to deliver chicken legs that are crispy on the outside, incredibly moist on the inside, and bursting with layered spices. Whether it’s a weeknight supper or a weekend gathering, these roast chicken legs bring ease and delight to your table every time you make them.
Ingredients You’ll Need
Gathering a handful of simple, staple ingredients is all it takes to make this dish shine. Each element plays a crucial role whether it’s tenderizing, seasoning, or creating that irresistible, golden-brown crust.
- Chicken Legs: Fresh or fully thawed for the best taste and texture in every bite.
- Buttermilk: Acts as a tenderizer that helps break down the proteins in the chicken, making it juicy and flavorful.
- Kosher Salt: Enhances flavor and helps the meat retain moisture during cooking.
- Garlic Powder: Adds a warm aroma and savory depth.
- Onion Powder: Brings a subtle sweetness and complexity.
- Paprika: Provides a gentle smokiness and vibrant color.
- Black Pepper: Offers mild heat to balance the flavors.
- Olive Oil: Essential for achieving that crisp, golden skin.
- Fresh Herbs (optional): Thyme, rosemary, or your favorite herbs add a fresh, fragrant touch.
How to Make Simple Buttermilk Brined Roast Chicken Legs Recipe
Step 1: Prepare the Buttermilk Brine
Start by whisking together the buttermilk, kosher salt, garlic powder, onion powder, paprika, and black pepper in a large bowl. The salt will dissolve and the spices will infuse the buttermilk, creating a flavorful bath that tenderizes and seasons the chicken evenly.
Step 2: Brine the Chicken Legs
Place your chicken legs into a resealable bag or a deep dish, then pour the buttermilk mixture over until each piece is fully coated. Seal the bag or cover the dish tightly, ensuring no air can dry out the chicken, and pop it into the fridge.
Step 3: Let It Rest
Allow the chicken to sit in its brine for at least 4 hours, though overnight is ideal. This resting period lets the buttermilk work its magic, breaking down the meat fibers for the ultimate tenderness you’ll love.
Step 4: Preheat Your Oven
When ready to cook, set your oven to 425°F (220°C). This high heat is key to roasting the chicken legs quickly while crisping the skin beautifully without drying the meat inside.
Step 5: Prepare the Chicken for Roasting
Remove the chicken legs from the brine, letting the excess drip off naturally—no rinsing needed. Arrange them on a parchment-lined baking sheet, allowing space between each piece so they roast evenly.
Step 6: Apply Olive Oil and Seasoning
Drizzle olive oil evenly over the chicken legs and rub it in to coat thoroughly. A little extra salt and pepper sprinkled on top will enhance the flavors further, and fresh herbs scattered around will infuse the dish with a lovely herbal aroma during roasting.
Step 7: Roast to Perfection
Place the tray in the oven and roast the chicken legs for 35 to 45 minutes, turning them halfway through so they brown evenly. The result is a mouthwatering combination of crispy skin and juicy meat that’s hard to resist.
Step 8: Rest Before Serving
Once out of the oven, let your chicken legs rest for 5 to 10 minutes before serving. This allows the juices to redistribute, ensuring each bite is as moist and flavorful as possible.
How to Serve Simple Buttermilk Brined Roast Chicken Legs Recipe
Garnishes
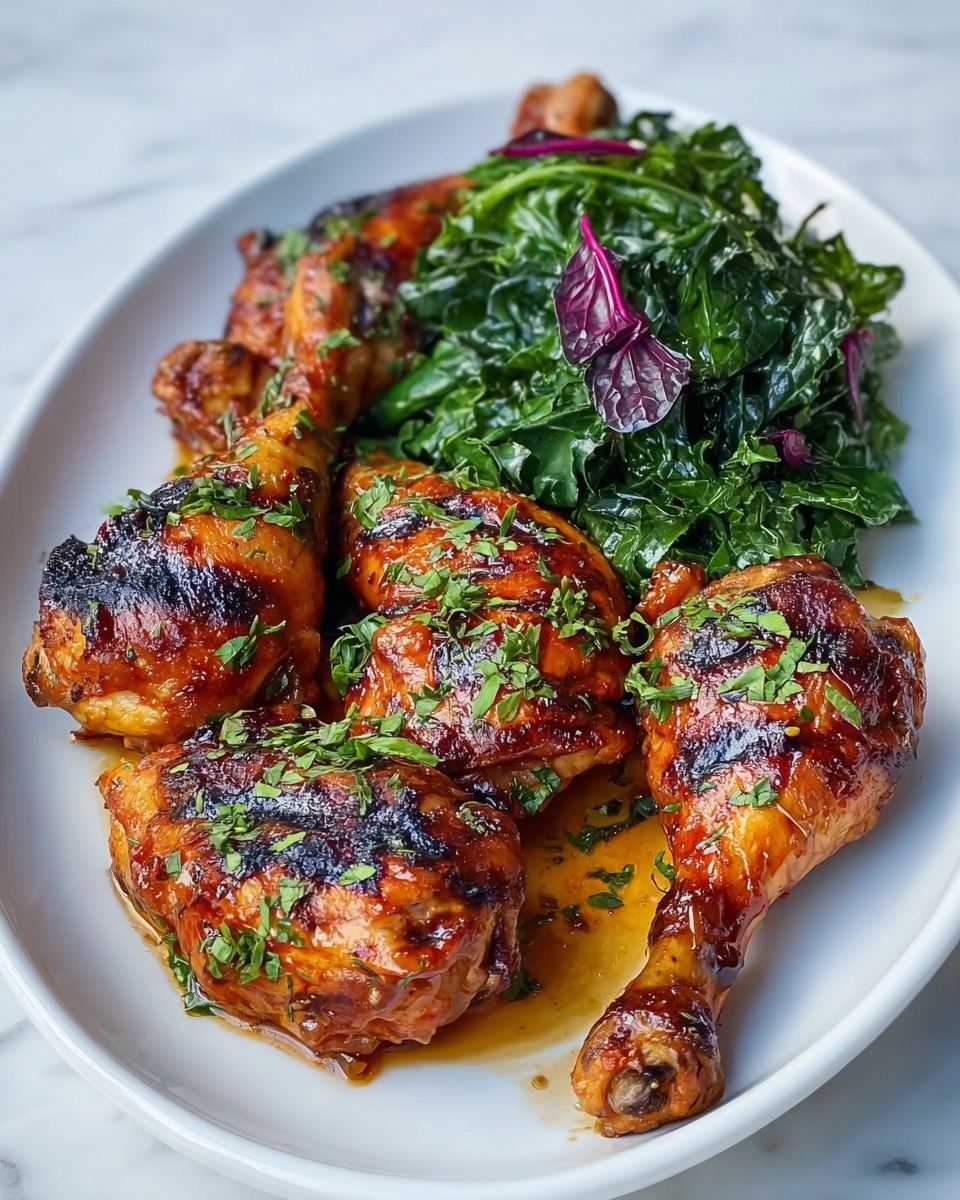
A sprinkle of freshly chopped herbs like parsley, thyme, or rosemary not only adds color but also an extra burst of fresh aroma that complements the roast chicken legs beautifully. Lemon wedges on the side add a bright contrast to the rich flavors.
Side Dishes
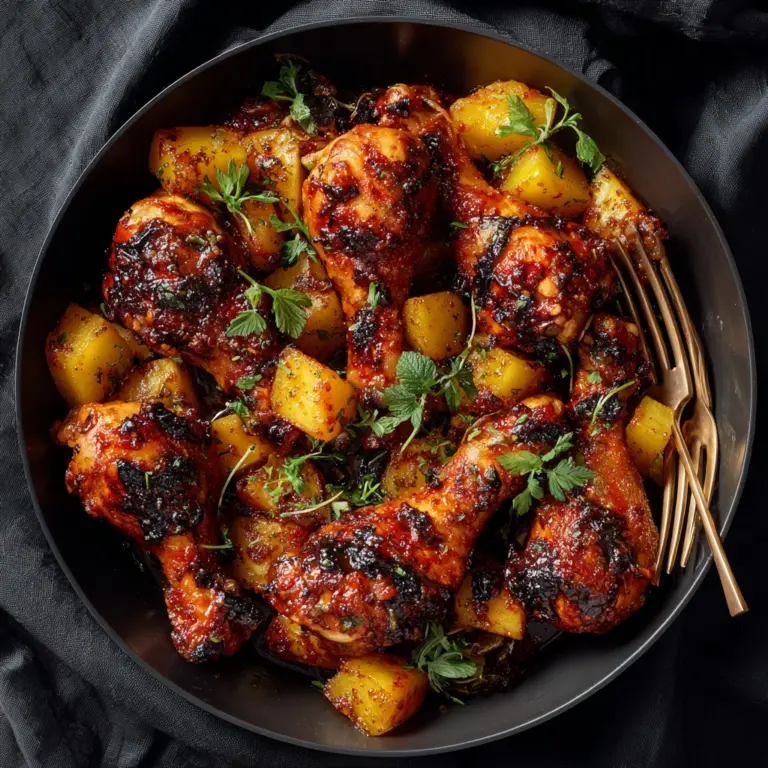
Pair this dish with creamy mashed potatoes, roasted seasonal vegetables, or a light, tangy coleslaw to provide balance and texture. A simple green salad with a lemon vinaigrette also works wonderfully to keep the meal vibrant and fresh.
Creative Ways to Present
Serve these chicken legs family-style on a large wooden board surrounded by colorful roasted veggies and herb sprigs for a rustic look. Alternatively, plate them individually atop a bed of herbed couscous or alongside a zesty rice pilaf for a more refined presentation.
Make Ahead and Storage
Storing Leftovers
Place any leftover chicken legs in an airtight container and store them in the refrigerator. They will remain delicious and moist for up to 3 to 4 days, making them perfect for next-day meals or snacks.
Freezing
If you’d like to freeze your leftovers, wrap each chicken leg tightly in plastic wrap and then foil, or store in a freezer-safe container. They can last up to 3 months frozen without losing quality.
Reheating
To reheat, place the chicken legs in a preheated oven at 350°F (175°C) for 15-20 minutes until warmed through. This method helps maintain crispy skin rather than microwaving, which can make it soggy.
FAQs
Can I use chicken thighs instead of legs for this recipe?
Absolutely! Chicken thighs work great with the buttermilk brine and roasting method, offering similar juiciness and flavor. Adjust cooking time slightly depending on size.
How long should I brine the chicken legs for best results?
For maximum tenderness and flavor penetration, overnight brining is recommended, but a minimum of 4 hours still provides excellent results.
Is it necessary to rinse the chicken after brining?
No need to rinse. Removing excess brine by letting the chicken drip dry is sufficient and helps prevent losing the seasoning and flavor absorbed during brining.
What if I don’t have buttermilk? Any substitutes?
You can easily substitute with milk mixed with a tablespoon of lemon juice or vinegar, left to sit for 5-10 minutes until slightly curdled to mimic buttermilk’s acidity and tenderizing effects.
Can I add other spices or herbs to the brine?
Definitely! Feel free to experiment by adding cayenne for heat, dried oregano for earthiness, or even a bit of brown sugar for subtle sweetness. The Simple Buttermilk Brined Roast Chicken Legs Recipe is versatile and welcomes your personal touch.
Final Thoughts
This Simple Buttermilk Brined Roast Chicken Legs Recipe is a true game changer when you want a meal that feels special but comes together with ease. The juicy, tender chicken paired with bold, warm spices and crispy skin makes every bite pure comfort. I can’t wait for you to try it and make it part of your regular rotation—in fact, it might just become a favorite for good reason!
Print
Simple Buttermilk Brined Roast Chicken Legs Recipe
- Prep Time: 15 minutes
- Cook Time: 45 minutes
- Total Time: 4 hours 60 minutes (including brining time)
- Yield: 4 to 6 servings
- Category: Main Course
- Method: Roasting
- Cuisine: American
Description
This Simple Buttermilk Brined Roast Chicken Legs recipe features tender, juicy chicken legs enhanced by a flavorful buttermilk brine infused with aromatic spices. The brining process tenderizes the meat and adds moisture, while roasting at a high temperature ensures crispy, golden skin. Perfect for an easy and delicious weeknight meal, this dish combines classic flavors like garlic, paprika, and fresh herbs for a satisfying, comforting roast chicken.
Ingredients
For the Brine
- 2 cups Buttermilk
- 2 tablespoons Kosher Salt
- 1 teaspoon Garlic Powder
- 1 teaspoon Onion Powder
- 1 teaspoon Paprika
- 1 teaspoon Black Pepper
For the Chicken
- 4–6 pieces Chicken Legs (fresh or thawed)
- 2 tablespoons Olive Oil
- 1 handful Fresh Herbs (optional, such as thyme or rosemary)
- Additional salt and black pepper, to taste
Instructions
- Prepare the brine: In a large mixing bowl, whisk together buttermilk, kosher salt, garlic powder, onion powder, paprika, and black pepper until the salt is fully dissolved.
- Brine the chicken: Place the chicken legs in a resealable bag or deep dish. Pour the prepared buttermilk brine over the chicken, ensuring that all pieces are evenly coated. Seal the bag or cover the dish tightly.
- Refrigerate: Refrigerate the chicken in the brine for at least 4 hours, preferably overnight, to tenderize and infuse flavor.
- Preheat oven: Set the oven to 425°F (220°C) to ensure a hot roasting environment for crispy skin.
- Prepare chicken for roasting: Remove the chicken legs from the brine, allowing any excess liquid to drip off, then arrange them on a parchment-lined baking sheet.
- Add oil and season: Drizzle the olive oil evenly over the chicken and rub to coat each piece. Optionally, sprinkle additional salt and black pepper for enhanced flavor.
- Add fresh herbs: Scatter fresh herbs like thyme or rosemary over the chicken pieces if desired for extra aroma and taste.
- Roast the chicken: Roast in the preheated oven for 35 to 45 minutes, turning the chicken halfway through the cooking time to ensure even browning and crispiness.
- Check doneness and rest: Use a meat thermometer to ensure the internal temperature reaches 165°F (74°C). Remove from oven and let the chicken rest for 5 to 10 minutes before serving to allow juices to redistribute.
- Serve: Serve the roast chicken legs warm, garnished with fresh herbs if desired, for a flavorful and tender meal.
Notes
- For best flavor and texture, brine the chicken overnight rather than just 4 hours.
- If fresh herbs are not available, dried herbs can be substituted, but use less as they are more concentrated.
- Ensure chicken skin is patted dry before roasting if you want extra crispiness.
- This recipe works well with chicken thighs if preferred.
- Check for doneness carefully to avoid overcooking which can dry out the meat.


