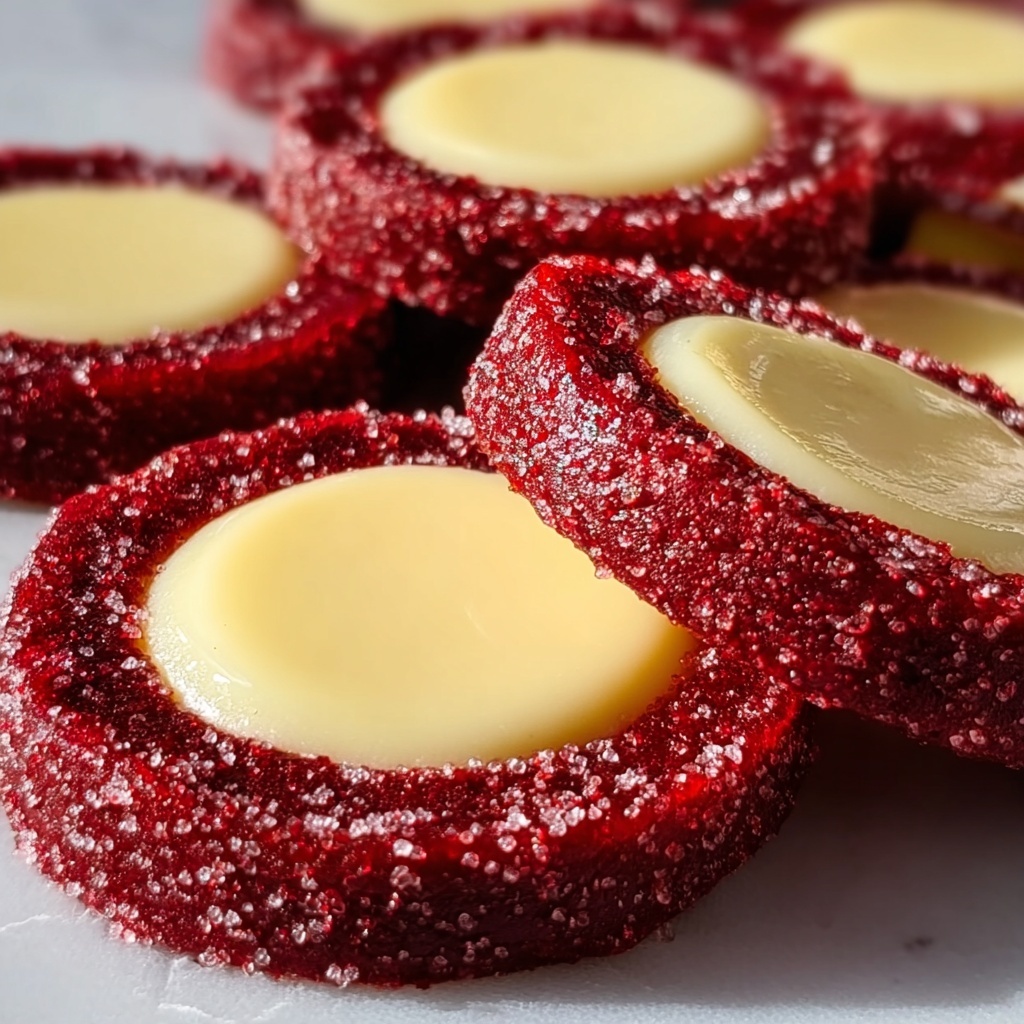
If you have a soft spot for desserts that combine velvety richness with a hint of playful texture, this Red Velvet Cheesecake Thumbprints Recipe is going to be your new best friend in the kitchen. These little pockets of luscious cream cheese nestled in perfectly tender, red velvet cookies offer a delightful burst of flavor and color that makes them ideal for any occasion. Whether you’re sharing them with guests or treating yourself, these thumbprints truly capture what makes baking so magical—simple ingredients turning into an utterly irresistible treat.
Ingredients You’ll Need
This recipe relies on a handful of essential ingredients that come together to create the perfect balance of flavor, softness, and that classic red velvet charm. Each element has a role—from the rich butter giving moisture and tenderness, to the cream cheese that adds a creamy, tangy surprise right in the center.
- Unsalted butter (1 cup/2 sticks): Using room temperature butter helps achieve a smooth, fluffy dough base with wonderful richness.
- Granulated sugar (1⅓ cups plus 2 tablespoons): Provides sweetness and helps tenderize the cookies and the cheesecake filling.
- Large egg yolk (1): Adds moisture and binds the dough while contributing to the cookie’s soft texture.
- Pure vanilla extract (1 teaspoon plus ¼ teaspoon): Enhances flavor depth both in the cookie and cheesecake filling.
- Liquid red food coloring (2 teaspoons): Gives that unmistakable vibrant red hue that makes red velvet so visually stunning.
- All-purpose flour (2¼ cups): The foundation for the cookie dough, balancing structure and tenderness.
- Unsweetened natural cocoa powder (¼ cup): Offers a subtle chocolate note essential for authentic red velvet flavor.
- Baking powder (½ teaspoon): Works as a leavening agent to give a gentle rise and soft crumb.
- Salt (¼ teaspoon): Balances sweetness and enhances overall flavor.
- Cream cheese (4 oz, softened): The star of the filling — smooth, tangy, and perfectly creamy for those luscious thumbprint centers.
How to Make Red Velvet Cheesecake Thumbprints Recipe
Step 1: Prep Your Space
Start by preheating your oven to 350°F (175°C) and lining your baking sheets with parchment paper. This simple prep work ensures your thumbprints bake evenly and come off the tray effortlessly, which is always a game-changer.
Step 2: Cream Butter and Sugar
Beat the butter and granulated sugar together for 2 to 3 minutes until the mixture looks light and fluffy. This step is crucial because it incorporates air into the dough, giving your cookies that tender crumb everyone adores.
Step 3: Mix in Wet Ingredients
Next, stir in the egg yolk, vanilla extract, and red food coloring until everything is fully combined. The egg yolk enriches the dough, while the red color will create those signature vibrant cookies.
Step 4: Combine Dry Ingredients
In a separate bowl, whisk together the flour, cocoa powder, baking powder, and salt. This ensures even distribution of the leavening and cocoa, giving consistent taste and texture throughout.
Step 5: Form the Dough
Pour the dry ingredients into the wet mixture and mix gently just until a soft dough forms. Overmixing here can make the cookies tough, so take care to handle it lightly.
Step 6: Prepare Cheesecake Filling
Beat the softened cream cheese with the remaining sugar and vanilla extract until smooth and creamy. This filling is where these thumbprints shine, providing that delightful tangy contrast.
Step 7: Shape the Cookies
Scoop tablespoon-sized balls of dough and place them about 2 inches apart on your prepared baking sheet. Spacing is key because these cookies will spread slightly during baking.
Step 8: Make the Thumbprints
Use your thumb or a small spoon to press a shallow indentation into the center of each dough ball. This pocket is going to hold the cheesecake filling, so make sure it’s large enough but not too deep.
Step 9: Fill with Cheesecake Mixture
Carefully spoon about half a teaspoon of cheesecake filling into each indentation. It’s a little bit of work but so worth it for that moist, creamy heart in each cookie.
Step 10: Bake to Perfection
Bake the cookies for 10 to 12 minutes, keeping an eye out for set edges while the centers remain soft. This balance ensures that every bite melts in your mouth.
Step 11: Cool and Enjoy
Let your Red Velvet Cheesecake Thumbprints cool on the pan for 5 minutes, then transfer them to a wire rack to cool completely. This waiting time is a perfect moment to catch your breath before diving into these beauties.
How to Serve Red Velvet Cheesecake Thumbprints Recipe
Garnishes
For an extra special touch, consider dusting your thumbprints with a light sprinkle of powdered sugar or a drizzle of white chocolate. Fresh berries or edible flowers can also add a beautiful pop of color and freshness to the presentation.
Side Dishes
These thumbprints pair wonderfully with a cup of freshly brewed coffee, a glass of cold milk, or even a warm cup of hot cocoa for those cozy days. Their richness balances perfectly with simple drinks, making dessert time feel extra indulgent.
Creative Ways to Present
Try arranging them on a festive platter for a party or placing them in charming gift boxes lined with parchment for a thoughtful homemade gift. You can also serve these with a small scoop of vanilla ice cream for a luscious dessert encore.
Make Ahead and Storage
Storing Leftovers
Keep any uneaten Red Velvet Cheesecake Thumbprints in an airtight container at room temperature for up to two days or in the fridge for up to a week to maintain freshness and that creamy filling texture.
Freezing
If you want to make these ahead of time, freeze fully baked cookies in a single layer on a baking sheet, then transfer them to a freezer-safe container. They can be stored this way for up to 3 months, making it easy to enjoy them anytime.
Reheating
To enjoy frozen thumbprints, thaw them at room temperature and warm slightly in the oven at 300°F for 5 to 7 minutes. This revives the cookie’s soft texture and keeps the cheesecake filling perfectly creamy.
FAQs
Can I use gel food coloring instead of liquid?
Absolutely! Gel food coloring is even more concentrated, so use a little less to achieve the same vibrant red without altering the dough’s consistency.
Do I have to use cream cheese in the filling?
Cream cheese is key for that classic tangy cheesecake flavor and creamy texture, but if you want a lighter option, you could try mascarpone or ricotta, though the flavor and texture will vary.
How do I prevent the cookies from spreading too much?
Make sure your butter is not too soft or melted. Chilling the dough for 15 to 20 minutes before baking can also help the cookies retain their shape better.
Can I make these gluten-free?
Yes, substituting the all-purpose flour with a gluten-free blend designed for baking should work well, but watch the dough’s consistency as it might need slight adjustments.
What’s the best way to transport these cookies?
Use an airtight container layered with parchment paper to keep the thumbprints from sticking together. Keep them cool to preserve the creamy filling during travel.
Final Thoughts
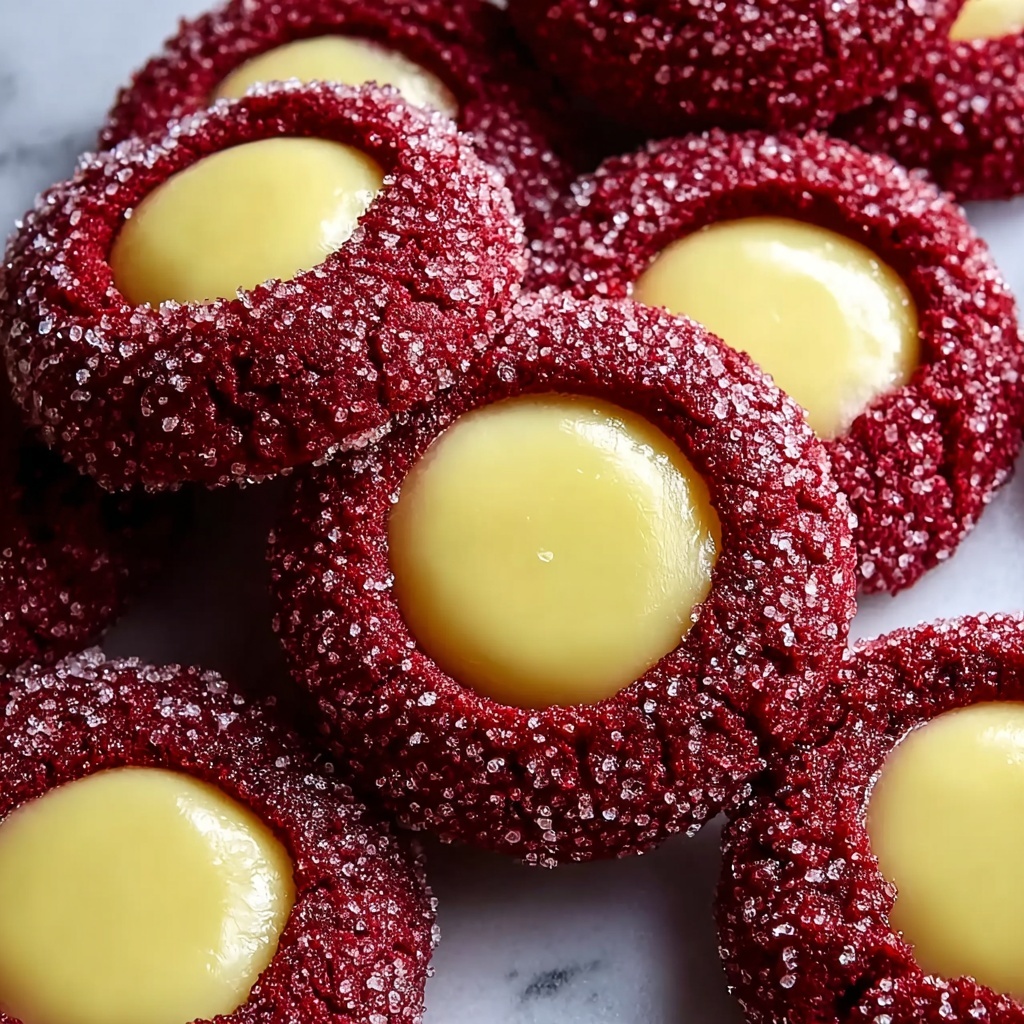
It’s hard to beat the charm, flavor, and ease of this Red Velvet Cheesecake Thumbprints Recipe. From their stunning red color to the creamy burst of cheesecake in every bite, these cookies are a delightful way to impress friends and family or simply brighten your own day. Give this recipe a try—you might just find yourself reaching for these thumbprints again and again!
Print
Red Velvet Cheesecake Thumbprints Recipe
- Prep Time: 20 minutes
- Cook Time: 12 minutes
- Total Time: 32 minutes
- Yield: 24 cookies
- Category: Dessert
- Method: Baking
- Cuisine: American
Description
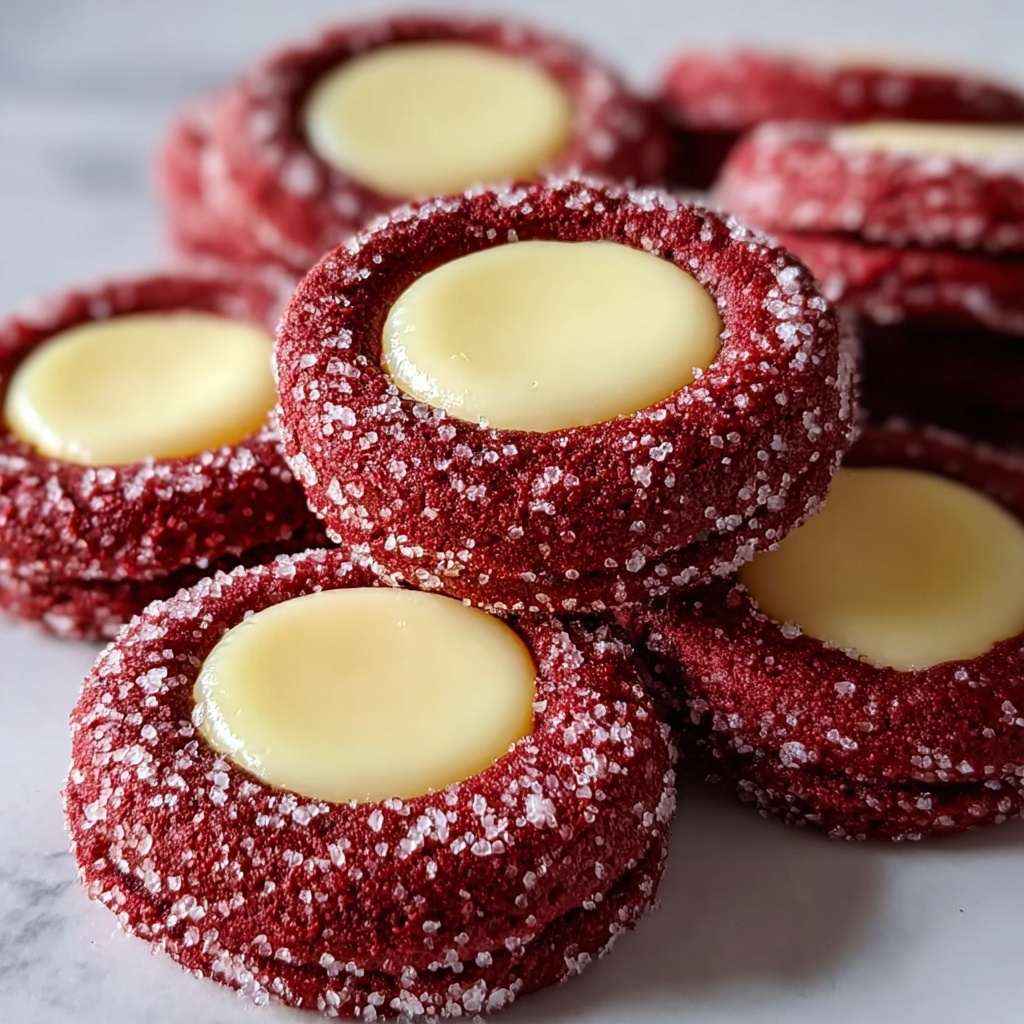
These Red Velvet Cheesecake Thumbprints are festive, tender cookies with a hint of cocoa and vibrant red color, filled with a smooth, sweetened cream cheese center. Perfect for celebrations or a delightful treat.
Ingredients
Cookie Dough
- 1 cup (2 sticks) unsalted butter, room temperature
- 1⅓ cups granulated sugar
- 1 large egg yolk
- 1 teaspoon pure vanilla extract
- 2 teaspoons liquid red food coloring
- 2¼ cups all-purpose flour
- ¼ cup unsweetened natural cocoa powder
- ½ teaspoon baking powder
- ¼ teaspoon salt
Cheesecake Filling
- 4 oz (½ block) cream cheese, softened
- 2 tablespoons granulated sugar
- ¼ teaspoon pure vanilla extract
Instructions
- Preheat oven: Preheat your oven to 350°F (175°C). Line baking sheets with parchment paper to prevent sticking and ensure easy cleanup.
- Cream butter and sugar: Beat the unsalted butter and granulated sugar together for 2 to 3 minutes until the mixture is light and fluffy, which helps to create a tender texture.
- Add egg yolk and flavorings: Mix in the large egg yolk, pure vanilla extract, and red food coloring until the batter is smooth and the color is evenly distributed.
- Combine dry ingredients: In a separate bowl, whisk together the all-purpose flour, unsweetened cocoa powder, baking powder, and salt to evenly distribute the leavening and cocoa.
- Form dough: Add the dry ingredients to the wet mixture and stir gently until a soft dough forms. Avoid overmixing to keep cookies tender.
- Prepare cheesecake filling: Beat the softened cream cheese with granulated sugar and vanilla extract until smooth and creamy for the filling.
- Shape cookies: Scoop tablespoon-sized balls of dough and place them about 2 inches apart on the prepared baking sheets.
- Create thumbprints: Press a shallow indentation into each dough ball using your thumb or a small spoon, making room for the filling.
- Fill cookies: Spoon about ½ teaspoon of the cheesecake filling into each indentation, spreading it evenly without overflowing.
- Bake: Bake for 10 to 12 minutes, until the edges are set but the centers remain soft to maintain a chewy texture.
- Cool: Let the cookies cool on the pan for 5 minutes before transferring them to a wire rack to cool completely, which helps them firm up and prevents breakage.
Notes
- You can substitute red liquid food coloring with gel food coloring for a more vibrant color without adding extra liquid.
- Make sure the cream cheese is softened to room temperature for a smooth filling.
- Do not overbake; the centers should remain soft for the best texture.
- Store cookies in an airtight container at room temperature for up to 3 days or refrigerate for longer freshness.


