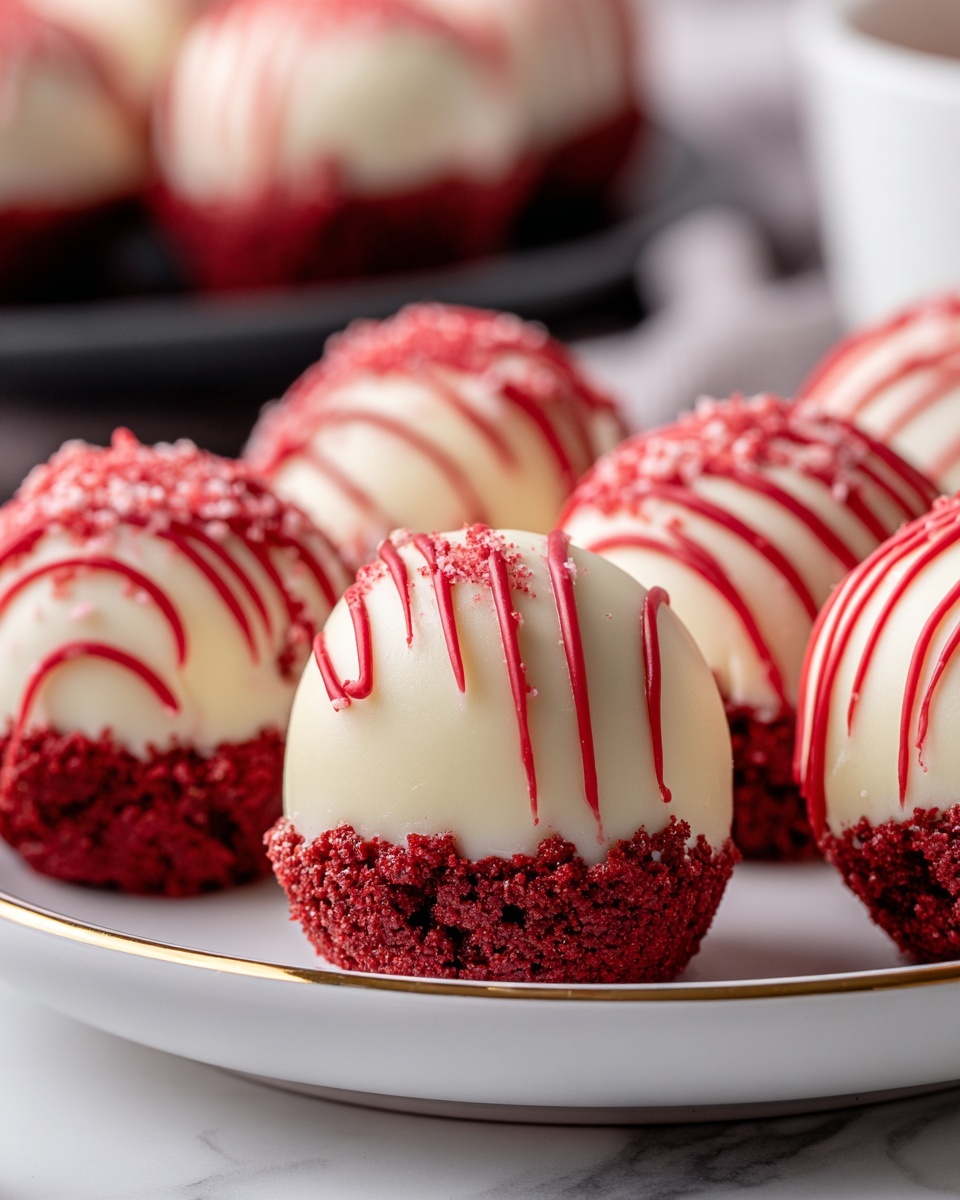
If you’re on the hunt for a decadent little treat that perfectly balances rich cream cheese with the loved flavors of red velvet, you have to try this Red Velvet Cheesecake Bites Recipe. These delightful bites bring together a buttery graham cracker crust and a velvety, colorful cheesecake center that’s both indulgent and charmingly petite. Perfect for parties, special occasions, or whenever you need a pop of festive color with creamy texture, these cheesecake bites never fail to impress and satisfy every sweet tooth.
Ingredients You’ll Need
Gathering these ingredients is a breeze, and each one plays a crucial role in crafting the perfect Red Velvet Cheesecake Bites Recipe. From the buttery crust to the silky cream cheese filling, every component enhances texture, taste, and that signature velvety look.
- 1 cup crushed graham crackers: The base that adds a lovely crunch and nutty hint to every bite.
- 5 tablespoons melted butter: Helps bind the crust with richness and keeps it tender.
- 16 oz (450g) cream cheese, softened: The star ingredient providing that classic creamy texture and tang.
- 3/4 cup granulated sugar: Sweetens the cheesecake perfectly without overpowering the flavor.
- 2 large eggs, room temperature: Adds structure and a smooth, light consistency.
- 1 teaspoon vanilla extract: Enhances all the flavors with its warm aromatic touch.
- 1 tablespoon cocoa powder: The subtle chocolate element that makes red velvet unmistakable.
- 1 tablespoon all-purpose flour: Provides just enough body to keep the cheesecake stable.
- 2 teaspoons red food coloring: Creates that vibrant and iconic red hue that makes these bites so festive.
How to Make Red Velvet Cheesecake Bites Recipe
Step 1: Create the Perfect Crust
Start the journey by combining crushed graham crackers with melted butter until the mixture feels like wet sand under your fingers. Press it firmly into your mini muffin tins or a parchment-lined square pan, ensuring an even, compact base. This crust is the crunchy, buttery foundation that supports the luscious cheesecake layer on top, so take a moment to make it nice and even.
Step 2: Whip Up the Creamy Filling
In a large bowl, beat the softened cream cheese together with sugar until everything looks silky smooth and irresistibly creamy. Slowly add the eggs one at a time—this gentle mixing keeps the batter light without overbeating. Then stir in the vanilla extract, cocoa powder, red food coloring, and flour. Stop mixing as soon as it all comes together to keep the texture just right—soft yet sturdy.
Step 3: Assemble the Bites
Carefully spoon the cheesecake mixture onto the prepared crust. Fill each mini muffin cup about three-quarters full to leave room for a slight rise and gentle wobble after baking. For an extra creative twist, swirl a bit of melted chocolate or additional cream cheese on top with a toothpick, adding beautiful marbling and an elegant flair to every bite.
Step 4: Bake to Perfection
Slide your creations into an oven preheated to 325 degrees Fahrenheit (163 degrees Celsius). Bake for 15–18 minutes until the edges are set but the centers still have a slight jiggle. This texture is key to a silky, melt-in-your-mouth experience. After baking, let them cool completely before transferring to the fridge to chill for at least 2 hours—this chilling time lets the flavors deepen and the bites firm up.
Step 5: Enjoy Your Red Velvet Cheesecake Bites
Once chilled, pop the bites out gently if you used muffin tins, then arrange them prettily on a serving platter. These Red Velvet Cheesecake Bites are now ready to be devoured—rich, smooth, and bursting with the classic flavors that make red velvet so beloved.
How to Serve Red Velvet Cheesecake Bites Recipe
Garnishes
To elevate your Red Velvet Cheesecake Bites Recipe, consider topping them with fresh raspberries, a dusting of powdered sugar, or a tiny dollop of whipped cream. Even a sprinkle of mini chocolate chips or chopped nuts adds an appealing texture contrast and boost of flavor that guests love.
Side Dishes
These cheesecake bites pair wonderfully with light fruit salads, coffee, or a glass of sparkling rosé. Their creamy decadence balances out fresh and tangy accents, making for a delightful dessert spread that feels both indulgent and refreshing.
Creative Ways to Present
Present your Red Velvet Cheesecake Bites Recipe on a tiered serving tray for a stunning dessert table centerpiece. You can also serve them atop edible flowers on delicate doilies or arranged in muffin liners with matching ribbons for a festive touch that steals the show at any event.
Make Ahead and Storage
Storing Leftovers
If you happen to have leftovers, store your cheesecake bites in an airtight container in the refrigerator. They’ll keep their creamy texture and fresh flavor for up to 4 days, ready whenever you want a quick, sweet pick-me-up.
Freezing
For longer storage, freeze the cheesecake bites on a baking sheet until firm, then transfer them into a freezer-safe container separated by parchment paper. They freeze beautifully for up to 2 months, making them a perfect make-ahead treat for anytime you crave a slice of red velvet bliss.
Reheating
When you’re ready to enjoy frozen bites, thaw them overnight in the refrigerator. Since these are best served chilled, there’s no need to reheat—just unwrap and enjoy their cool, creamy magic straight from the fridge.
FAQs
Can I use a different type of crust?
Absolutely! While the graham cracker crust adds a lovely buttery crunch, you could easily substitute with crushed chocolate cookies or even a nut-based crust to complement the red velvet flavor in a new and tasty way.
Is it necessary to use red food coloring?
The red food coloring gives the cheesecake its signature vibrant hue, which is part of what makes red velvet so fun and festive. However, if you prefer, natural alternatives like beet juice powder can be used to achieve a similar color.
How do I prevent the cheesecake bites from cracking?
Don’t overmix the batter and avoid baking at too high a temperature. Keeping the oven at 325 degrees Fahrenheit and pulling the bites out when the edges have set but the center jiggles slightly will help maintain their smooth surface without cracks.
Can these bites be made dairy-free?
With a few ingredient swaps like using dairy-free cream cheese and vegan butter, you can adapt this recipe for a dairy-free version. Just make sure all your substitutes blend well and hold the batter’s texture.
What is the best way to serve these bites at a party?
Serve them chilled on a beautiful platter with small dessert forks or toothpicks for easy grabbing. Adding garnishes like fresh berries or edible flowers can also turn your Red Velvet Cheesecake Bites Recipe into a real eye-catcher on the dessert table.
Final Thoughts
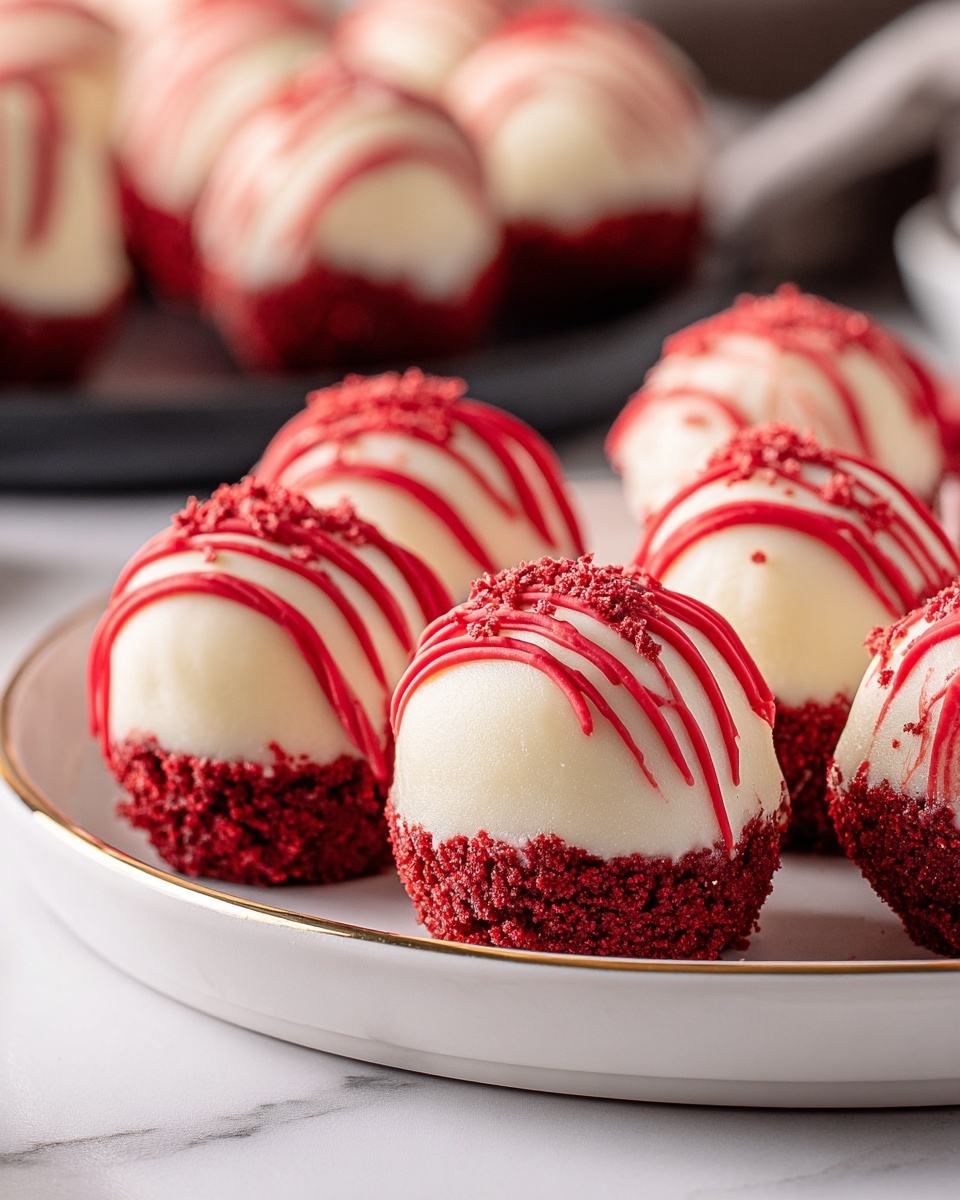
These Red Velvet Cheesecake Bites Recipe are truly a showstopper when it comes to bite-sized desserts. Their rich, creamy texture combined with that iconic red velvet flavor creates an irresistible treat that’s bound to bring smiles. Whether you’re making them for a celebration or simply indulging your sweet tooth, they’re a must-try that will quickly become a favorite in your dessert rotation.
Print
Red Velvet Cheesecake Bites Recipe
- Prep Time: 15 minutes
- Cook Time: 18 minutes
- Total Time: 2 hours 33 minutes
- Yield: 24 bites
- Category: Dessert
- Method: Baking
- Cuisine: American
- Diet: Vegetarian
Description
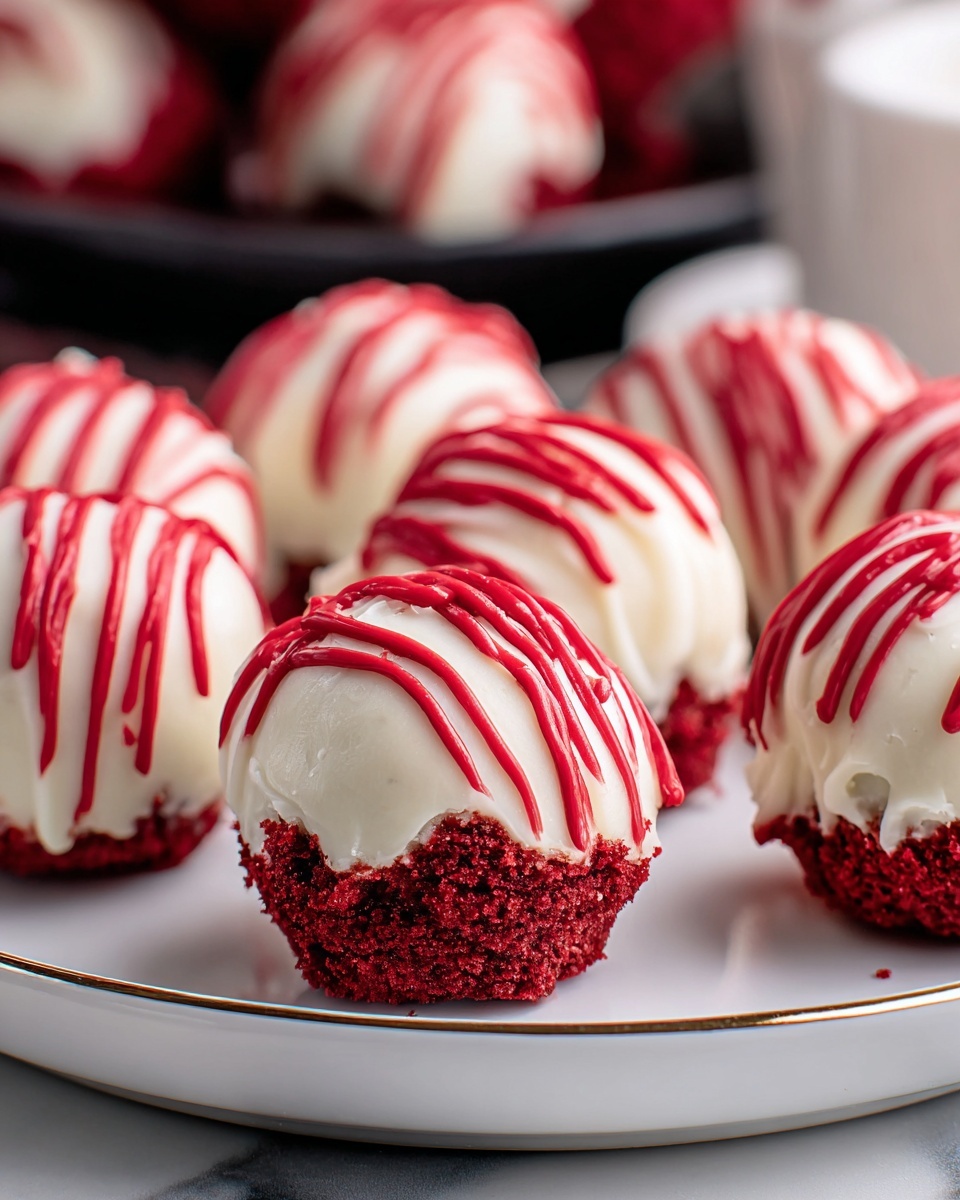
These Red Velvet Cheesecake Bites are rich, creamy, and perfectly portioned mini desserts combining the classic flavors of red velvet and smooth cheesecake with a buttery graham cracker crust. Easy to make and ideal for parties or anytime indulgence.
Ingredients
Crust
- 1 cup crushed graham crackers
- 5 tablespoons melted butter
Cheesecake Filling
- 16 oz (450g) cream cheese, softened
- 3/4 cup granulated sugar
- 2 large eggs, room temperature
- 1 teaspoon vanilla extract
- 1 tablespoon cocoa powder
- 1 tablespoon all-purpose flour
- 2 teaspoons red food coloring
Instructions
- Prepare the crust: Mix the crushed graham crackers with melted butter until the mixture resembles wet sand. Press this mixture firmly into the bottom of mini muffin tins or a square baking pan lined with parchment paper to create an even crust base for the cheesecake bites.
- Make the filling: In a large bowl, beat the softened cream cheese and granulated sugar together until silky smooth. Add the eggs one at a time, mixing gently to keep the texture light. Then incorporate vanilla extract, cocoa powder, red food coloring, and all-purpose flour, mixing just until everything is combined to avoid overmixing.
- Assemble the bites: Spoon the cheesecake mixture onto the prepared crust, filling each mini muffin cup about three-quarters full. For an optional decorative touch, use a toothpick to swirl in some extra melted chocolate or cream cheese on top of each bite.
- Bake: Place in a preheated oven at 325°F (163°C) and bake for about 15 to 18 minutes until the edges are set but the centers still have a slight jiggle. Remove from the oven and let cool completely before chilling.
- Chill and serve: Transfer the bites to the refrigerator to chill for at least 2 hours until fully set. Once chilled, pop the bites out of the tray if using muffin tins, arrange on a serving platter, and enjoy these luscious mini red velvet cheesecakes.
Notes
- Ensure cream cheese and eggs are at room temperature for a smooth batter.
- A toothpick test can be used to check doneness; edges should be firm but centers slightly jiggly.
- Use mini muffin tins for perfectly sized bites that serve well at parties.
- Store leftovers in an airtight container in the refrigerator for up to 3 days.
- Optional: Add a swirl of melted white or dark chocolate on top before baking for extra decoration and flavor.


