
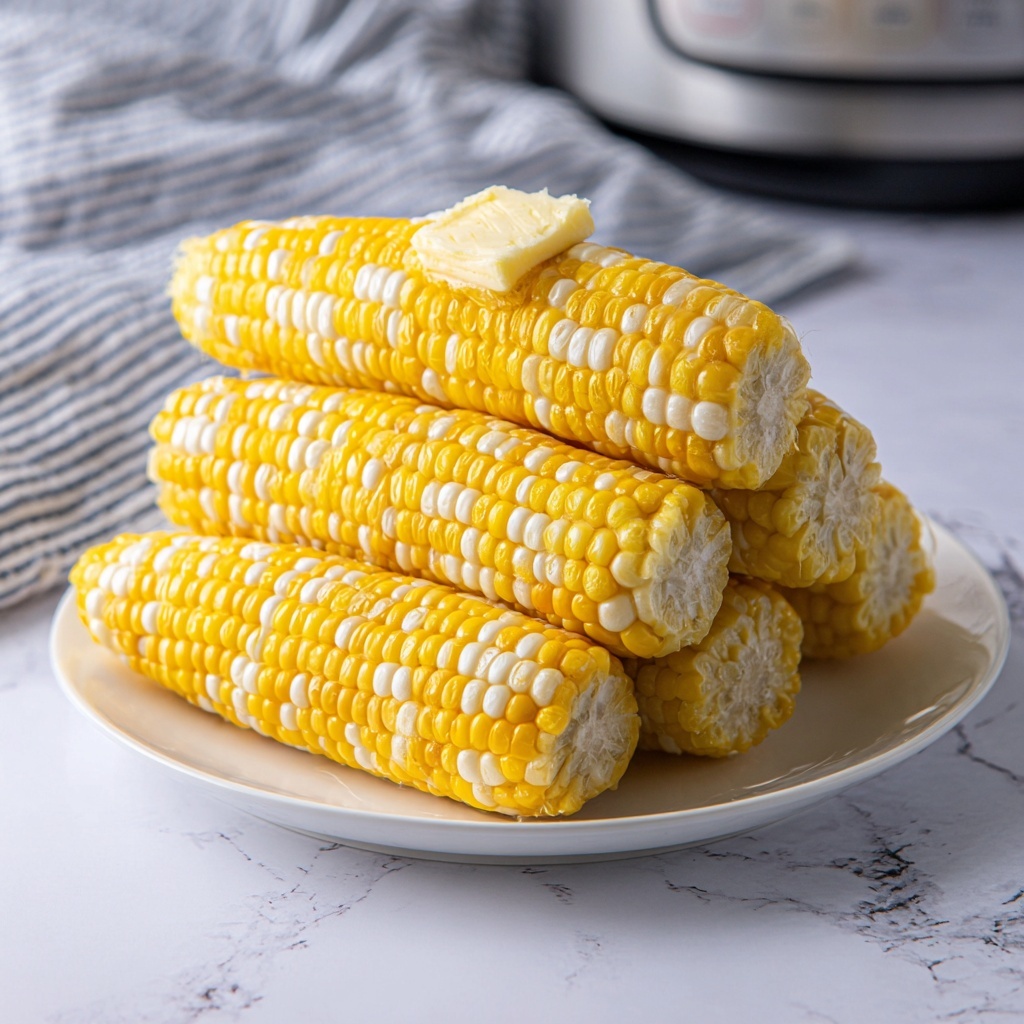
There is something truly magical about perfectly cooked corn, and when it comes to speed and ease, the Pressure Cooker Corn on the Cob Recipe is an absolute game-changer. This method transforms fresh ears of corn into tender, juicy kernels bursting with natural sweetness in just minutes. Whether you’re prepping for a summer barbecue, a family dinner, or simply craving an easy snack, this recipe delivers fresh-from-the-farm flavor with minimal effort. Let me walk you through how this simple gem of a dish can become your go-to corn preparation technique.
Ingredients You’ll Need
This Pressure Cooker Corn on the Cob Recipe relies on remarkably straightforward ingredients, making it accessible yet incredibly satisfying. Each ingredient plays its own role in ensuring the corn cooks evenly and remains beautifully moist and flavorful.
- 6 ears of corn, shucked: Freshness is key—choose bright yellow, plump kernels for the best texture and sweetness.
- 1 cup of water: Essential for creating the steam environment inside the pressure cooker that gently cooks the corn to perfection.
How to Make Pressure Cooker Corn on the Cob Recipe
Step 1: Prepare Your Pressure Cooker
Begin by pouring 1 cup of water into the bottom of your pressure cooker pot. This water will generate the steam necessary to cook the corn gently without drying it out. Next, place the trivet inside the cooker; it acts like a support, keeping the corn elevated above the water to prevent sogginess.
Step 2: Arrange the Corn
Stack the 6 shucked ears of corn neatly on top of the trivet within your cooker. Try to place them evenly so that the steam can circulate all around, ensuring every ear is cooked consistently and nothing ends up undercooked or overly mushy.
Step 3: Seal and Cook
Close the lid securely and turn the steam vent to the sealing position. Select the pressure cook setting on your cooker and set it to 2 minutes. This short cooking time is enough to soften the kernels while keeping that delightful snap you want when biting into fresh corn.
Step 4: Quick Release and Serve
Once the pressure cooker timer goes off, carefully perform a quick release of the steam to stop the cooking process immediately. After the float valve drops, indicating it’s safe, gently open the lid. The corn on the cob will be steaming hot, ready to be enjoyed right away with all its natural flavors locked in.
How to Serve Pressure Cooker Corn on the Cob Recipe
Garnishes
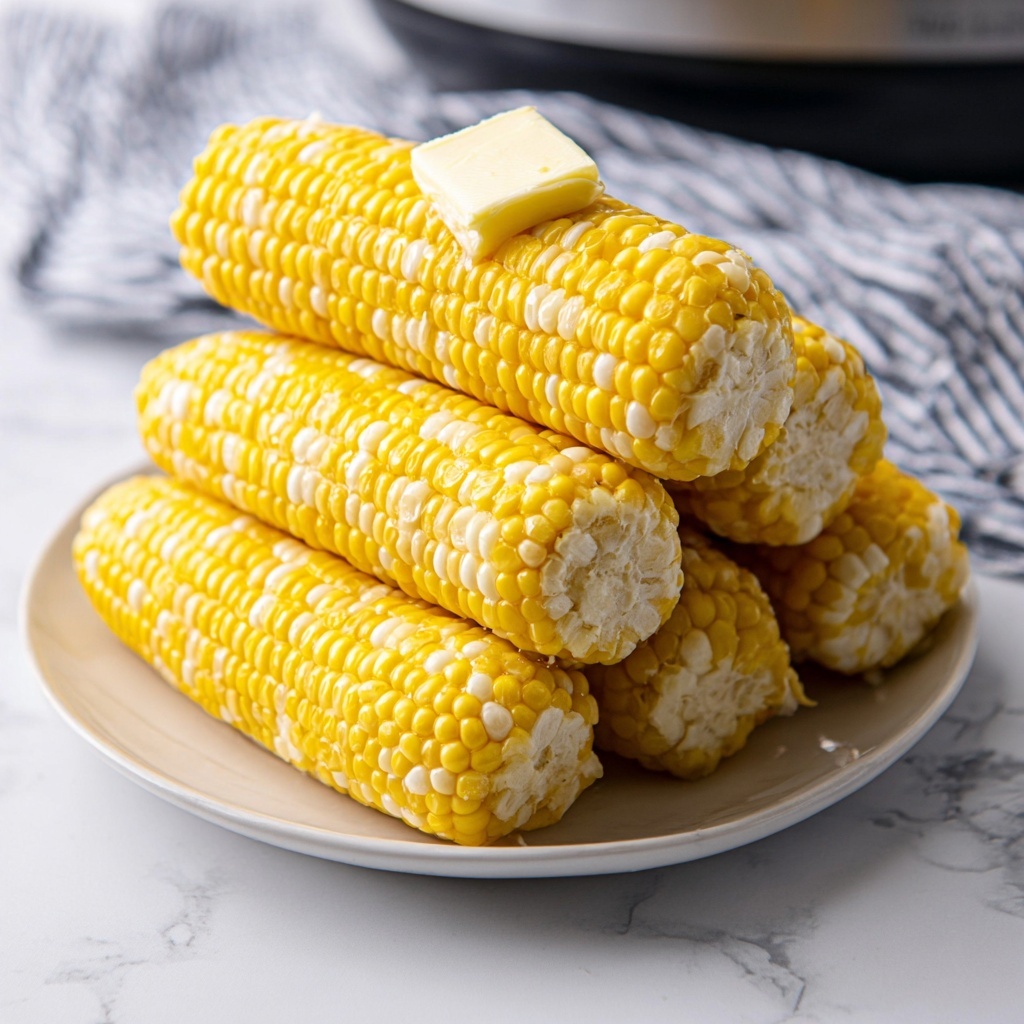
The beauty of Pressure Cooker Corn on the Cob Recipe is its versatility when it comes to toppings. A simple brush of melted butter and sprinkle of salt highlight the corn’s sweetness, but you can also experiment with things like chili powder, lime zest, or freshly grated Parmesan cheese to elevate every bite.
Side Dishes
This tender corn pairs beautifully with a range of sides—think grilled meats, creamy potato salad, or a zesty coleslaw. Anything fresh and vibrant perfectly complements the corn’s natural sweetness, turning your meal into a colorful, crowd-pleasing feast.
Creative Ways to Present
Want to wow your guests? Serve the corn with flavored butters shaped into small rounds or add toothpicks for easy handling at a casual gathering. You can also slice the kernels off the cob after cooking to toss into salads, salsas, or even corn fritters.
Make Ahead and Storage
Storing Leftovers
If you happen to have leftover corn, wrap each cob tightly in plastic wrap or store them in an airtight container in the refrigerator. They’ll stay good for up to 3 days, making it easy to reheat or use in other dishes without losing much of that fresh flavor and texture.
Freezing
Freezing cooked corn on the cob isn’t ideal because it can become watery and lose its texture, but if you want to preserve it, remove kernels from the cob before freezing. Store kernels in freezer bags, and use them within 3 months for best quality.
Reheating
To bring the Pressure Cooker Corn on the Cob Recipe back to life, gently warm it in the microwave or steam it briefly on the stove. Avoid overcooking to keep the kernels plump and juicy instead of tough or dry.
FAQs
Can I cook frozen corn on the cob using this method?
Yes! While fresh corn is ideal, frozen ears can also be pressure cooked, but add an extra minute or two to the cooking time to ensure they heat through properly.
Do I need to add salt to the water when pressure cooking corn?
It’s best to season the corn after cooking to avoid toughening the kernels. Salt added to the water won’t penetrate well but can change the texture negatively.
What if I want to cook fewer ears of corn?
You can easily adjust the recipe. Just keep the water amount the same for steam generation, and stack the ears on the trivet without overcrowding for even cooking.
Can I use an Instant Pot for this Pressure Cooker Corn on the Cob Recipe?
Absolutely! The Instant Pot works perfectly using the pressure cook function with the same time and setup instructions provided.
How do I know when the corn is done?
The recipe’s short 2-minute cook time under pressure is all it takes since the steam does the work gently. You’ll notice the kernels plump and tender but still with a little crispness when done.
Final Thoughts
If you love the taste of fresh, tender corn on the cob but dread the wait or mess of traditional methods, this Pressure Cooker Corn on the Cob Recipe is your new best friend. Quick, foolproof, and bursting with flavor, it can turn even a simple meal into something truly special. Give it a try—you might just find yourself making corn this way every time!
Print
Pressure Cooker Corn on the Cob Recipe
- Prep Time: 1 minute
- Cook Time: 2 minutes
- Total Time: 3 minutes
- Yield: 6 ears
- Category: Side Dish
- Method: Instant Pot
- Cuisine: American
Description
This Pressure Cooker Corn on the Cob recipe delivers perfectly cooked, juicy corn in just minutes. Using a pressure cooker ensures the corn is tender and flavorful while saving time compared to traditional boiling or grilling methods. Ideal for a quick side dish or an easy addition to any meal.
Ingredients
Ingredients
- 6 ears of corn, shucked
- 1 cup water
Instructions
- Prepare the pressure cooker: Add 1 cup of water to the pot of the pressure cooker. Place a trivet inside the pot to keep the corn elevated above the water.
- Stack the corn: Arrange the shucked ears of corn evenly on the trivet, stacking as needed to fit all 6 ears in the pot.
- Cook the corn: Seal the lid of the pressure cooker and turn the steam vent to the sealing position. Select the Pressure Cook function and set the timer for 2 minutes.
- Release the steam: When the cooking cycle completes, perform a quick release of the steam by carefully moving the steam vent to venting. Wait until the float valve drops before opening the lid.
- Serve: Carefully remove the corn from the pot and serve immediately while hot and juicy.
Notes
- Make sure to shuck the corn before cooking for best results.
- Use caution when releasing steam from the pressure cooker to avoid burns.
- You can add a pat of butter and sprinkle of salt or seasoning after cooking for extra flavor.
- If you don’t have a trivet, you can use a steamer basket or any heatproof rack to elevate the corn above the water.

