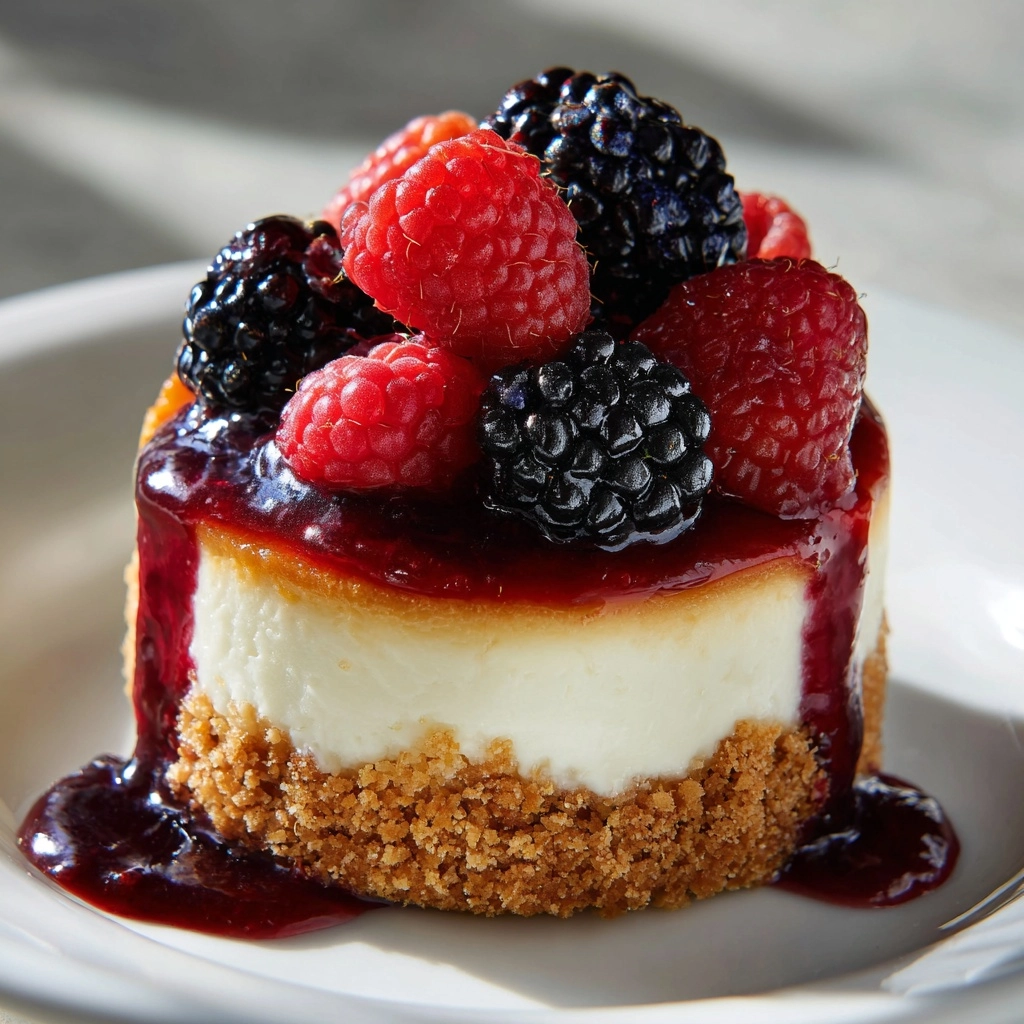
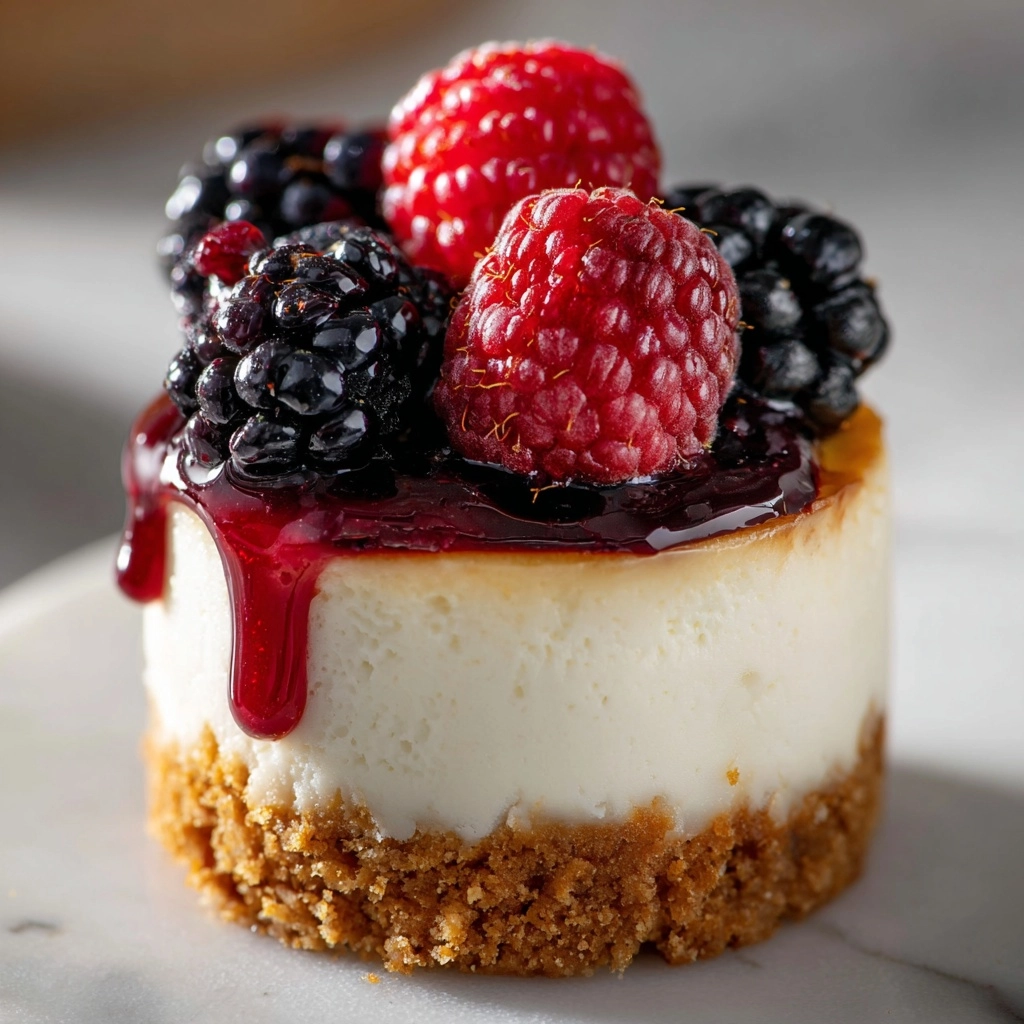
Imagine a dessert that feels like a cozy hug—sweet, creamy, and just the right size to disappear in one delightful bite. This No-Bake Mini Cheesecakes Recipe is exactly that indulgence wrapped up in an irresistible package. With a crisp graham cracker crust, velvety cream cheese filling, and endless options for toppings, these mini treats are not only stunningly delicious but also surprisingly simple to make. Whether you’re planning a casual family dinner or an elegant party, these no-bake delights will have everyone asking for the secret behind their creamy charm.
Ingredients You’ll Need
Ingredients You’ll Need
Each ingredient in this recipe plays a crucial role, coming together to create the perfect balance of tastes and textures. From the buttery crust that adds crunch to the light whipped cream creating an airy dreaminess, these essentials are both simple and special.
- 1 cup graham cracker crumbs: Forms the crisp and buttery base that gives your mini cheesecakes structure and texture.
- 3 tablespoons granulated sugar: Adds just the right amount of sweetness to the crust for a subtle, caramelized flavor.
- 4 tablespoons unsalted butter, melted: Binds the crust ingredients and enriches the flavor with a creamy fat.
- 8 ounces cream cheese, softened: The creamy star of the show that makes the filling rich and smooth.
- ⅓ cup powdered sugar: Sweetens the cream cheese perfectly without any grittiness.
- 1 teaspoon vanilla extract: Brings a comforting aroma and enhances the overall taste of the filling.
- 1 cup heavy whipping cream, cold: Whipped to fluffy perfection to lighten the filling and add airy creaminess.
- Optional toppings: Fresh fruit, chocolate sauce, fruit compote, or crushed cookies to add color, flavor, and personality.
How to Make No-Bake Mini Cheesecakes Recipe
Step 1: Creating the Perfect Crust
Start by combining the graham cracker crumbs, granulated sugar, and melted butter in a small bowl. This simple mixture sets the foundation for your mini cheesecakes. Press about a tablespoon of this crumbly mixture into each muffin cup lined with paper liners, giving it a firm, even layer that will hold together when you bite in. This crust is the contrast your creamy filling dreams of.
Step 2: Crafting the Luscious Cheesecake Filling
In a separate large bowl, beat the softened cream cheese until it’s completely smooth—no lumps allowed here! Add powdered sugar and vanilla extract, and mix until everything is silky and combined. This silky base is what turns a simple dessert into something truly dreamy.
Step 3: Whipping the Cream to Perfection
In another bowl, whip the cold heavy cream until stiff peaks form. This step creates the lightest, fluffiest texture that gives your no-bake mini cheesecakes their melt-in-your-mouth quality. Be gentle when folding the whipped cream into the cream cheese mixture to maintain that airy texture.
Step 4: Assembling Your Mini Masterpieces
Now for the fun part: spoon or pipe the creamy filling evenly over each prepared crust. Use a spoon or spatula to smooth the tops so every cheesecake is perfectly polished. Pop them into the refrigerator for at least 4 hours to set—they need this chill time to transform into those satisfyingly firm but creamy bites we love.
How to Serve No-Bake Mini Cheesecakes Recipe
Garnishes
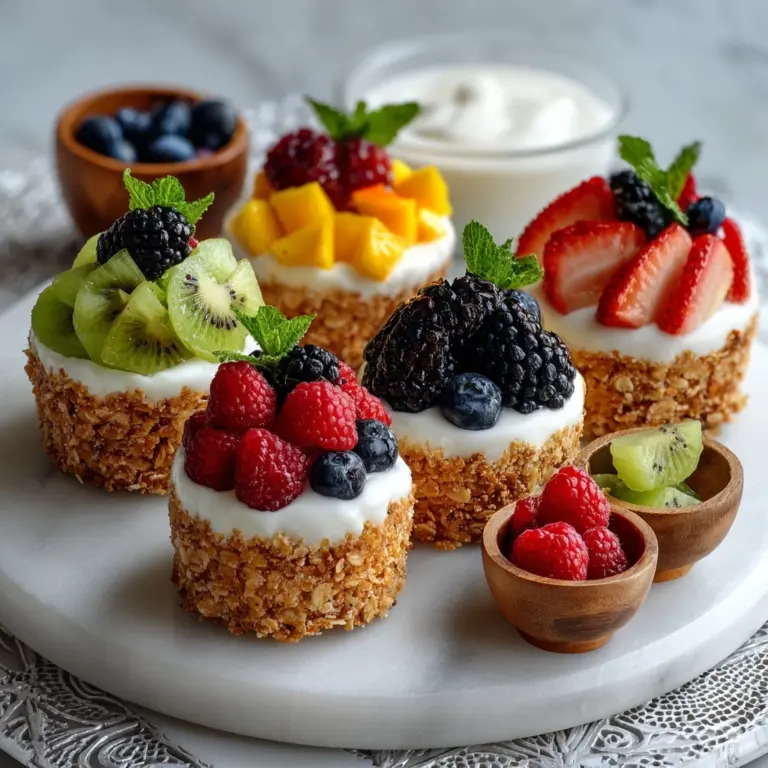
While these mini cheesecakes are incredible on their own, topping them adds vibrant color and flavor bursts. Fresh berries like raspberries or blueberries bring a pop of freshness, while a drizzle of chocolate sauce or a spoonful of fruit compote offers luscious sweetness and visual appeal. Crushed cookies add a satisfying crunch and a playful twist. Let your imagination shine!
Side Dishes
If you’re serving these at a gathering, consider pairing them with light accompaniments. A small scoop of tangy sorbet or a handful of toasted nuts offers a delightful counterpoint. Even a cup of freshly brewed coffee or a delicate herbal tea can elevate the experience, making your dessert moment truly special.
Creative Ways to Present
Presentation is part of the magic with this No-Bake Mini Cheesecakes Recipe. Serve them in pretty paper liners or pop them out of silicone muffin pans for a smooth edge. Arrange them on a rustic wooden board or a colorful platter, topped individually with edible flowers or gold leaf for a wow factor. Layering them in little glass jars with fruit or crumble creates an elegant parfait twist that guests won’t forget.
Make Ahead and Storage
Storing Leftovers
These mini cheesecakes hold up beautifully in the fridge for up to 2 days. Keep them covered with plastic wrap or inside an airtight container to preserve freshness and keep any flavors from mingling. If using paper liners, gently loosen the edges before storing to avoid sticking or tearing.
Freezing
If you want to make these mini treats ahead of a big event or just for freezer convenience, you’re in luck! Freeze your assembled cheesecakes in a single layer on a baking sheet before transferring them to a freezer-safe container. They’ll keep wonderfully for up to one month. When it’s time to indulge, thaw them overnight in the refrigerator for the best texture.
Reheating
Because these are no-bake and best served chilled, reheating isn’t necessary or recommended. Simply allow frozen cheesecakes to thaw slowly in the fridge, then enjoy each creamy bite cold and refreshing. This ensures that velvety texture stays intact.
FAQs
Can I use a different type of crust for the No-Bake Mini Cheesecakes Recipe?
Absolutely! While graham cracker crust is classic, you can experiment with crushed digestive biscuits, chocolate cookies, or even crushed pretzels for a salty twist. Just remember to adjust the sugar and butter slightly to balance flavors and textures.
How long do the mini cheesecakes need to chill?
For the perfect set, allow at least 4 hours in the refrigerator. This resting time lets the filling firm up sufficiently while keeping the creamy mouthfeel that makes this recipe so irresistible.
Is it possible to make these cheesecakes vegan or dairy-free?
Yes, with some substitutions! Use vegan cream cheese and a plant-based heavy cream alternative like coconut cream. Keep in mind that the texture and taste might vary slightly but can still be delightfully rich and delicious.
What toppings work best with this No-Bake Mini Cheesecakes Recipe?
Fresh fruits, tangy fruit compotes, chocolate or caramel sauces, and even crunchy nuts or cookie crumbles all pair beautifully. These toppings add exciting textures and bursts of flavor that complement the creamy base wonderfully.
Can I make this recipe gluten-free?
Yes! Swap the graham cracker crumbs for gluten-free cookie crumbs or nuts. Ensure any other ingredients you use, like toppings, are gluten-free as well to keep the dish safe and delicious for gluten-sensitive guests.
Final Thoughts
If you’re looking for a charming and effortless dessert that feels homemade and special, this No-Bake Mini Cheesecakes Recipe is a total winner. It’s quick to prepare, easy to customize, and simply delightful to eat. I promise once you try these creamy, dreamy minis, they’ll become your go-to for celebrations big and small. So grab your mixing bowls, and let’s make some magic in those muffin tins!
Print
No-Bake Mini Cheesecakes Recipe
- Prep Time: 20 minutes
- Cook Time: 0 minutes
- Total Time: 4 hours 20 minutes
- Yield: 12 mini cheesecakes
- Category: Dessert
- Method: No-Cook
- Cuisine: American
- Diet: Vegetarian
Description
These No-Bake Mini Cheesecakes are creamy, delicious, and easy to make individual desserts perfect for any occasion. Featuring a graham cracker crust and a fluffy cream cheese filling, they require no baking and can be topped with fresh fruit, chocolate sauce, or crushed cookies for added flavor and presentation.
Ingredients
Crust
- 1 cup graham cracker crumbs
- 3 tablespoons granulated sugar
- 4 tablespoons unsalted butter, melted
Filling
- 8 ounces cream cheese, softened
- ⅓ cup powdered sugar
- 1 teaspoon vanilla extract
- 1 cup heavy whipping cream, cold
Optional Toppings
- Fresh fruit
- Chocolate sauce
- Fruit compote
- Crushed cookies
Instructions
- Prepare the crust: In a small bowl, combine the graham cracker crumbs, granulated sugar, and melted butter. Mix thoroughly until evenly combined. Spoon about 1 tablespoon of this mixture into each cavity of a 12-cup muffin tin lined with paper cupcake liners. Press down firmly with the back of a spoon or your fingers to create a compact crust layer.
- Make the cream cheese filling: In a large mixing bowl, beat the softened cream cheese until smooth and free of lumps. Add the powdered sugar and vanilla extract, then continue beating until all ingredients are fully incorporated and creamy.
- Whip the heavy cream: In a separate chilled bowl, use a hand mixer or stand mixer to whip the cold heavy cream until stiff peaks form, meaning the cream holds its shape firmly when the beaters are lifted.
- Combine fillings: Gently fold the whipped cream into the cream cheese mixture using a spatula. Mix carefully to keep the mixture light and fluffy while achieving a smooth consistency.
- Assemble mini cheesecakes: Spoon or pipe the cream cheese filling evenly over each graham cracker crust in the muffin tin, smoothing the tops with a spoon or spatula for an even finish.
- Chill and set: Place the assembled mini cheesecakes in the refrigerator and chill for at least 4 hours until fully set and firm enough to handle.
- Add toppings and serve: Just before serving, add your preferred toppings such as fresh fruit, chocolate sauce, fruit compote, or crushed cookies to enhance both taste and appearance.
Notes
- These mini cheesecakes can be made up to 2 days in advance and stored covered in the refrigerator.
- For easier removal, use a silicone muffin pan or gently loosen the paper liners before serving.
- You can freeze the mini cheesecakes for up to 1 month; thaw them in the refrigerator before enjoying.
