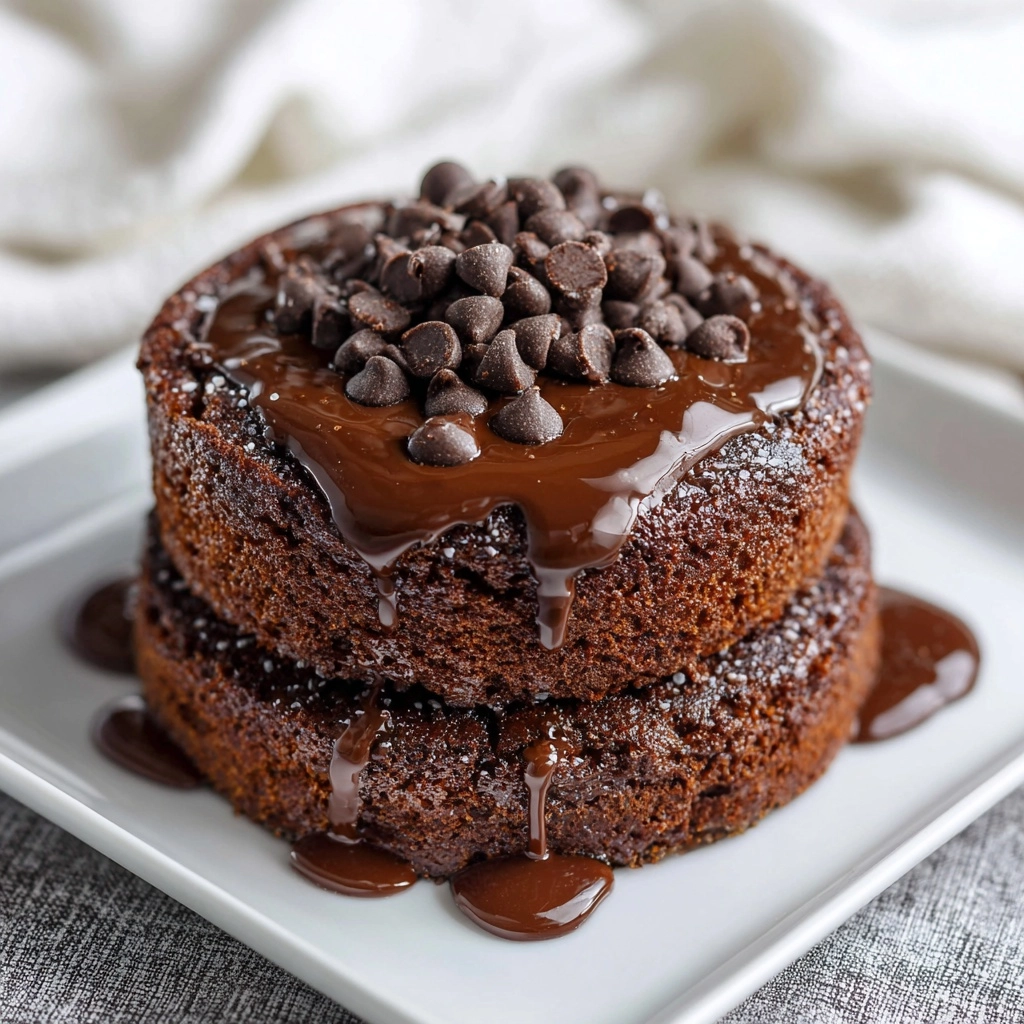
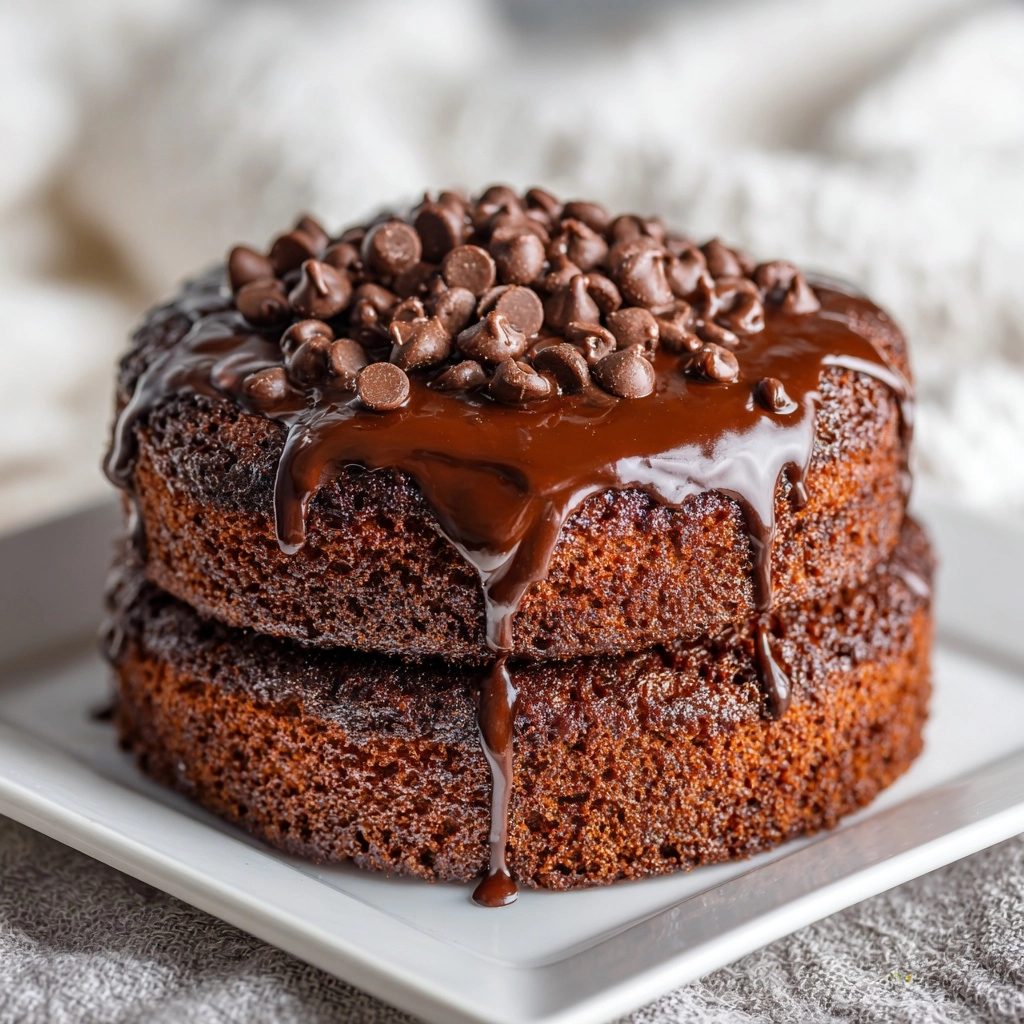
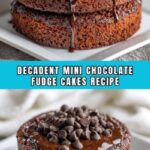
If you have a sweet tooth and a penchant for chocolate, you are going to love these Mini Chocolate Fudge Cakes – Perfect for Any Occasion!! Recipe. These little gems bring the irresistible charm of fudgy, rich chocolate in perfectly portioned, bite-sized delights that are simple to make yet incredibly satisfying. Whether you’re baking for a quick treat, a festive gathering, or just because, these mini cakes offer a luscious, tender crumb with a smooth, decadent finish that will win over everyone at your table.
Ingredients You’ll Need
Gathering the right ingredients is the first exciting step toward creating these divine mini cakes. Each component plays a crucial role in delivering that perfect balance of flavor, texture, and moistness that makes this recipe a standout.
- Semisweet chocolate chips (1 cup): Provide the rich, deep chocolate base essential for fudge cakes.
- Unsalted butter (1/2 cup): Adds smoothness and richness, helping to melt the chocolate beautifully.
- Granulated sugar (3/4 cup): Sweetens the batter just right without overpowering the chocolate flavor.
- Large eggs (2): Bind the ingredients together and contribute to the cakes’ moist texture.
- Vanilla extract (1 teaspoon): Enhances the chocolate’s depth with a warm, fragrant note.
- All-purpose flour (1/2 cup): Gives structure while keeping the cakes tender.
- Unsweetened cocoa powder (1/4 cup): Boosts the chocolate intensity and adds a slightly bitter contrast.
- Baking powder (1/2 teaspoon): Helps the cakes rise gently, keeping them light yet fudgy.
- Salt (1/4 teaspoon): Balances the sweetness and enhances the overall flavor.
- Powdered sugar (for dusting): Adds a pretty, delicate finishing touch.
- Fresh berries or whipped cream (optional): Offer fruity brightness or creamy luxury alongside the rich cakes.
How to Make Mini Chocolate Fudge Cakes – Perfect for Any Occasion!! Recipe
Step 1: Prep Your Baking Tools and Oven
Start by preheating your oven to 350°F (175°C) and preparing a 12-cup muffin tin either by lightly greasing it or lining it with paper liners. This foundation ensures your cakes will bake evenly and release easily, preserving their perfect shape.
Step 2: Melt the Chocolate and Butter
Place semisweet chocolate chips and unsalted butter in a heatproof bowl set over simmering water. Stir gently until the mixture is completely smooth and glossy. This step is where the magic begins — creating the luscious chocolate base that gives these cakes their fudgy richness.
Step 3: Incorporate Sugar and Eggs
Remove the melted chocolate mixture from heat and whisk in the granulated sugar until blended. Then add the eggs one at a time, whisking continuously to fully incorporate each before adding the next. Finish by stirring in the vanilla extract for that warm, inviting aroma.
Step 4: Mix Dry Ingredients Separately
In another bowl, sift together the all-purpose flour, unsweetened cocoa powder, baking powder, and salt. This ensures there are no lumps and evenly combines the leavening agents for consistent texture in each mini cake.
Step 5: Combine Wet and Dry Ingredients
Carefully fold the dry ingredients into the chocolate mixture just until everything is combined. Be gentle here—overmixing can make your cakes less tender and dense instead of fudgy and soft.
Step 6: Fill and Bake
Divide the batter evenly among the muffin cups, filling each about two-thirds full. Pop the tin into your preheated oven and bake for 15 to 18 minutes. You’re looking for firm tops but centers that remain slightly gooey to capture that perfect fudge texture.
Step 7: Cool and Finish Up
Give the cakes 5 minutes to cool in the tin before removing them. This helps them set just right while still warm. Dust with powdered sugar for a beautiful presentation, and get ready to enjoy!
How to Serve Mini Chocolate Fudge Cakes – Perfect for Any Occasion!! Recipe

Garnishes
Enhance the visual appeal and flavor by dusting your mini cakes with powdered sugar or decorating with a dollop of whipped cream. Fresh berries like raspberries or strawberries add a contrasting burst of tartness that complements the deep chocolate beautifully.
Side Dishes
While these mini cakes can shine on their own, serving them alongside a scoop of vanilla ice cream or a drizzle of caramel sauce adds extra indulgence. A simple glass of cold milk or a cup of rich coffee also makes a great companion, rounding out the dessert experience.
Creative Ways to Present
For parties or festive occasions, arrange these cakes on a tiered serving tray or line them up on a rustic wooden board with sprigs of mint or edible flowers. You could also serve them in decorative mini cupcake wrappers to add extra charm and ease of handling.
Make Ahead and Storage
Storing Leftovers
Keep any leftover mini chocolate fudge cakes in an airtight container at room temperature. They will stay deliciously moist and fresh for up to three days, making them a great option for meal prepping treats in advance.
Freezing
If you want to enjoy these treats later, place cooled cakes in a freezer-safe container or bag. Freeze for up to a month. When you’re ready to indulge, simply thaw them at room temperature or gently warm them for that fresh-baked feel.
Reheating
Warm your mini cakes in the microwave for 10 to 15 seconds or in a low-heat oven for a few minutes. This brings back that just-baked softness and intensifies the chocolate flavor, making each bite heavenly.
FAQs
Can I use dark chocolate instead of semisweet chocolate for these cakes?
Absolutely! Dark chocolate will give your mini cakes a richer, more intense chocolate flavor, but be mindful it can add a slight bitterness. Adjust sugar slightly if you prefer a sweeter result.
Are these mini cakes gluten-free?
This specific recipe uses all-purpose flour, which contains gluten. However, you can try substituting with a gluten-free flour blend to make it suitable for gluten-free diets, though texture may vary slightly.
Can I make these mini cakes dairy-free?
Yes! Swap the butter for a plant-based alternative and use dairy-free chocolate chips to make these cakes dairy-free without sacrificing taste.
How fudgy are these mini chocolate fudge cakes?
They strike the perfect balance with a tender crumb and fudgy centers — soft but not gooey like a molten lava cake. If you want a molten surprise, try adding a piece of chocolate in the center before baking.
What type of cocoa powder works best for this recipe?
Use unsweetened natural cocoa powder to get that deep chocolate flavor. Dutch-processed cocoa can also work, but it may affect the cake’s rise and color slightly.
Final Thoughts
There’s nothing quite like the joy of biting into a warm, fudgy chocolate cake that was made with love and care. This Mini Chocolate Fudge Cakes – Perfect for Any Occasion!! Recipe is a simple yet dazzling way to satisfy any chocolate craving while impressing friends and family. Give it a try, and I promise you’ll want to make these delightful treats again and again!
Print
Mini Chocolate Fudge Cakes – Perfect for Any Occasion!! Recipe
- Prep Time: 15 minutes
- Cook Time: 18 minutes
- Total Time: 33 minutes
- Yield: 12 mini cakes
- Category: Dessert
- Method: Baking
- Cuisine: American
- Diet: Vegetarian
Description
These Mini Chocolate Fudge Cakes are rich, moist, and perfect for any occasion. Easy to make with simple ingredients, they offer an indulgent chocolate treat served as individual portions, ideal for sharing or enjoying solo.
Ingredients
Chocolate Fudge Cake Batter
- 1 cup semisweet chocolate chips
- 1/2 cup unsalted butter
- 3/4 cup granulated sugar
- 2 large eggs
- 1 teaspoon vanilla extract
- 1/2 cup all-purpose flour
- 1/4 cup unsweetened cocoa powder
- 1/2 teaspoon baking powder
- 1/4 teaspoon salt
For Serving (Optional)
- Powdered sugar for dusting
- Fresh berries or whipped cream
Instructions
- Prepare your oven and pan: Preheat the oven to 350°F (175°C) and either lightly grease a 12-cup muffin tin or line it with paper liners to prevent sticking.
- Melt chocolate and butter: Using a heatproof bowl, melt the chocolate chips and unsalted butter together over a saucepan of simmering water. Stir continuously until the mixture is smooth and fully combined.
- Add sugar and eggs: Remove the melted chocolate mixture from heat. Whisk in the granulated sugar thoroughly. Then add the eggs one at a time, mixing well after each addition. Stir in the vanilla extract.
- Combine dry ingredients: In a separate bowl, sift together the all-purpose flour, unsweetened cocoa powder, baking powder, and salt to ensure there are no lumps.
- Mix wet and dry ingredients: Gradually fold the sifted dry ingredients into the chocolate mixture until just combined, being careful not to overmix to keep the cakes tender.
- Fill muffin cups: Divide the batter evenly among the prepared muffin cups, filling each about two-thirds full to allow room for rising.
- Bake the cakes: Place the muffin tin in the preheated oven and bake for 15 to 18 minutes. The cake tops should be set while the centers remain slightly fudgy for the perfect texture.
- Cool and serve: Let the cakes cool in the tin for 5 minutes before removing them. Dust with powdered sugar and serve warm or at room temperature. Optionally, garnish with fresh berries or whipped cream.
Notes
- For an extra decadent surprise, press a square of chocolate into the center of each cake before baking for a molten chocolate center.
- Store the mini cakes in an airtight container at room temperature for up to 3 days to maintain freshness.

