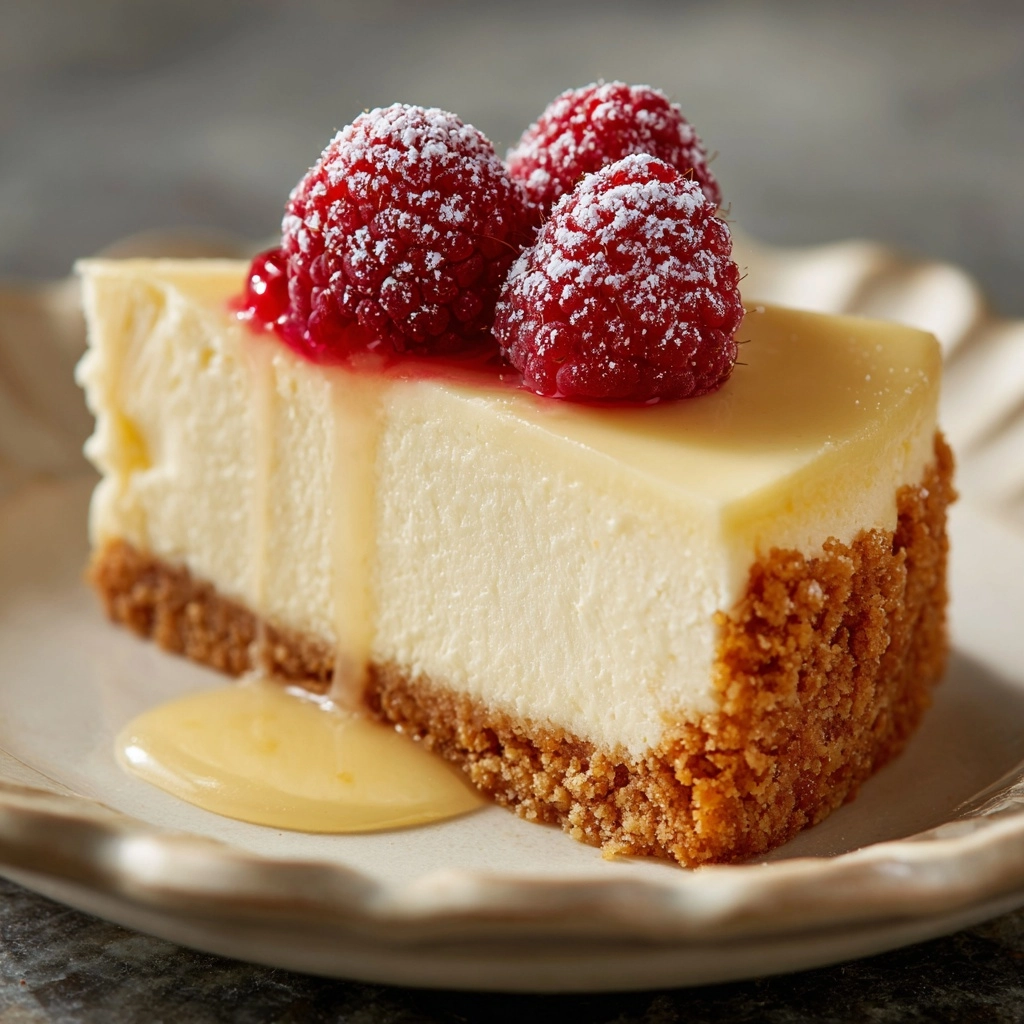
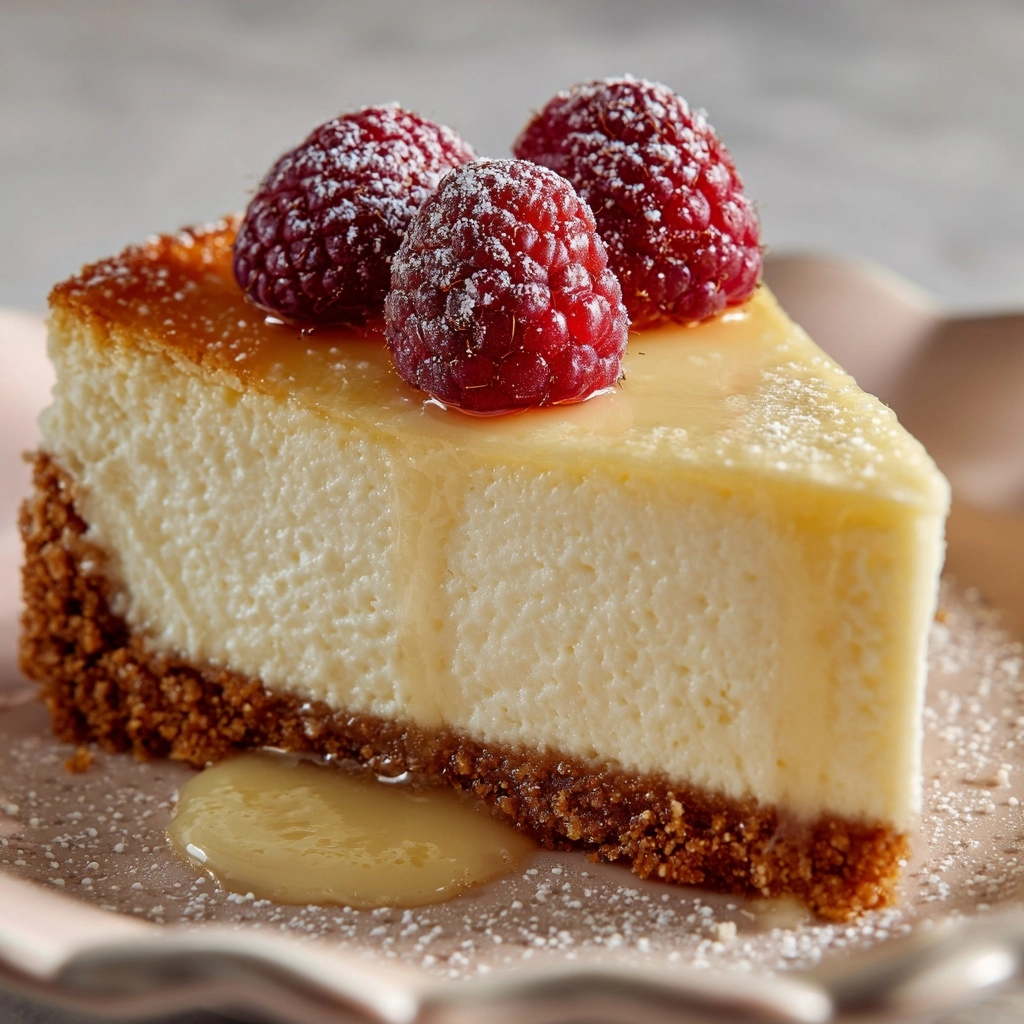
If you’ve been searching for a dessert that’s irresistibly creamy, perfectly portioned, and downright delightful, this Mini Cheesecakes Recipe is your answer. These petite delights offer all the luscious flavor of a classic cheesecake, but in charming bite-sized servings that are perfect for parties, family gatherings, or whenever a sweet treat calls your name. Whether topped with fresh berries, drizzled with chocolate, or simply enjoyed on their own, these mini cheesecakes bring joy to every bite and are sure to become a beloved favorite in your dessert repertoire.
Ingredients You’ll Need
The beauty of this Mini Cheesecakes Recipe lies in its simplicity. Each ingredient plays a key role in building that signature creamy, rich texture and balancing sweetness with a buttery crust that holds everything together perfectly. Gather these essential elements to create a dessert that feels elegant yet is totally approachable.
- 1 cup graham cracker crumbs: Provides a crunchy, slightly sweet base that perfectly supports the creamy filling.
- 2 tablespoons granulated sugar: Adds just enough sweetness to the crust to complement the tangy filling.
- 4 tablespoons unsalted butter, melted: Binds the crust ingredients together and contributes a rich, buttery flavor.
- 16 ounces cream cheese, softened: The star ingredient for a smooth, luscious filling—remember, softened for the best texture.
- ½ cup granulated sugar: Sweetens the creamy cheesecake filling without overpowering the tanginess.
- 2 large eggs: Helps set the cheesecake filling while keeping it tender and cakey.
- 1 teaspoon vanilla extract: Adds subtle warmth and depth of flavor to every bite.
- ¼ cup sour cream: Gives the cheesecake its signature creamy tang and velvety smooth texture.
- Optional toppings: Fresh berries, fruit preserves, whipped cream, or chocolate sauce to dress up your mini creations.
How to Make Mini Cheesecakes Recipe
Step 1: Prepare the Crust
Start by preheating your oven to 325°F (163°C) and lining a 12-cup muffin tin with paper liners. In a small bowl, combine the graham cracker crumbs, 2 tablespoons sugar, and melted butter. Stir until the mixture resembles wet sand—that’s the perfect texture for pressing into the muffin cups. Spoon about 1 tablespoon of this crumb mixture into each liner and press down firmly to form a compact crust. Bake these crusts for 5 minutes to set them, then remove and let them cool slightly.
Step 2: Make the Cheesecake Filling
In a large mixing bowl, beat the softened cream cheese until silky smooth—this step is crucial for avoiding lumps. Gradually add ½ cup sugar and mix well until fully combined. Beat the eggs in one at a time, ensuring each is incorporated before adding the next. Stir in the vanilla extract and sour cream last, blending gently until the mixture is homogenous but be careful not to overbeat; you want a creamy, rich filling that stays light.
Step 3: Assemble and Bake
Divide the cheesecake batter evenly among the prepared crusts, pouring 2 to 3 tablespoons into each muffin cup. Bake at 325°F for 16 to 18 minutes. You’ll know they’re done when the edges are set but the centers still have a slight jiggle, which means they’ll finish setting beautifully as they cool.
Step 4: Cool and Chill
Let the mini cheesecakes cool in the pan for about 10 minutes before transferring them to a wire rack to reach room temperature. Afterward, refrigerate for at least 2 hours to ensure they fully set and develop that rich, creamy texture we all love. This chill time is key for perfect sliceability and taste.
How to Serve Mini Cheesecakes Recipe

Garnishes
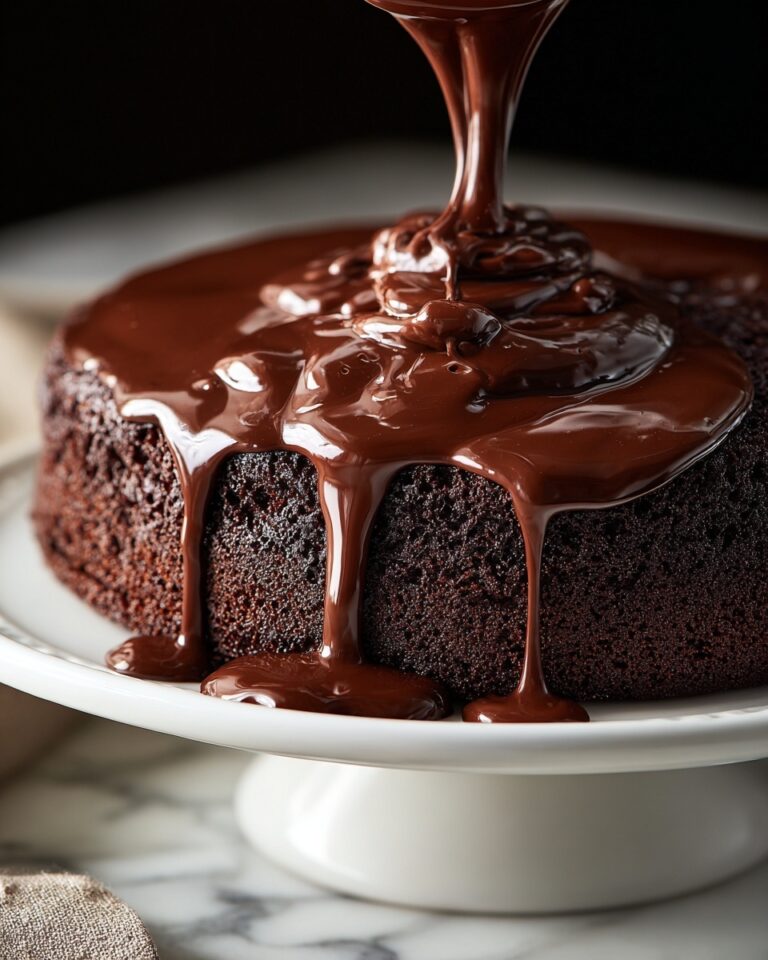
Enhance these little beauties with fresh berries like blueberries, strawberries, or raspberries for a pop of color and natural sweetness. Dollops of fruit preserves or whipped cream add softness and visual appeal. And if you’re feeling decadent, a drizzle of chocolate sauce will elevate these mini treats to something truly special.
Side Dishes
Mini cheesecakes shine as a standalone dessert, but they also pair wonderfully with a light, fruity salad or a refreshing sorbet on the side. Consider serving them after a rich meal to provide a balanced finish that feels indulgent yet not too heavy. A cup of coffee or a glass of dessert wine complements them beautifully, too.
Creative Ways to Present
Serve these mini cheesecakes on a decorative platter with a sprinkle of crushed nuts or edible flowers for festive occasions. You can also place them in individual clear cups layered with fruit compote for a sophisticated parfait-style dessert. Their size makes them perfect for dessert tables, and guests will love how easy they are to grab and savor.
Make Ahead and Storage
Storing Leftovers
Leftover mini cheesecakes keep wonderfully in the refrigerator for 1 to 2 days. Store them in an airtight container to prevent drying out and to preserve their creamy texture and fresh flavors without any fuss.
Freezing
You can freeze these mini cheesecakes if you want to prep in advance or save some for later. Wrap each cheesecake individually in plastic wrap, then place them in a freezer-safe container. They can be frozen for up to one month without losing much quality. Thaw overnight in the fridge before serving for best results.
Reheating
Since these cheesecakes are best enjoyed chilled, reheating is not necessary or recommended. If you prefer them less cold, simply take them out of the refrigerator 15 to 20 minutes before serving to allow them to soften slightly. That way, each bite is perfectly creamy and luscious.
FAQs
Can I use a different crust for the Mini Cheesecakes Recipe?
Absolutely! Oreo crumbs, crushed vanilla wafers, or even nut-based crusts work beautifully. Just make sure to adjust the butter quantity so your crust holds together nicely.
Do I need a water bath to bake these mini cheesecakes?
Nope! Because these are mini and baked in a muffin tin, they set nicely without the need for a water bath, making the process easier and cleaner.
How do I prevent cracks on the cheesecakes?
To avoid cracks, don’t overbeat the batter and bake until the centers are just set but still slightly jiggly. Cooling them gradually and not too quickly also helps maintain a smooth surface.
Can I make these gluten-free?
Definitely! Swap the graham cracker crumbs for gluten-free graham crackers, and you’ll have safe, scrumptious mini cheesecakes for gluten-sensitive friends and family.
What’s the best way to soften cream cheese quickly?
Cut cream cheese into small cubes and let it sit at room temperature for about 30 minutes before using. For faster results, microwave in short 10-second bursts until softened but not melted.
Final Thoughts
There’s something truly special about these Mini Cheesecakes Recipe treats that makes every occasion feel a little more joyful. Their perfect size, creamy texture, and endless possibilities for toppings mean you can customize them for any mood or event. I can’t recommend them enough for your next dessert adventure—baking them will fill your kitchen with such an inviting aroma, and sharing them will bring smiles all around. Give it a try, and let these mini delights become your go-to sweet escape.
Print
Mini Cheesecakes Recipe
- Prep Time: 15 minutes
- Cook Time: 18 minutes
- Total Time: 2 hours 33 minutes
- Yield: 12 mini cheesecakes
- Category: Dessert
- Method: Baking
- Cuisine: American
- Diet: Vegetarian
Description
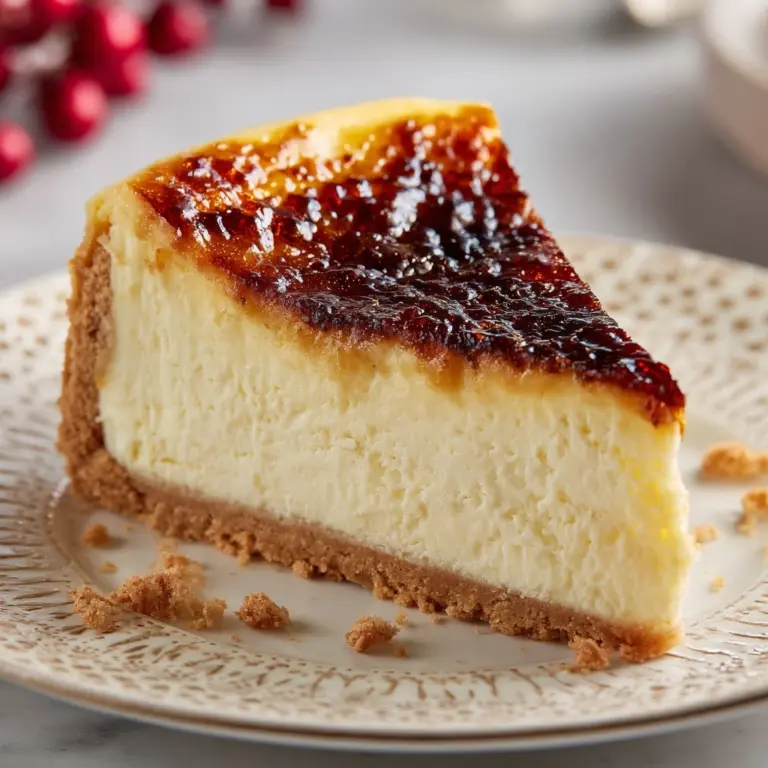
These Mini Cheesecakes are bite-sized delights perfect for parties or a sweet treat. Featuring a buttery graham cracker crust and a creamy, smooth filling, they are easy to make and customizable with your favorite toppings like fresh berries or chocolate sauce. Baked to perfection and chilled for the ideal texture, these desserts are sure to impress.
Ingredients
For the Crust
- 1 cup graham cracker crumbs
- 2 tablespoons granulated sugar
- 4 tablespoons unsalted butter, melted
For the Cheesecake Filling
- 16 ounces cream cheese, softened
- ½ cup granulated sugar
- 2 large eggs
- 1 teaspoon vanilla extract
- ¼ cup sour cream
Optional Toppings
- Fresh berries
- Fruit preserves
- Whipped cream
- Chocolate sauce
Instructions
- Prepare the Crust: Preheat your oven to 325°F (163°C) and line a 12-cup muffin tin with paper liners. In a small bowl, combine the graham cracker crumbs, 2 tablespoons granulated sugar, and melted butter. Mix until the texture resembles wet sand. Spoon about 1 tablespoon of the crust mixture into each muffin cup and press down firmly to form an even base. Bake the crusts for 5 minutes, then remove and let them cool slightly.
- Make the Cheesecake Filling: In a large mixing bowl, beat the softened cream cheese until smooth and creamy. Add ½ cup granulated sugar and mix until thoroughly combined. Beat in the eggs one at a time, ensuring each is fully incorporated before adding the next. Stir in the vanilla extract and sour cream until the mixture is smooth but be careful not to overmix.
- Fill and Bake: Evenly distribute the cheesecake filling among the prepared muffin cups, approximately 2–3 tablespoons per cup. Bake in the preheated oven for 16–18 minutes, or until the centers are set but still slightly jiggly when gently shaken.
- Cool and Chill: Remove the mini cheesecakes from the oven and allow them to cool in the pan for 10 minutes. Then transfer the cheesecakes to a wire rack to cool completely. Once cooled, refrigerate them for at least 2 hours to set fully before serving.
- Add Toppings and Serve: When ready to serve, top the mini cheesecakes with your choice of fresh berries, fruit preserves, whipped cream, or chocolate sauce for added flavor and presentation.
Notes
- Ensure the cream cheese is fully softened for a smooth filling to avoid lumps.
- These mini cheesecakes can be made 1–2 days ahead and stored in the refrigerator, keeping them fresh and convenient for entertaining.
- To make this recipe gluten-free, substitute regular graham crackers with gluten-free graham crackers.

