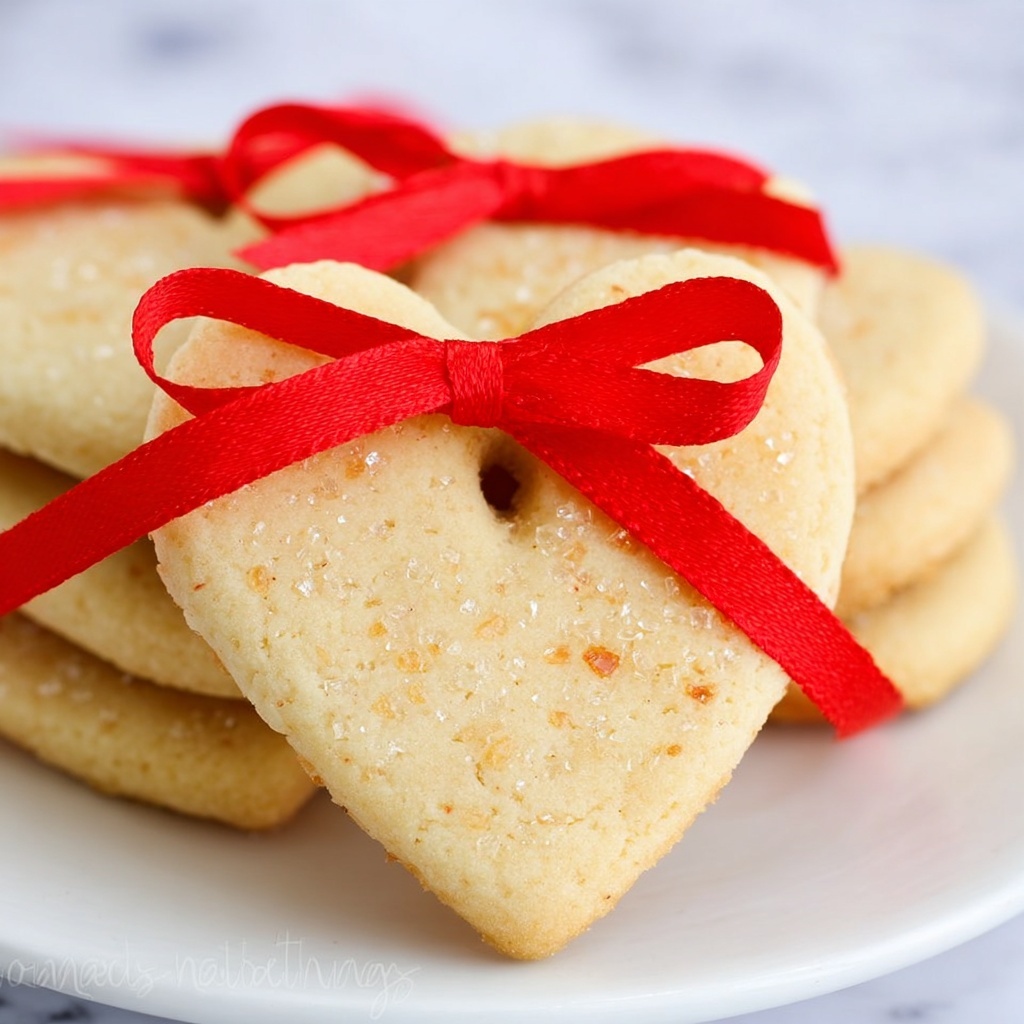
If you’re looking for a delightful, charming treat that feels like a warm hug in cookie form, the Hearts & Bows Cookies Recipe is your new go-to. These cookies combine buttery sweetness and a tender crumb with an adorable finishing touch that makes them perfect for gifting, celebrating special occasions, or simply brightening up any day. The heart shapes coupled with delicate ribbon bows transform these little bites into edible tokens of love that almost look too pretty to eat—almost.
Ingredients You’ll Need
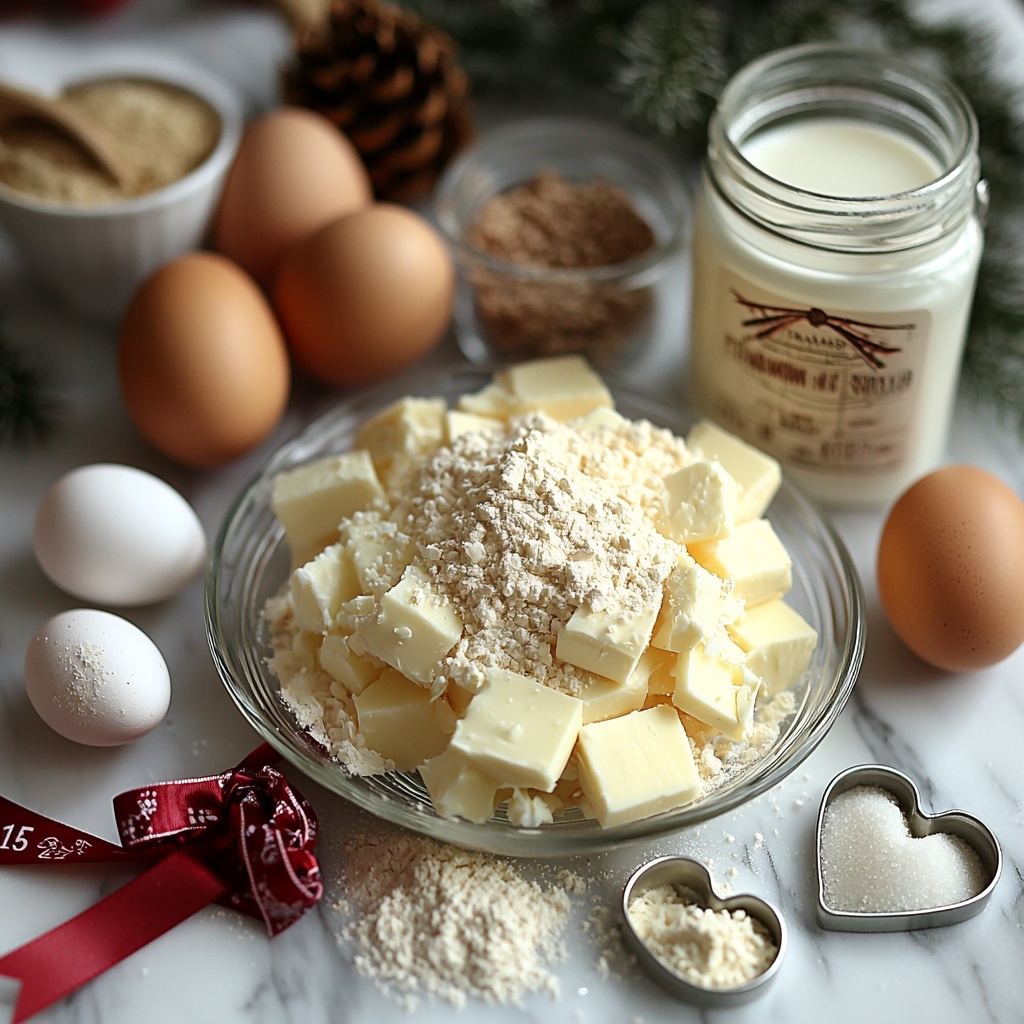
This recipe may seem lengthy, but don’t be intimidated. Each ingredient is straightforward and plays a crucial role in creating that perfect texture, flavor, and appearance. From the richness of butter to the tang of buttermilk, these essentials work beautifully together to give you cookies that are soft, flavorful, and irresistible.
- 1 cup butter, softened (2 sticks): Provides rich flavor and tender texture to the cookies.
- 3 cups granulated sugar: Sweetens the dough and helps with browning for just the right crunch on the edges.
- 3 large eggs: Adds structure and moisture, binding the dough together flawlessly.
- 3 teaspoons pure vanilla extract: Brings warm, aromatic notes that enhance every bite.
- 7 1/2 cups all-purpose flour: Creates the sturdy base needed to cut and hold the heart shape perfectly.
- 2 teaspoons baking powder: Lightens the dough slightly, giving it a gentle lift without losing shape.
- 1 teaspoon baking soda: Helps with leavening and contributes to a tender crumb.
- 1 cup buttermilk: Adds subtle tang and moisture, keeping the cookies soft and delicious.
- Coarse or colored sugar (optional): Adds sparkle, texture, and a festive finish to your cookies.
- Heart-shaped cookie cutter: Essential for shaping the cookies into their iconic heart form.
- Straw: Perfect tool for poking neat holes without cracking the cookie.
- Ribbon: Tying the cookies with ribbon makes them irresistibly charming and gift-ready.
How to Make Hearts & Bows Cookies Recipe
Step 1: Creaming the Butter and Sugar
Start by creaming your softened butter and sugar together in a large mixing bowl. This process whips air into the mixture, ensuring your cookies come out light and tender. Once smooth, add your eggs one at a time, beating well after each addition to create a consistent, fluffy batter. Finish by mixing in the vanilla extract for that unmistakable warmth.
Step 2: Combining Dry Ingredients and Adding Buttermilk
In a separate bowl, whisk together the flour, baking powder, and baking soda to evenly distribute the leavening agents. Gradually add these dry ingredients to your creamed mixture, alternating with the buttermilk. This careful mixing technique helps maintain a tender dough. Once everything is combined, cover the dough and refrigerate for at least an hour — this chill time firms up the dough, making it much easier to roll out and cut without losing shape.
Step 3: Preparing to Bake
While the dough chills, preheat your oven to 350°F. Line your baking sheets with parchment paper to prevent sticking and promote even baking. This simple step ensures your Hearts & Bows Cookies come off the pan cleanly, preserving their perfect heart shapes.
Step 4: Rolling and Cutting the Dough
After chilling, roll out the dough on a heavily floured surface to about ¼-inch thickness. This thickness helps the cookies stay tender but sturdy enough to hold their cut-out form. Using your floured heart-shaped cookie cutter, press out shapes and space them about an inch apart on the baking sheets. For an extra festive touch, sprinkle coarse or colored sugar on top before baking.
Step 5: Baking and Adding the Signature Holes
Bake your cookies for 8 to 10 minutes, just until the edges turn a gentle golden brown. This timing keeps the cookies soft on the inside yet slightly crisp along the edges. Cool them on the baking sheet for a couple of minutes, and while still warm, carefully poke two holes near the top of each cookie using a straw. This detail is what will allow you to thread your ribbons through later, creating that charming “bows” look.
Step 6: Cooling and Tying the Bows
Transfer the cookies to a wire rack to cool completely. Once cooled, thread ribbon through the holes and tie them into neat little bows. Trim the ends if needed to achieve the perfect finish. These final touches turn your Hearts & Bows Cookies Recipe from a simple cookie into a standout treat full of personality and charm.
How to Serve Hearts & Bows Cookies Recipe
Garnishes
While the colored sugar sprinkles give a lovely sparkle, consider dusting a light coating of powdered sugar just before serving for an extra touch of elegance. Fresh edible flowers or a tiny dab of jam in the center of each heart also offer a sweet, pretty upgrade whenever you want to impress guests.
Side Dishes
These cookies pair beautifully with a warm cup of tea, fresh coffee, or even a tall glass of cold milk. If you’re serving at a brunch or tea party, including fresh fruit or a small bowl of whipped cream can complement the cookies’ buttery richness perfectly.
Creative Ways to Present
Threading the ribbon through each cookie not only adds to their charm but makes them ideal for hanging on a festive tree, presenting as edible gifts, or decorating place settings. Arrange the cookies on a tiered stand or place them in clear cellophane bags tied with matching ribbon for a beautifully coordinated look that’s sure to wow everyone.
Make Ahead and Storage
Storing Leftovers
Store your Hearts & Bows Cookies in an airtight container at room temperature. They’ll stay fresh and soft for up to a week, making them a great batch to bake ahead for upcoming celebrations or cozy nights in.
Freezing
You can freeze the dough or the baked cookies! Wrap dough tightly in plastic wrap and freeze for up to 3 months. When ready to use, thaw overnight in the refrigerator. For baked cookies, place them in a single layer on a tray to freeze, then transfer to a freezer-safe container. This keeps your Hearts & Bows Cookies Recipe ready for any occasion, on demand.
Reheating
If you want to refresh frozen baked cookies, simply warm them in a 300°F oven for 5-7 minutes. This quick reheating brings back that freshly baked softness and aroma, making them taste like they just came out of your oven.
FAQs
Can I use regular milk instead of buttermilk?
You can substitute regular milk mixed with a tablespoon of lemon juice or vinegar to mimic buttermilk’s acidity, which helps tenderize the cookies. It won’t change the flavor much but keeps the texture just right.
Why do I need to chill the dough?
Chilling helps the dough firm up, making it easier to roll and cut without sticking or losing shape. It also allows the flavors to meld, resulting in tastier cookies.
Can I make these cookies gluten-free?
Yes, with a good gluten-free all-purpose flour blend, these cookies can be adapted. Just be mindful that texture might be slightly different, often a bit more crumbly.
What type of ribbon is best?
Choose food-safe ribbons that are thin enough to thread easily through the holes but sturdy enough to hold a nice bow. Satin or grosgrain ribbons work wonderfully and add a lovely finish.
How long do these cookies last?
Stored properly in an airtight container, your Hearts & Bows Cookies will keep their freshness for up to a week at room temperature. For longer storage, freezing is the best option.
Final Thoughts
There is something truly special about baking and sharing the Hearts & Bows Cookies Recipe—it’s more than just a cookie, it’s a little piece of joy wrapped up in sweetness and charm. Whether you’re gifting them to loved ones, celebrating a holiday, or simply indulging yourself, these cookies bring smiles and warmth every time. So, grab your cookie cutter and ribbons, and get ready to create your new favorite tradition!
Print
Hearts & Bows Cookies Recipe
- Prep Time: 30 minutes
- Cook Time: 10 minutes
- Total Time: 2 hours (including chilling and cooling)
- Yield: 48 servings
- Category: Dessert
- Method: Baking
- Cuisine: American
Description
Hearts & Bows Cookies are charming, buttery sugar cookies perfect for gifting or decorating. These tender cookies are shaped with a heart cutter, baked to golden perfection, then decorated with coarse sugar and finished with ribbon bows threaded through carefully poked holes. The dough is enriched with buttermilk for extra moisture and flavor, making these delightful treats ideal for celebrations or cozy afternoons with tea.
Ingredients
Cookie Dough
- 1 cup butter, softened (2 sticks)
- 3 cups granulated sugar
- 3 large eggs
- 3 teaspoons pure vanilla extract
- 7 1/2 cups all-purpose flour
- 2 teaspoons baking powder
- 1 teaspoon baking soda
- 1 cup buttermilk
For Decoration
- Coarse or colored sugar (optional)
- Ribbon
- Heart-shaped cookie cutter
- Straw (for poking holes)
Instructions
- Cream Butter and Sugar: In a large mixing bowl, cream together the softened butter and granulated sugar until the mixture is light and fluffy. Add the eggs one at a time, beating well after each addition to fully incorporate. Then beat in the pure vanilla extract for flavor.
- Combine Dry Ingredients and Mix Dough: In a separate bowl, whisk together the all-purpose flour, baking powder, and baking soda. Gradually add this flour mixture to the butter mixture, alternating with buttermilk, beginning and ending with the flour mixture. Mix until just combined. Cover the dough and refrigerate for at least one hour until it is firm enough to handle.
- Prepare Oven and Baking Sheets: Preheat your oven to 350°F (175°C). Line baking sheets with parchment paper to prevent sticking and set them aside ready for use.
- Roll Out and Cut Cookies: On a heavily floured surface, roll the chilled cookie dough to a 1/4-inch thickness. Using a floured heart-shaped cookie cutter, cut out cookies from the dough. Place the cut cookies about 1 inch apart on the prepared baking sheets. Optionally, sprinkle the tops with coarse or colored sugar for added texture and sparkle.
- Bake the Cookies: Bake the cookies for 8-10 minutes or until the edges are just beginning to turn golden brown. Remove from the oven and allow them to cool on the baking sheet for 2 minutes.
- Poke Holes and Cool Completely: While the cookies are still warm but cool enough to handle, gently poke two holes into each cookie using a straw. Transfer the cookies to a wire rack to cool completely, ensuring they set and become firm.
- Add Ribbons and Finish: Once the cookies are fully cooled, thread ribbons through the holes in each cookie and tie them into bows. Trim the ends of the ribbons if necessary for a neat appearance. Your charming Hearts & Bows Cookies are now ready to serve or gift!
Notes
- Refrigerating the dough makes it easier to roll and cut, preventing sticking and maintaining cookie shape during baking.
- Use parchment paper or silicone mats to avoid cookies sticking and to promote even baking.
- Be careful when poking holes while cookies are warm to avoid breakage.
- Store cookies in an airtight container at room temperature for up to one week.
- These cookies are perfect for Valentine’s Day, weddings, or any special occasion.
