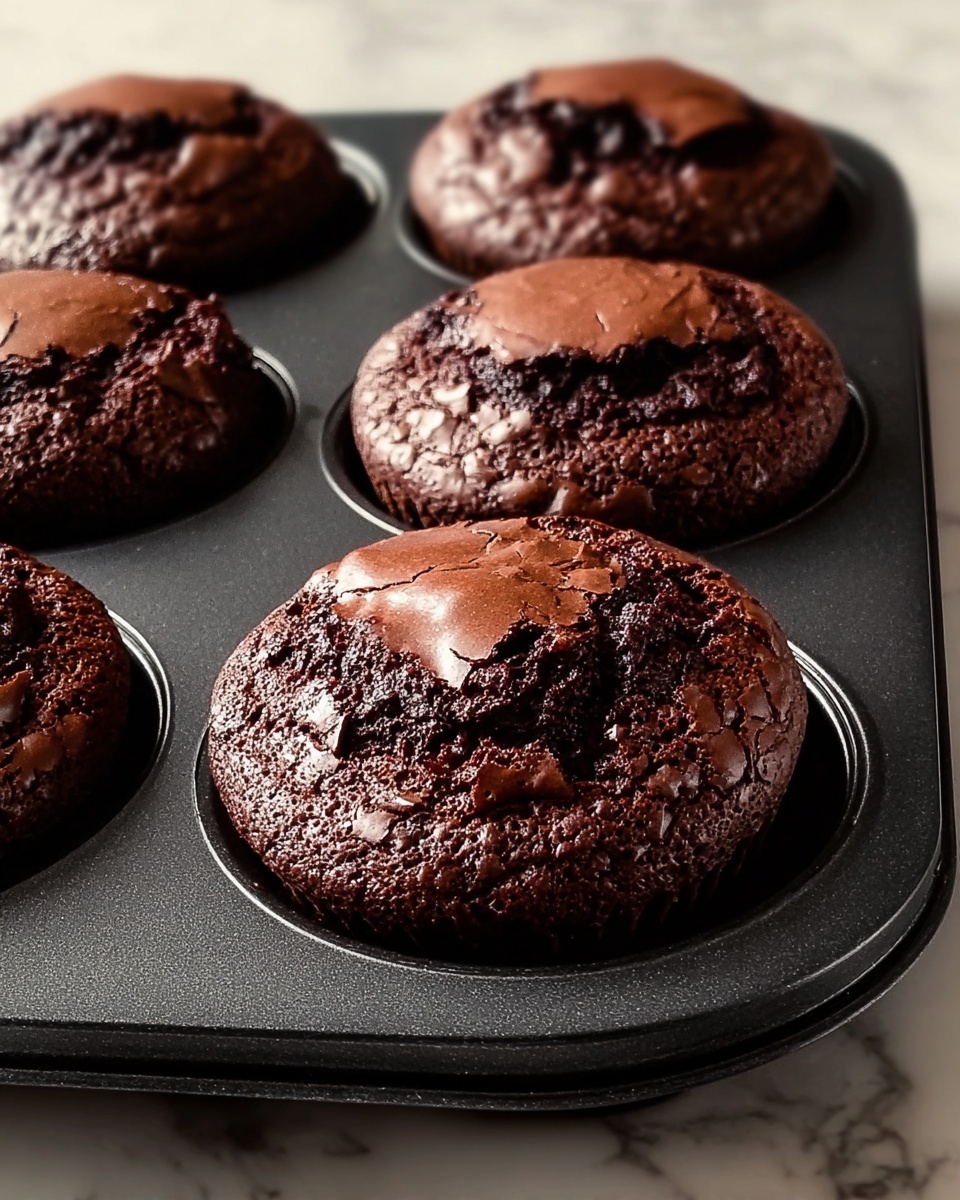
If you’re a chocolate lover searching for the ultimate treat to satisfy your sweet tooth, the Gooey Brownie Muffin Pan Recipe is an absolute game-changer. These delightful brownie muffins combine the fudgy richness of traditional brownies with the convenience of individual portions, perfect for sharing or keeping all to yourself. With a luscious, gooey center and slightly crisp edges, this recipe transforms classic brownies into bite-sized indulgences that melt in your mouth. Trust me, once you try this Gooey Brownie Muffin Pan Recipe, it will quickly become your go-to dessert for any occasion.
Ingredients You’ll Need
Crafting these irresistible brownie muffins is delightfully simple, and the few ingredients you need are incredibly easy to find. Each component plays a crucial role, from adding moistness and gooey texture to enhancing that deep chocolate flavor and perfect muffin shape.
- Brownie mix: The foundation of this recipe, providing all the rich chocolate goodness you crave without the hassle of measuring cocoa powder and flour.
- Extra egg: Adding one more egg than the box calls for makes the brownies extra gooey and gives just the right amount of moisture and structure.
- Nonstick cooking spray: Essential for greasing your muffin pans to ensure your brownie muffins pop out cleanly without sticking or breaking apart.
How to Make Gooey Brownie Muffin Pan Recipe
Step 1: Preheat and Prepare Your Pans
Start by heating your oven to 350°F (175°C). While it’s warming up, get your muffin pans ready by spraying them generously with nonstick cooking spray. This step is crucial because it guarantees that each brownie muffin slides out perfectly after baking, preserving their shape and that irresistible gooey texture.
Step 2: Mix the Batter with an Extra Egg
Follow the instructions on the brownie mix box carefully—except here’s the secret twist: add one extra egg to the mix. This little addition works wonders for the gooey center that makes this recipe stand out from regular boxed brownies. Stir your batter until everything is combined smoothly, creating a luscious, chocolatey consistency.
Step 3: Fill the Muffin Cups
Divide the prepared brownie batter evenly into your muffin pans, filling each cup about three-quarters full. This gives the batter enough room to rise while baking and ensures you’ll get a satisfyingly thick, chewy brownie muffin every time.
Step 4: Bake to Perfection
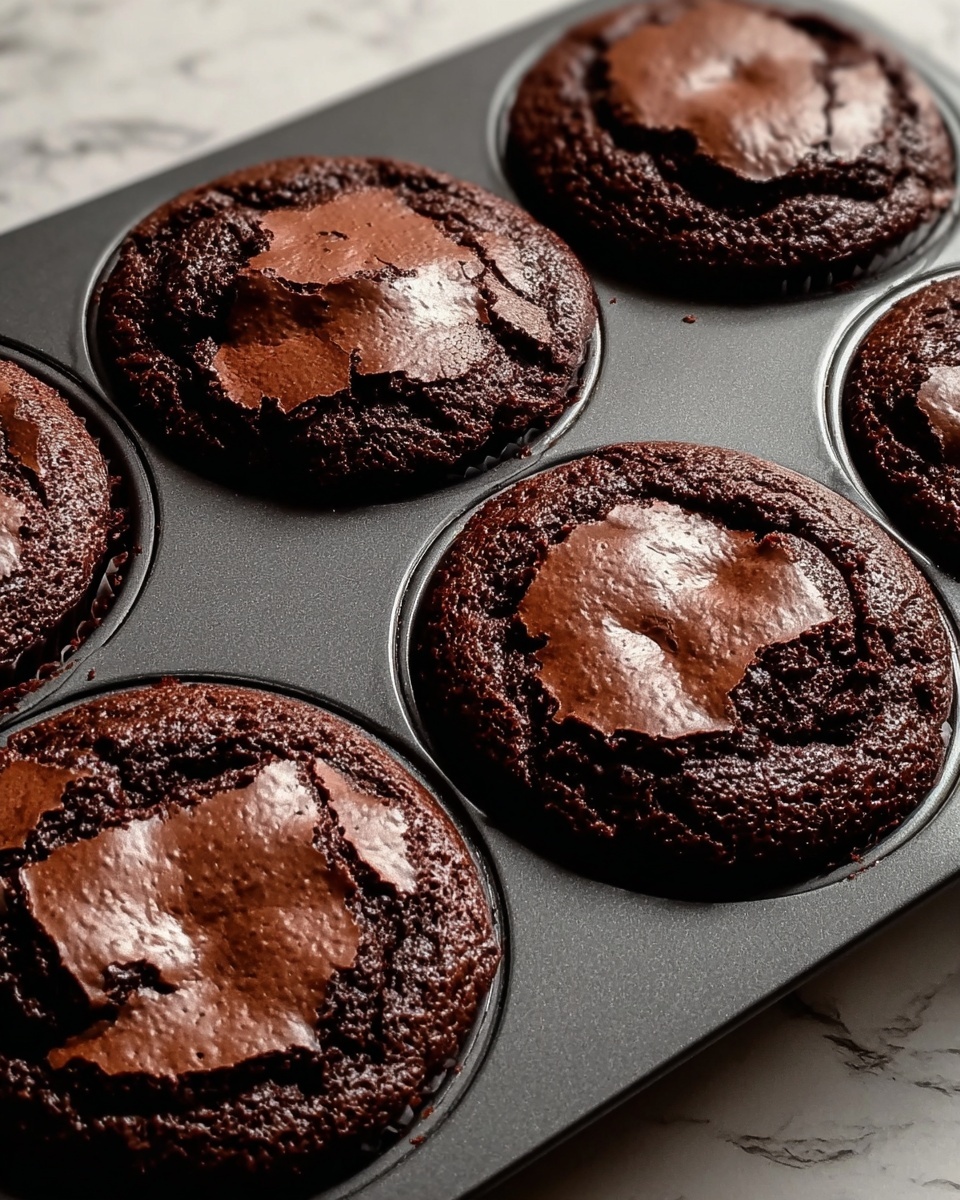
Pop those pans into your preheated oven and bake for about 20 minutes. You’ll know they’re ready when the tops look set and a toothpick inserted comes out with a few moist crumbs clinging to it. It’s that moisture that guarantees your brownies remain deliciously gooey inside.
Step 5: Cool and Remove
Once baked, let the muffins cool in the pan for about 5 minutes. This brief rest helps the brownies firm up slightly so they don’t crumble. Then, use the tip of a butter knife to carefully lift each brownie muffin out of its cup. They should come out beautifully and be ready for your favorite topping or an indulgent bite.
Step 6: Serve or Store
Serve these gooey brownies warm with a scoop of ice cream or your favorite drizzle for an extra decadent treat. If you’re saving them for later, let them cool completely before storing in an airtight container to preserve freshness and gooeyness.
How to Serve Gooey Brownie Muffin Pan Recipe
Garnishes
Topping your Gooey Brownie Muffin Pan Recipe is where you can let your creativity shine. A dusting of powdered sugar adds a delicate touch, or try a drizzle of warm caramel or chocolate sauce for extra decadence. Fresh berries or a dollop of whipped cream create a delightful contrast, balancing the rich chocolate with lightness.
Side Dishes
While these brownies are a star on their own, pairing them with a scoop of vanilla or coffee ice cream can elevate the experience entirely. A glass of cold milk or a hot cup of coffee or tea also complements the intense chocolate flavor beautifully, making your dessert moment utterly cozy and satisfying.
Creative Ways to Present
Presentation makes all the difference, especially if you’re serving these at a party. Arrange your Gooey Brownie Muffin Pan Recipe on a tiered dessert stand for a lovely visual impact, or serve them in colorful cupcake liners for a festive vibe. You can even assemble brownie parfaits by layering chopped brownie muffins with mousse or fruit in glass cups for something truly unforgettable.
Make Ahead and Storage
Storing Leftovers
Once fully cooled, store any leftover Gooey Brownie Muffin Pan Recipe in an airtight container at room temperature for up to three days. This keeps the muffins moist and maintains their chewy texture without drying out, so you can enjoy them later without any loss of flavor or quality.
Freezing
If you want to keep your brownie muffins fresh longer, freezing is a fantastic option. Wrap each muffin individually in plastic wrap or aluminum foil, then place them in a freezer-safe bag or container. They’ll keep beautifully for up to three months, making it easy to enjoy gooey brownies any time the craving hits.
Reheating
When you’re ready to indulge, simply thaw the brownie muffins at room temperature or warm them briefly in a microwave for about 15–20 seconds. This revives the warm gooeyness and makes them taste freshly baked all over again, perfect for those quick, satisfying dessert moments.
FAQs
Can I use homemade brownie batter for this Gooey Brownie Muffin Pan Recipe?
Absolutely! Using homemade batter works wonderfully. Just be sure your batter isn’t too thin so that the muffins hold their shape well and maintain that gooey center after baking.
Why do you add an extra egg to the brownie mix?
The extra egg adds moisture and richness, which results in a more gooey and tender texture that’s the hallmark of this recipe. It also helps the brownies stay slightly softer in the middle instead of drying out.
Can I make this recipe gluten-free?
Yes! Simply use a gluten-free brownie mix, and double-check the ingredients in your cooking spray and any toppings. This swaps easily while keeping all the gooey deliciousness intact.
How long do the brownie muffins stay fresh?
If stored in an airtight container at room temperature, the brownie muffins stay fresh and gooey for about three days. After that, they might start to dry out, so freezing is a great way to extend their life.
Can I add mix-ins like nuts or chocolate chips?
Definitely! Stirring in chopped nuts, chocolate chips, or even a swirl of peanut butter before filling the muffin cups adds delightful texture and flavor. Just be sure not to overfill to allow room for rising.
Final Thoughts
The Gooey Brownie Muffin Pan Recipe is a deliciously simple way to enjoy everyone’s favorite chocolate treat with a fun twist. Whether you bake it for a family gathering, a cozy night in, or a special event, these gooey, fudgy muffins never fail to impress and satisfy. I can’t wait for you to try this recipe and experience that perfect balance of chewy, soft, and rich that makes brownies so beloved. Happy baking and even happier eating!
Print
Gooey Brownie Muffin Pan Recipe
- Prep Time: 10 minutes
- Cook Time: 20 minutes
- Total Time: 30 minutes
- Yield: 24 brownie muffins
- Category: Dessert
- Method: Baking
- Cuisine: American
Description
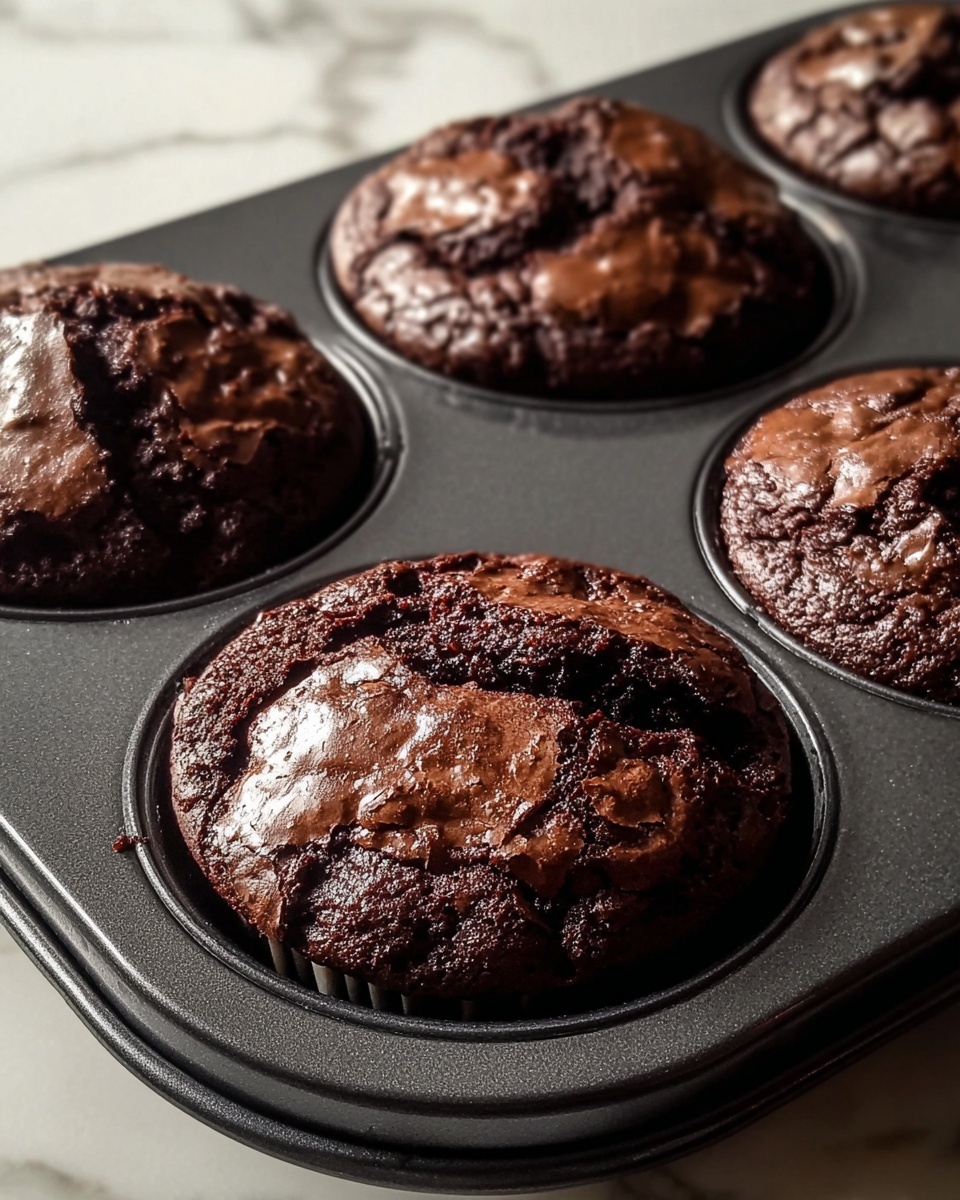
This Brownie Muffin Pan Recipe transforms classic brownie mix into perfectly portioned, gooey brownie muffins. By adding an extra egg to the batter, these treats come out extra moist and fudgy, baked conveniently in muffin pans for quick baking and easy serving. Ideal for parties, snack time, or anytime you crave a rich chocolate dessert, these brownie muffins are simple to prepare and deliver the indulgent taste of brownies in a fun handheld form.
Ingredients
Brownie Batter
- 2 boxes of brownie mix (including additional ingredients as per package instructions such as eggs, oil, and water)
- 1 extra egg (for extra gooey brownies)
For Preparation
- Nonstick cooking spray (for greasing the muffin pans)
Instructions
- Preheat and prepare pans: Preheat your oven to 350°F (175°C). Generously spray two 12-cup muffin pans with nonstick cooking spray to prevent sticking.
- Prepare brownie mix: Prepare the brownie mix as directed on the box, but be sure to add one extra egg than is called for to make the brownies extra gooey and moist.
- Fill muffin cups: Evenly divide the brownie batter among the 24 muffin cups, filling each about 3/4 full to allow the brownies space to rise and spread while baking.
- Bake the brownies: Place the muffin pans in the oven and bake for 20 minutes. The tops should appear set, and a toothpick inserted into the center should come out with a few moist crumbs, indicating perfect doneness.
- Cool and remove: Let the brownies cool in the pan for about 5 minutes. Then, gently run a butter knife around the edges of each muffin to loosen them and carefully pop each brownie muffin out of the pan.
- Serve or store: Serve the brownie muffins warm, optionally with a scoop of ice cream for an extra indulgence, or let them cool completely before storing in an airtight container to maintain freshness.
Notes
- Adding an extra egg increases moisture and gooeyness in the brownie muffins.
- Filling muffin cups 3/4 full prevents overflowing and ensures even baking.
- Use a toothpick test to avoid overbaking; moist crumbs indicate perfect texture.
- Cooling slightly before removal helps keep the muffins intact and prevents breaking.
- Store cooled brownie muffins in an airtight container at room temperature for up to 3 days or freeze for longer storage.


