
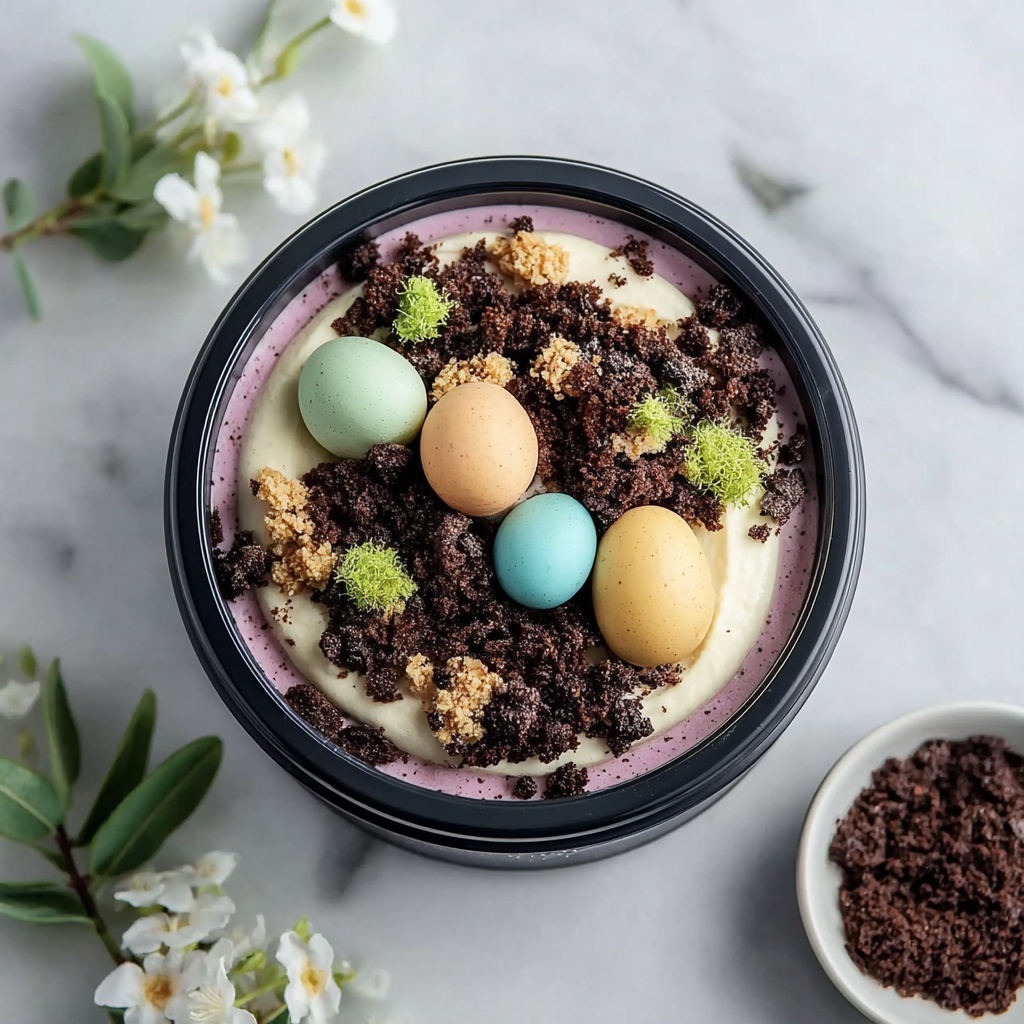
If you are searching for a fun, festive, and utterly delicious treat to celebrate springtime or your Easter gathering, then look no further than this delightful Easter Pudding Dirt Cups Recipe. This creative dessert combines layers of creamy chocolate pudding, crushed sandwich cookies that mimic the look of dirt, and a whimsical touch of gummy worms to bring a playful vibe to your table. It’s easy to make, wonderfully chocolaty, and the combination of textures is simply irresistible. Whether you’re serving kids or adults, these dirt cups are sure to bring smiles all around and become a new holiday favorite.
Ingredients You’ll Need
These ingredients are straightforward and pantry-friendly, but each plays a crucial role in crafting the perfect balance of creamy, crunchy, sweet, and fun flavors in your Easter Pudding Dirt Cups Recipe.
- Chocolate pudding mix: The rich base that’s smooth, silky, and chocolatey, forming the core of this dessert.
- Milk (2 cups): Needed to bring the pudding mix to the perfect consistency – creamy yet firm enough to layer.
- Chocolate sandwich cookies: When crushed, these provide a dirt-like crumb that gives the cups their signature look and adds delightful crunch.
- Whipped topping (4 ounces): Adds lightness and fluffiness, balancing the denser texture of the pudding.
- Gummy worms (1 cup): The fun, festive decoration that makes this dessert popular with kids and adults alike.
- Powdered sugar (1/2 cup): Sweetens the whipped topping mixture, ensuring every bite is perfectly sweet.
- Vanilla extract (1 teaspoon): Adds depth of flavor and a subtle sweetness that enhances all the chocolate notes.
How to Make Easter Pudding Dirt Cups Recipe
Step 1: Prepare the Chocolate Pudding
Begin by combining the chocolate pudding mix and 2 cups of milk in a medium-sized mixing bowl. Whisk the mixture vigorously for about 2 minutes until it thickens into that luscious pudding consistency we all love. Then, set it aside to chill in the refrigerator for at least 5 minutes. This chilling step is key; it lets the pudding firm up slightly so it holds its shape beautifully when layered.
Step 2: Crush the Cookies
While your pudding chills, place the chocolate sandwich cookies into a large resealable plastic bag. Grab a rolling pin or a heavy object and crush the cookies until they resemble fine crumbs. These crumbs will create that satisfying “dirt” effect—essential to the Easter theme. Set the cookie crumbs aside for now.
Step 3: Make the Whipped Mixture
In a separate large bowl, combine the whipped topping, powdered sugar, and vanilla extract. Stir gently until the mixture is smooth and well blended. This adds fluff and sweetness to your pudding, lightening the texture so each spoonful feels heavenly rather than heavy.
Step 4: Combine Pudding and Whipped Mixture
Once the pudding has chilled, fold the whipped topping mixture into the pudding until fully combined and smooth. This fusion of creamy pudding and airy whipped topping creates the perfect balance for the next layers.
Step 5: Layer the Cups
Start assembling your Easter Pudding Dirt Cups Recipe by spooning a generous layer of the pudding mixture into the bottom of your serving cups or bowls. Then sprinkle a layer of the crushed cookie crumbs on top. Keep repeating these layers—pudding, cookie crumbs—until each cup is filled, finishing with a final layer of cookie crumbs to keep that delicious dirt look intact.
Step 6: Add the Gummy Worms
Gently nestle the gummy worms on top of the last cookie crumb layer. Let them drape over the edges for a whimsical, garden-like feel that looks as fun as it is tasty.
Step 7: Chill Before Serving
Place the completed dirt cups in the refrigerator for at least one hour. This step helps everything set together nicely and makes the dessert even more refreshing and delicious when served.
How to Serve Easter Pudding Dirt Cups Recipe
Garnishes
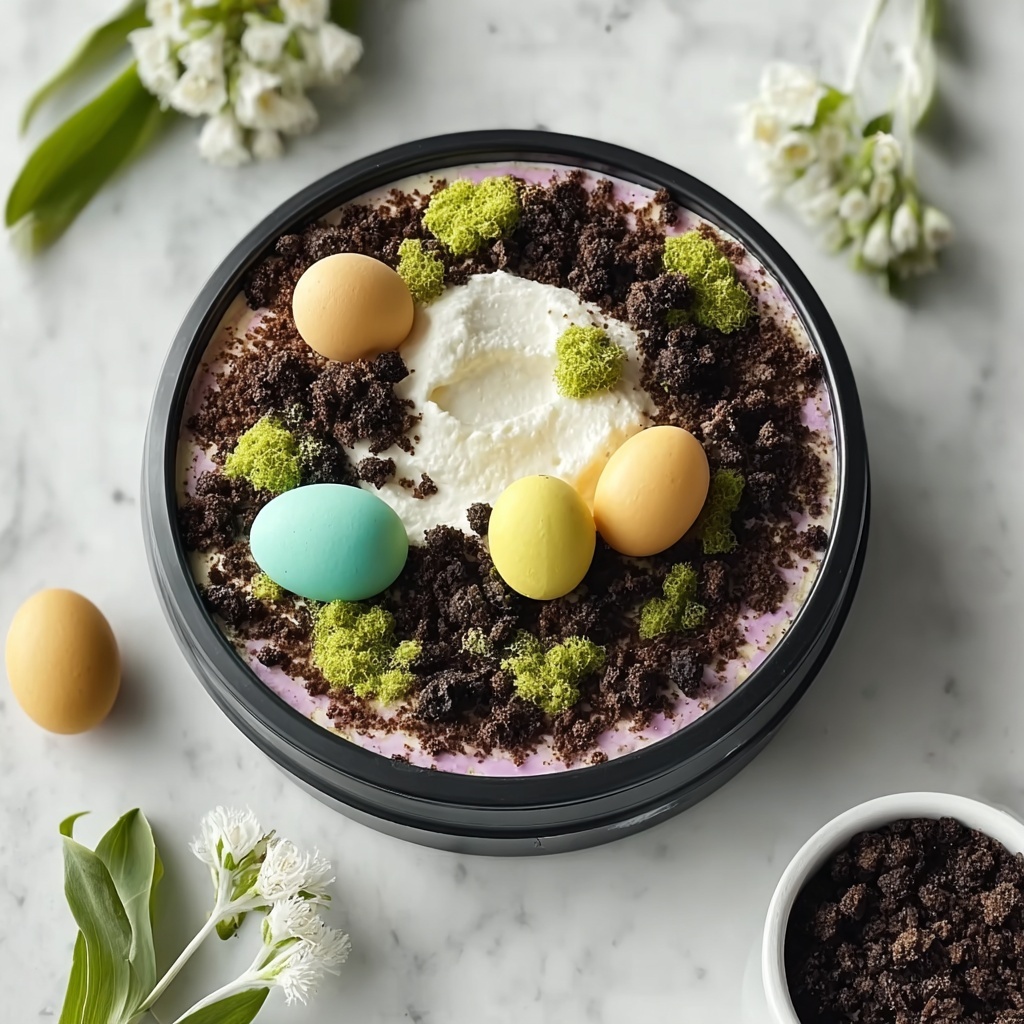
Beyond just gummy worms, you can get creative with garnishes like mini candy eggs, edible flowers, or a sprinkle of colored sugar to enhance the springtime vibe. Fresh mint leaves also add a pop of color and a refreshing hint that pairs beautifully with the rich chocolate.
Side Dishes
These pudding dirt cups stand tall as a dessert on their own, but if you want to create a full Easter-themed menu, consider pairing them with light, fruity dishes like a fresh berry salad or citrusy sorbet. These fresh flavors complement the decadence of the pudding perfectly.
Creative Ways to Present
To make your Easter Pudding Dirt Cups Recipe even more special, try serving them in clear mason jars, mini flowerpots, or small terracotta pots (just ensure food safety by lining pots if needed). Adding cute little garden tools or spoons wrapped with ribbon enhances the playful garden theme.
Make Ahead and Storage
Storing Leftovers
These dirt cups can be refrigerated in airtight containers for up to 2 days. Just keep the gummy worms separate if you want to preserve their chewiness and add them fresh before serving.
Freezing
Although this dessert is best enjoyed fresh, you can freeze the pudding mixture on its own for up to one month. Thaw it in the fridge overnight and re-whip before assembling the dirt cups. Note that the cookie crumbs and gummy worms do not freeze well.
Reheating
This dessert is meant to be served cold, so reheating is not recommended. The creamy texture and chilled layers are what make it so refreshing and enjoyable, especially for celebrating spring and Easter.
FAQs
Can I use homemade pudding instead of mix?
Absolutely! Homemade pudding will work beautifully in the Easter Pudding Dirt Cups Recipe and adds a wonderful fresh flavor. Just ensure it’s thickened enough to hold layers well.
Are there alternatives to chocolate sandwich cookies?
Sure! If you want a gluten-free or nutty option, crush gluten-free chocolate cookies or try chocolate-flavored graham crackers. Just make sure they’re dark enough to keep that “dirt” appearance.
Can I make this recipe dairy-free?
Yes, simply swap the milk and whipped topping for dairy-free versions, such as almond or oat milk and coconut whip. The texture will be slightly different but still delicious!
How early can I prepare these dirt cups?
They can be fully assembled and stored in the fridge up to a day ahead. Just add gummy worms right before serving for the best texture.
What’s the best way to serve these to kids?
Serve in small, clear plastic cups with fun spoons. Let the kiddos dig in and enjoy the “dirt” and worms experience – it’s always a hit at parties.
Final Thoughts
I can’t wait for you to try this Easter Pudding Dirt Cups Recipe because it’s such a charming and simple way to bring joy to your holiday table. With layers of creamy chocolate, crunchy cookie “dirt,” and playful gummy worms, it’s a dessert that delights all ages. Plus, it’s incredibly easy to whip up, making it a perfect recipe to enjoy without stress. Treat yourself and your loved ones to these cute and tasty cups this Easter – they’re bound to become a treasured tradition!
Print
Easter Pudding Dirt Cups Recipe
- Prep Time: 0h 15m
- Cook Time: 0h 5m
- Total Time: 1h 20m
- Yield: 6 servings
- Category: Dessert
- Method: No-Cook
- Cuisine: American
Description
Easter Pudding Dirt Cups are a fun and festive dessert perfect for spring celebrations. Layers of creamy chocolate pudding mixed with whipped topping are combined with crushed chocolate sandwich cookies that resemble dirt, topped with gummy worms for a playful touch. This no-bake, easy-to-make dessert is a delightful treat for both kids and adults alike.
Ingredients
For the Pudding
- 1 package chocolate pudding mix
- 2 cups milk
For the Dirt Layer
- 1 package chocolate sandwich cookies
For the Whipped Mixture
- 4 ounces whipped topping
- 1/2 cup powdered sugar
- 1 teaspoon vanilla extract
For Garnish
- 1 cup gummy worms
Instructions
- Make the Pudding: In a medium-sized mixing bowl, combine the chocolate pudding mix and 2 cups of milk. Whisk the mixture for about 2 minutes or until it thickens to a pudding-like consistency.
- Chill the Pudding: Once thickened, set the pudding aside to chill in the refrigerator for at least 5 minutes to firm up.
- Crush the Cookies: While the pudding chills, place the chocolate sandwich cookies into a large resealable plastic bag. Use a rolling pin or another heavy object to crush the cookies until they resemble fine crumbs. Set aside.
- Prepare Whipped Mixture: In a separate large mixing bowl, combine the whipped topping, powdered sugar, and vanilla extract. Stir gently until the mixture is smooth and well-blended.
- Combine Pudding and Whipped Topping: Once the pudding has chilled, add the whipped topping mixture to the pudding. Stir well until fully combined and smooth.
- Assemble the Dirt Cups: Spoon a layer of the pudding mixture into serving cups or bowls. Add a layer of crushed cookie crumbs on top of the pudding. Repeat layering pudding and cookie crumbs until the cups are filled, finishing with a layer of cookie crumbs on top.
- Add the Gummy Worms: Gently place gummy worms on top of the final cookie crumb layer, allowing them to drape over the edges of the cups for decoration.
- Chill Before Serving: Place the cups in the refrigerator for at least 1 hour to allow everything to set properly and flavors to meld.
- Serve: Once chilled, your Easter pudding dirt cups are ready to serve. Enjoy this fun and festive dessert!
Notes
- Use full-fat whipped topping for a richer flavor and creamier texture.
- The pudding mix can be prepared with any milk (dairy or non-dairy) depending on dietary preferences.
- To crush cookies evenly, allow them to come to room temperature before crushing.
- For added fun, you can add candy eyeballs or mini chocolate chips as additional decoration.
- Make these cups a few hours ahead of time to let the layers set well and enhance the taste.

