
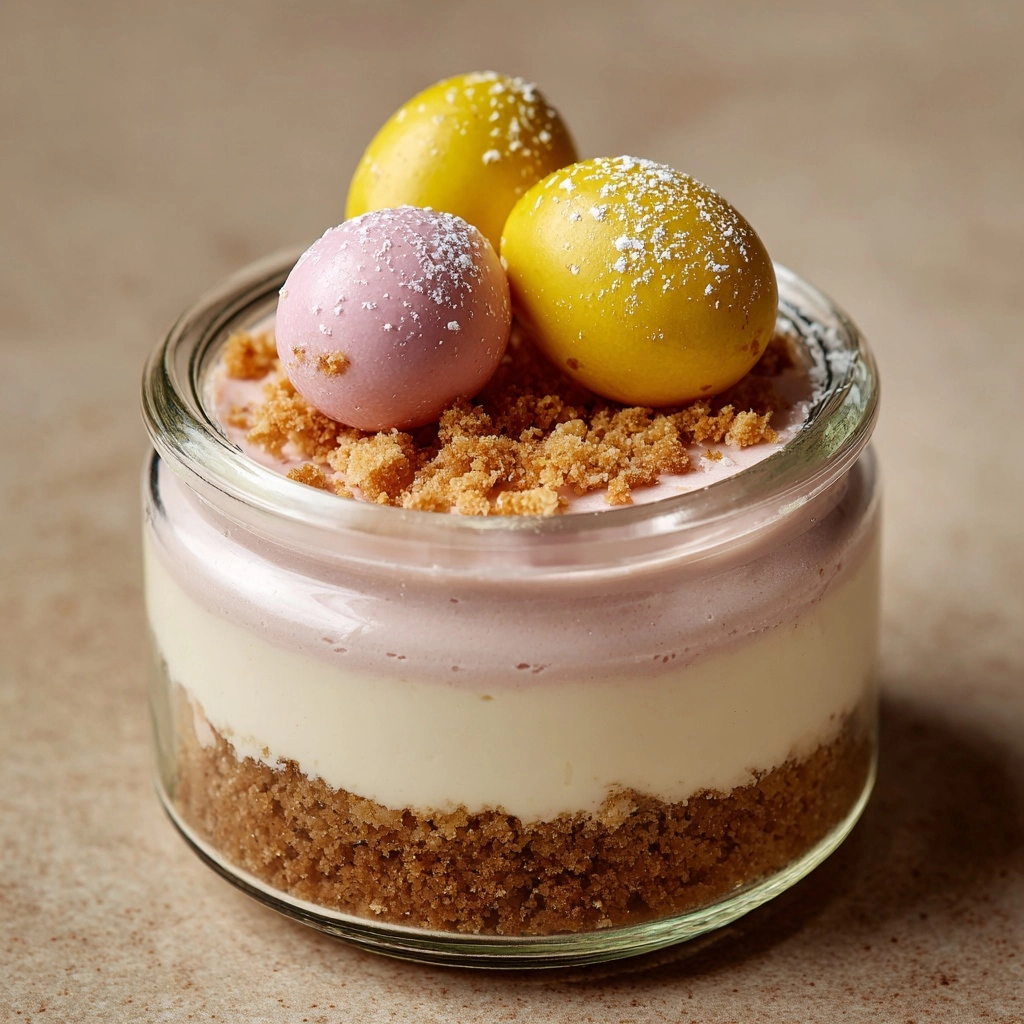
If you’re looking for the ultimate springtime dessert, these Easter Egg Cheesecake Jars are pure joy in a glass! Creamy pastel layers, a buttery graham cracker crust, and playful candy eggs make every spoonful a delightful surprise. This no-bake treat is as easy to make as it is eye-catching, perfect for impressing both kids and grown-ups at any Easter gathering. With their colorful presentation and rich cheesecake flavor, they’re a festive twist on a classic everyone loves.
Ingredients You’ll Need
With just a handful of pantry staples and a few special seasonal touches, you can whip up these festive jars in no time. Each ingredient brings its own magic, from tangy cream cheese to pastel candy eggs, for that perfect balance of taste and texture.
- Graham cracker crumbs: These form the irresistible buttery base for your cheesecake and add a bit of crunch to every bite.
- Melted butter: Helps bind the crumb crust together so it stays nice and firm in the jar.
- Sugar: A hint of sweetness in the crust balances the tanginess of the cheesecake filling.
- Cream cheese (softened): The star of any cheesecake, gives a luscious, tangy foundation to the filling.
- Powdered sugar: Dissolves smoothly into the filling for a sweet, creamy texture.
- Vanilla extract: Adds a fragrant warmth and rounds out the cheesecake flavor.
- Heavy whipping cream: Whipped to fluffy peaks, it lightens the filling to melt-in-your-mouth perfection.
- Assorted food coloring: Brings those eye-catching Easter pastels to life—play with your favorite spring shades!
- Candy-coated chocolate eggs or mini Easter eggs: The gently crunchy, chocolatey surprise on top—classic Easter flair in every jar.
- Sprinkles: Because more color means more fun! Go wild with your favorite festive shapes or shimmers.
- 6 small jars or glasses: Clear containers show off the vibrant layers you’ve just created—presentation matters!
How to Make Easter Egg Cheesecake Jars
Step 1: Make the Graham Cracker Crust
In a small bowl, mix together your graham cracker crumbs, melted butter, and sugar until the mixture looks like wet sand. The butter binds everything, ensuring those adorable mini crusts hold their shape and provide a deliciously crisp base for your Easter Egg Cheesecake Jars. Scoop the mixture evenly into your jars, and press it down gently to form a flat layer—this step sets the stage for your colorful cheesecake.
Step 2: Whip Up the Cheesecake Base
Grab your softened cream cheese and beat it until it’s extra smooth—no lumps allowed! Then, add powdered sugar and vanilla extract, blending until the mixture becomes velvety and well combined. This is the secret to a rich, tangy, and fluffy cheesecake filling that’s miles above anything from a box.
Step 3: Fold in the Whipped Cream
In a separate bowl, whip the heavy cream until stiff peaks form. Folding this into your cream cheese mixture is a game-changer: it gives your cheesecake that light and dreamy texture that makes everyone come back for seconds. Take your time and use gentle strokes to keep the filling beautifully airy.
Step 4: Tint and Layer the Filling
Divide your cheesecake filling across several small bowls, and tint each with a pastel food coloring of your choice. Think soft pink, pale yellow, mint green, or baby blue—whatever says “spring” to you! Scoop or pipe the colored fillings over the graham crust in layers, alternating colors for that sweet Easter egg look. Each jar becomes a little work of art!
Step 5: Chill to Set
Once your jars are filled, let them rest in the refrigerator for at least two hours. This helps the cheesecake firm up to the perfect spoonable consistency and allows the flavors to meld. Plus, it gives you time to prep for your Easter get-together!
Step 6: Decorate and Serve
Just before serving, top each jar with candy-coated chocolate eggs and a sprinkle of festive bits. This final flourish not only makes your Easter Egg Cheesecake Jars extra cute, but also adds texture and a pop of chocolatey sweetness to complement the creamy filling.
How to Serve Easter Egg Cheesecake Jars

Garnishes
The crowning touch for Easter Egg Cheesecake Jars is a generous handful of candy-coated mini eggs and colorful sprinkles. You can also add a small dollop of whipped cream or even a drizzle of white chocolate for extra decadence. The playful toppings make every jar shine and signal a true celebration on your dessert table.
Side Dishes
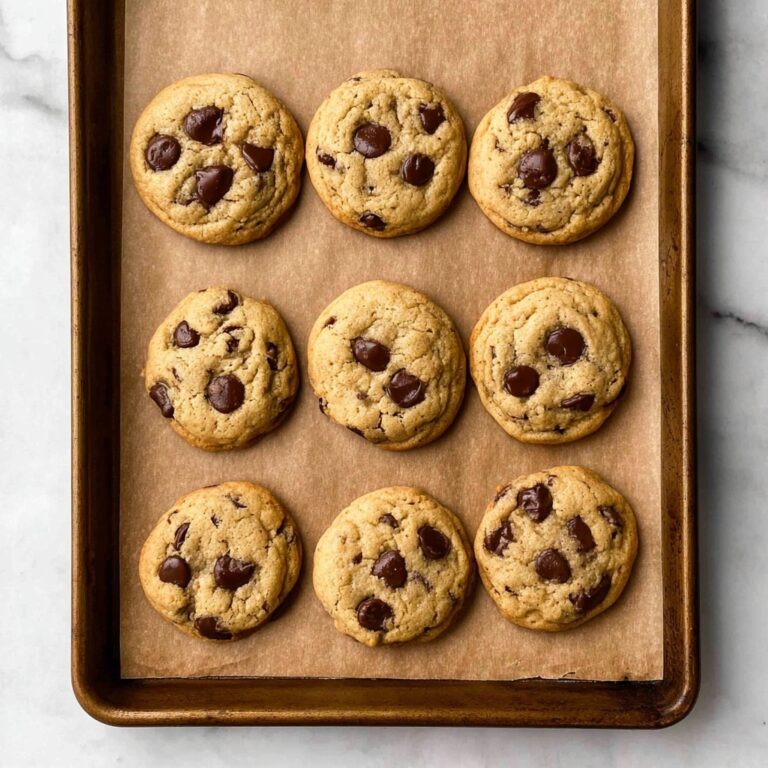
While these cheesecake jars can absolutely steal the show on their own, they pair wonderfully with other springtime treats. Try serving them alongside a fresh fruit platter, lemon shortbread cookies, or a bowl of pastel-colored jelly beans to keep the Easter vibe going strong on your dessert spread.
Creative Ways to Present
Presentation is everything for Easter Egg Cheesecake Jars! Arrange them on a cake stand with faux grass for a nest-like effect, nestle a tiny spoon into each jar for easy grab-and-go snacking, or tie a pastel ribbon around each glass for a personal party favor. Clear jars or glasses are a must—they let those vibrant pastel layers shine through, making each jar a miniature masterpiece.
Make Ahead and Storage
Storing Leftovers
If you have any jars left over (which is a rare occurrence!), simply pop lids or wrap plastic over them and store in the refrigerator. They’ll stay deliciously fresh for up to three days, making them perfect for prepping ahead or enjoying a sweet treat long after the festivities are over.
Freezing
Want to save your Easter Egg Cheesecake Jars for later? They actually freeze surprisingly well! Cover tightly and freeze for up to one month. Thaw overnight in the fridge before serving. For best results, wait to add the candy egg garnish and sprinkles until after thawing so everything stays crisp and colorful.
Reheating
Since these treats are no-bake, there’s no need to reheat them. In fact, they’re best served cold straight from the fridge. If they’ve been frozen, let them thaw in the refrigerator rather than at room temperature to maintain that creamy, luscious texture.
FAQs
Can I make Easter Egg Cheesecake Jars ahead of time?
Absolutely! You can assemble these jars up to a day in advance. Keep them covered in the fridge until you’re ready to serve, then add your garnishes just before presenting to keep everything fresh and vibrant.
What if I don’t have mini jars? Can I use something else?
No problem! Any small, clear glass or tumbler will work beautifully. You could even make one large trifle-style cheesecake in a bigger bowl and serve it with a big spoon for sharing.
Can I use a different cookie for the crust?
Yes! Chocolate graham crackers, crushed vanilla wafers, or even digestive biscuits are all tasty options. Feel free to mix and match to suit your palate.
Are there dairy-free options for this recipe?
You can swap in dairy-free cream cheese and coconut whipping cream for a completely dairy-free alternative. Check your local store for vegan food coloring and chocolate eggs if needed.
Can I use natural food colorings the pastel effect?
Definitely. Look for natural food dyes made from vegetables or fruit, or use a pinch of matcha for green, turmeric for yellow, or freeze-dried berry powder for soft pinks and purples. Just note that colors may be a touch softer than standard dyes.
Final Thoughts
It’s hard to top the charm and flavor of these adorable Easter Egg Cheesecake Jars. Whether you’re making them for a holiday brunch, family celebration, or just as a fun kitchen project, you’re bound to fall in love with each colorful, creamy bite. Give them a try, and watch your Easter feast turn into a truly memorable, sweet occasion!
Print
Easter Egg Cheesecake Jars Recipe
- Prep Time: 20 minutes
- Cook Time: 0 minutes
- Total Time: 20 minutes plus 2 hours chilling
- Yield: 6 servings
- Category: Dessert
- Method: No-Bake
- Cuisine: American
- Diet: Non-Vegetarian
Description
Indulge in these delightful Easter Egg Cheesecake Jars, a colorful and festive dessert perfect for the holiday season. Layers of creamy, pastel-hued cheesecake filling sit atop a buttery graham cracker crust, topped with candy-coated chocolate eggs and sprinkles.
Ingredients
Graham Cracker Crust:
- 1 cup graham cracker crumbs
- 4 tablespoons melted butter
- 2 tablespoons sugar
Cheesecake Filling:
- 16 ounces cream cheese, softened
- 1 cup powdered sugar
- 1 teaspoon vanilla extract
- 1 cup heavy whipping cream
- Assorted food coloring
- Candy-coated chocolate eggs or mini Easter eggs for garnish
- Sprinkles for decoration
- 6 small jars or glasses
Instructions
- Graham Cracker Crust: In a small bowl, combine graham cracker crumbs, melted butter, and sugar. Divide among jars and press down to form a crust layer.
- Cheesecake Filling: Beat cream cheese until smooth. Add powdered sugar and vanilla; mix. Whip heavy cream until stiff peaks form. Fold into cream cheese. Tint mixture with food coloring.
- Layer colored cheesecake filling over crusts in jars. Chill for at least 2 hours. Top with candy eggs and sprinkles before serving.
Notes
- These jars can be made up to a day ahead.
- For extra flavor, try different crust options like chocolate graham crackers or vanilla cookies.
- Clear jars or glasses showcase the layers beautifully.
Nutrition
- Serving Size: 1 jar
- Calories: 420
- Sugar: 28 g
- Sodium: 290 mg
- Fat: 30 g
- Saturated Fat: 18 g
- Unsaturated Fat: 10 g
- Trans Fat: 0 g
- Carbohydrates: 34 g
- Fiber: 1 g
- Protein: 6 g
- Cholesterol: 95 mg
