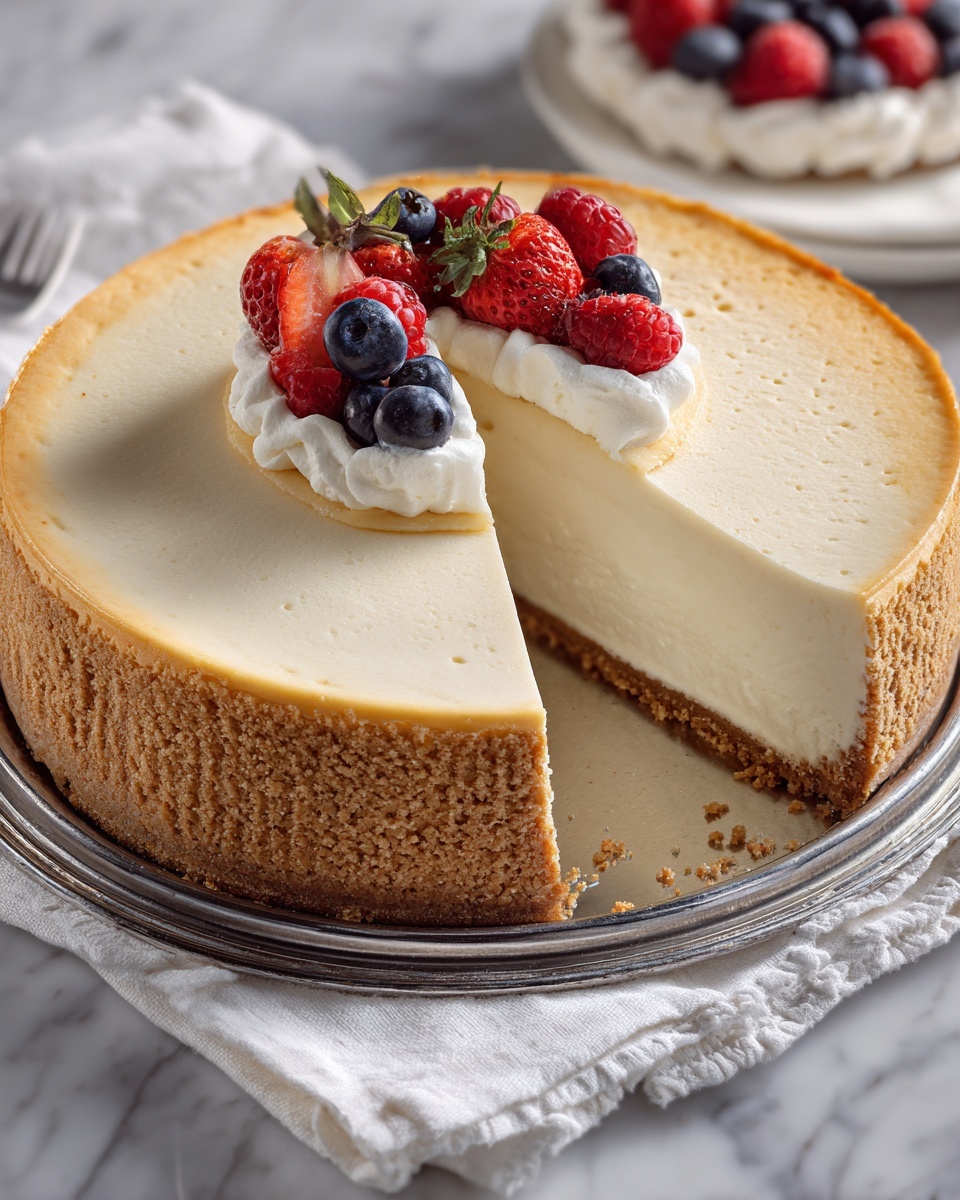
There is nothing quite like the rich, velvety texture and delicate sweetness of a Classic Creamy Cheesecake Recipe to make any occasion feel special. This beloved dessert combines a buttery graham cracker crust with a luxuriously smooth cream cheese filling that melts in your mouth. Whether you’re a seasoned baker or trying this style of cheesecake for the first time, the balance of flavors and the silky consistency will have you hooked from the very first bite. It’s truly a timeless treat that brings warmth and joy to every table.
Ingredients You’ll Need
The beauty of this Classic Creamy Cheesecake Recipe lies in its simplicity. Each ingredient plays a crucial role in creating that perfect harmony of flavor, texture, and appearance. From the crunchy graham cracker crust to the lush cream cheese filling, these essentials come together effortlessly.
- Graham cracker crumbs: About 1 ½ cups, providing a crunchy, buttery base that offers contrast to the creamy filling.
- Granulated sugar: Used in both crust and filling for just the right amount of sweetness without overpowering.
- Unsalted butter: Melted, adding richness and helping to bind the crust firmly.
- Cream cheese: Four 8-ounce packages, softened to room temperature for a smooth, silky texture in the filling.
- Pure vanilla extract: One teaspoon to enhance the cheesecake’s flavor with warm, aromatic notes.
- Large eggs: Four, at room temperature to ensure a creamier consistency and proper structure.
- Sour cream: Two-thirds of a cup, lending a subtle tang and extra creaminess to the filling.
- Heavy cream: Two-thirds of a cup, used to intensify the luscious texture and richness.
How to Make Classic Creamy Cheesecake Recipe
Step 1: Prepare the Crust
Start by heating your oven to 325°F (160°C) and wrap the bottom of a 9-inch springform pan with foil to prevent water leaks during the water bath later. Mix the graham cracker crumbs with sugar and melted butter until fully combined, then press this mixture firmly into the bottom of the pan. Baking the crust for 10 minutes helps it set perfectly, giving you a firm yet tender base to hold all that creamy goodness.
Step 2: Make the Filling
Beat softened cream cheese with a hand mixer on medium speed until smooth and free of lumps — this usually takes about 2 to 3 minutes. Gradually add sugar and vanilla extract, blending until fully combined. To keep your cheesecake extra creamy without air bubbles, add eggs one at a time, mixing slowly after each addition. Finally, incorporate the sour cream and heavy cream, and beat until the filling reaches a luxurious, silky smooth consistency.
Step 3: Bake Using a Water Bath
Pour the cheesecake batter evenly over the cooled crust. Place the springform pan inside a larger roasting pan and carefully fill the roasting pan with hot water about halfway up the sides of the cheesecake pan. This gentle water bath method ensures the cheesecake cooks evenly and prevents cracking. Bake at 325°F (160°C) for 1 hour and 10 minutes — the edges should be set while the center remains slightly jiggly for that creamy perfection.
Step 4: Cool Slowly
Turn off the oven and crack the door open slightly, letting the cheesecake cool within the oven for about an hour. This gradual cooling helps avoid sudden temperature changes that can cause cracks. After an hour, take it out of the oven and water bath, then carefully run a knife around the edges of the springform pan to loosen the cheesecake. Let it cool completely to room temperature before refrigerating for at least 4 hours or overnight. This chilling time is what transforms your cheesecake into that iconic, creamy texture.
Step 5: Add Your Favorite Toppings and Serve
When ready to serve, release the cheesecake from the pan and slice it gently. Top with fresh berries, whipped cream, or a drizzle of chocolate sauce to elevate the experience. Every bite of this Classic Creamy Cheesecake Recipe delivers a perfect blend of buttery crust and silky filling that’s simply irresistible.
How to Serve Classic Creamy Cheesecake Recipe
Garnishes
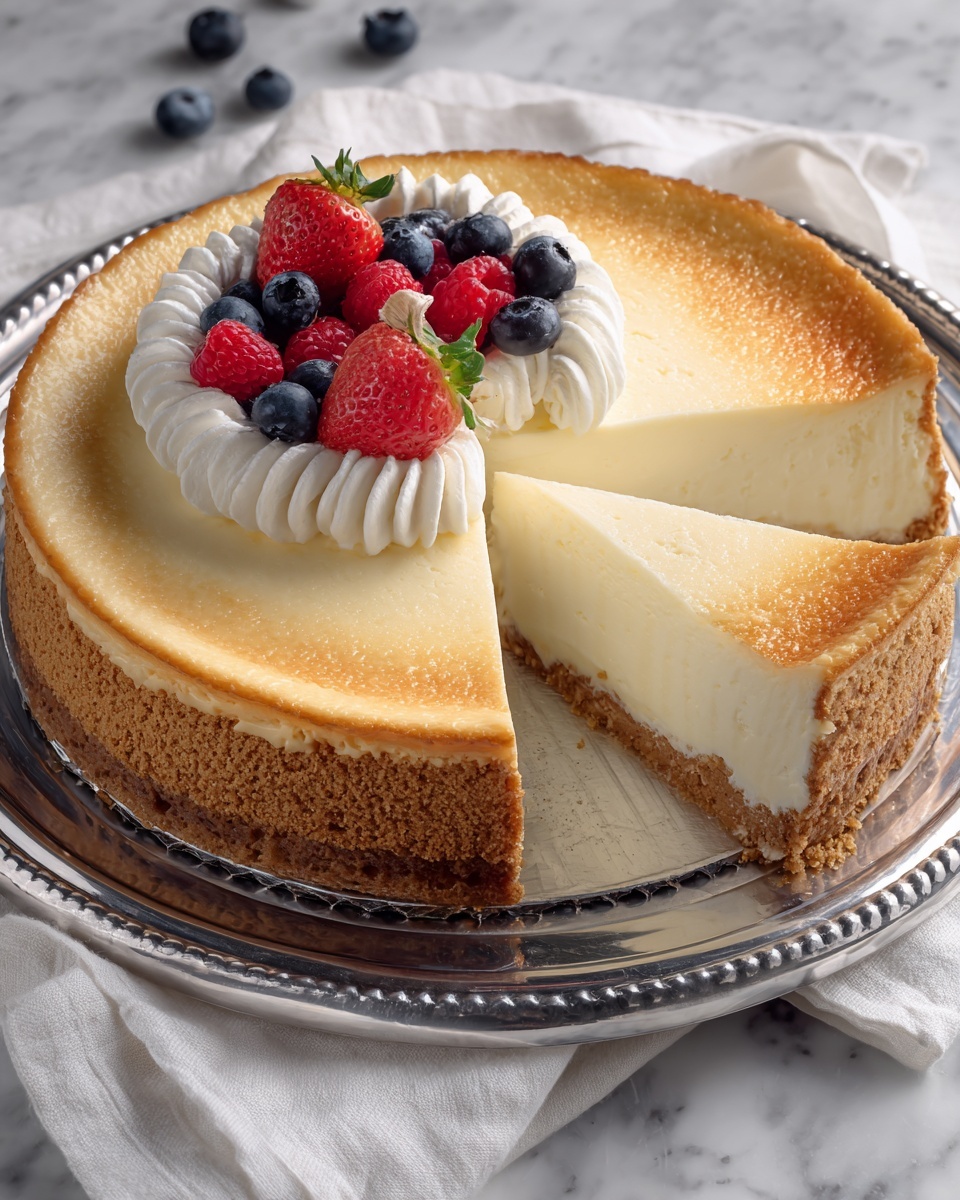
A simple cheesecake deserves elegant yet straightforward garnishes that enhance its flavor without overshadowing it. Fresh berries like strawberries, blueberries, or raspberries add bright color and a subtle tartness that balances the richness perfectly. You can also crown it with a dollop of freshly whipped cream or a sprinkle of lemon zest for a refreshing twist.
Side Dishes
Pairing this cheesecake with light, fruity sides like a mixed green salad with citrus vinaigrette or a chilled fruit salad can create a balanced dessert experience. If you want something decadent, a cup of rich, freshly brewed coffee or a glass of sweet dessert wine complements the creamy flavors beautifully.
Creative Ways to Present
Presentation can turn this Classic Creamy Cheesecake Recipe into a showstopper. Try serving individual portions in small jars layered with fruit compote or crushed cookies for a charming twist. Another idea is to garnish with edible flowers or a sprinkle of toasted nuts to add texture and a pop of interest to your dessert table.
Make Ahead and Storage
Storing Leftovers
Once baked and chilled, wrap your cheesecake tightly with plastic wrap or store it in an airtight container in the refrigerator. Properly stored, it will stay fresh for up to 5 days, allowing you to enjoy this creamy delight over several meals without any loss of flavor or texture.
Freezing
If you want to prepare your Classic Creamy Cheesecake Recipe in advance or save leftovers for longer, freezing is an excellent option. Wrap the cooled cheesecake tightly in plastic wrap, followed by aluminum foil, and freeze for up to 2 months. Thaw overnight in the refrigerator before serving, ensuring it keeps its creamy integrity.
Reheating
Since cheesecake is best served chilled, reheating isn’t typically necessary. However, if you prefer it at room temperature, simply remove it from the fridge about 30 minutes before serving. Avoid microwaving, as it can change the texture and cause the filling to become too soft.
FAQs
Can I use a different type of crust for this Classic Creamy Cheesecake Recipe?
Absolutely! While graham cracker crust is classic, you can experiment with crushed cookies like Oreo or digestive biscuits. Just make sure to adjust the sugar and butter quantities to maintain the right texture and flavor balance.
Why is the water bath necessary when baking this cheesecake?
The water bath creates steam and prevents the edges from baking too quickly and cracking. It gently cooks the cheesecake, yielding that silky smooth texture that defines the Classic Creamy Cheesecake Recipe.
Can I make this cheesecake without sour cream?
Sour cream adds a subtle tanginess and creamy texture. If you don’t have it, you can substitute with an equal amount of Greek yogurt. The flavor and texture will be slightly different but still delicious.
How do I prevent cracks on my cheesecake surface?
Ensure your ingredients are at room temperature before mixing, don’t overbeat the batter, and use a water bath as recommended. Cooling the cheesecake gradually by leaving the oven door ajar after baking also helps avoid cracks.
What is the best way to slice this creamy cheesecake?
Use a sharp knife dipped in hot water and wiped dry before each cut. This method ensures clean, smooth slices without disturbing the delicate creaminess of the cheesecake.
Final Thoughts
Making this Classic Creamy Cheesecake Recipe is like giving yourself and your loved ones a big, delicious hug in dessert form. It’s truly a show-stopper with its smooth texture and perfect balance of sweetness and tang. The steps may require patience, but the outcome is so worth it — you’ll find yourself reaching for this recipe time and again. So, grab your ingredients and dive into creating this timeless treat that’s destined to become your new favorite indulgence.
Print
Classic Creamy Cheesecake Recipe
- Prep Time: 20 minutes
- Cook Time: 1 hour 10 minutes
- Total Time: 5 hours 30 minutes
- Yield: 12 servings
- Category: Dessert
- Method: Baking
- Cuisine: American
Description
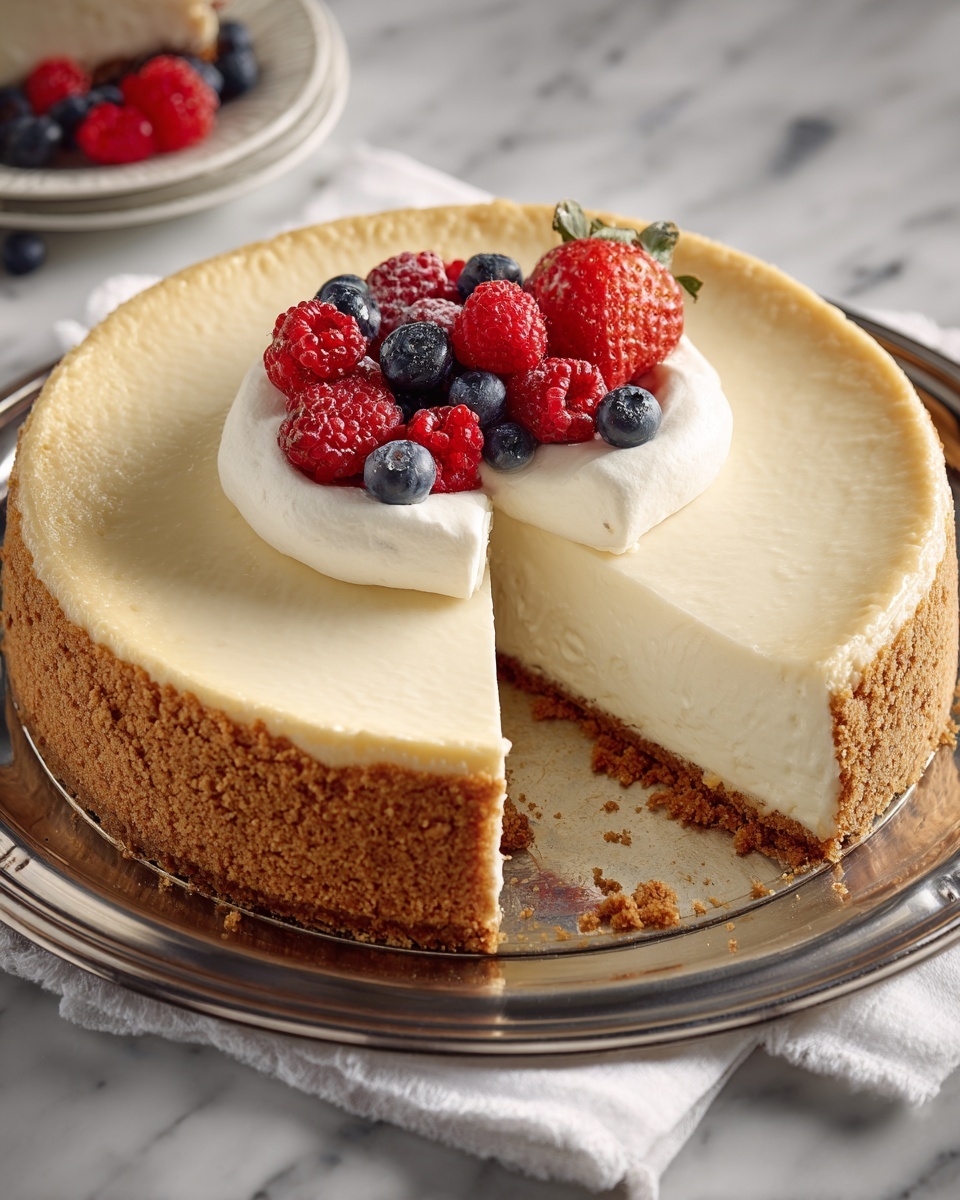
This Classic Creamy Cheesecake recipe delivers a rich, smooth, and velvety dessert that’s perfect for any occasion. Featuring a buttery graham cracker crust and a luscious cream cheese filling, this cheesecake is baked in a water bath to ensure a perfectly creamy texture with no cracks. Easily topped with fruits or sauces, it’s a timeless recipe that guarantees indulgence in every bite.
Ingredients
Crust Ingredients
- 1 ½ cups graham cracker crumbs (about 10 crackers)
- ¼ cup granulated sugar
- 6 tablespoons unsalted butter, melted
Filling Ingredients
- 4 (8 oz) packages cream cheese, softened
- 1 cup granulated sugar
- 1 teaspoon pure vanilla extract
- 4 large eggs, room temperature
- ⅔ cup sour cream
- ⅔ cup heavy cream
Instructions
- Prepare the crust: Preheat your oven to 325°F (160°C). Wrap the bottom of a 9-inch springform pan with foil to prevent leaks. In a medium bowl, combine the graham cracker crumbs, sugar, and melted butter. Press this mixture firmly and evenly into the bottom of the springform pan. Bake the crust for 10 minutes, then set it aside to cool while you prepare the filling.
- Make the filling: Using a hand mixer, beat the softened cream cheese until smooth and creamy, which takes about 2 to 3 minutes. Add the sugar and vanilla extract, mixing until well combined. Then, add the eggs one at a time, mixing on low speed after each addition to maintain a smooth texture. Finally, add the sour cream and heavy cream, beating until the filling is thoroughly smooth.
- Assemble and bake: Pour the prepared cheesecake filling over the cooled crust in the springform pan. Place this pan inside a larger roasting pan. Carefully fill the roasting pan with hot water until it reaches halfway up the sides of the springform pan, creating a water bath. Bake in the oven for 1 hour and 10 minutes, or until the edges are set but the center still has a slight jiggle.
- Cool the cheesecake: Once baking is complete, turn off the oven and crack the door open. Let the cheesecake cool inside the oven for 1 hour to prevent cracking. Afterwards, remove the cheesecake from the oven and water bath. Run a knife around the edges of the pan to loosen the cheesecake, then allow it to cool to room temperature. For best results, refrigerate the cheesecake for at least 4 hours or preferably overnight to let it fully set.
- Serve: Remove the cheesecake from the springform pan and slice into 12 servings. Garnish with your favorite toppings such as fresh berries, whipped cream, or chocolate sauce to enhance the flavor and presentation before serving.
Notes
- Make sure to use room temperature eggs and softened cream cheese for a smooth filling without lumps.
- Wrapping the springform pan with foil prevents water from leaking into the crust during the water bath baking.
- The water bath helps to bake the cheesecake evenly and prevents cracks by providing gentle, moist heat.
- Allowing the cheesecake to cool slowly in the oven prevents sudden temperature changes that can cause cracking.
- Chilling the cheesecake overnight enhances the flavor and ensures the texture firms up perfectly.


