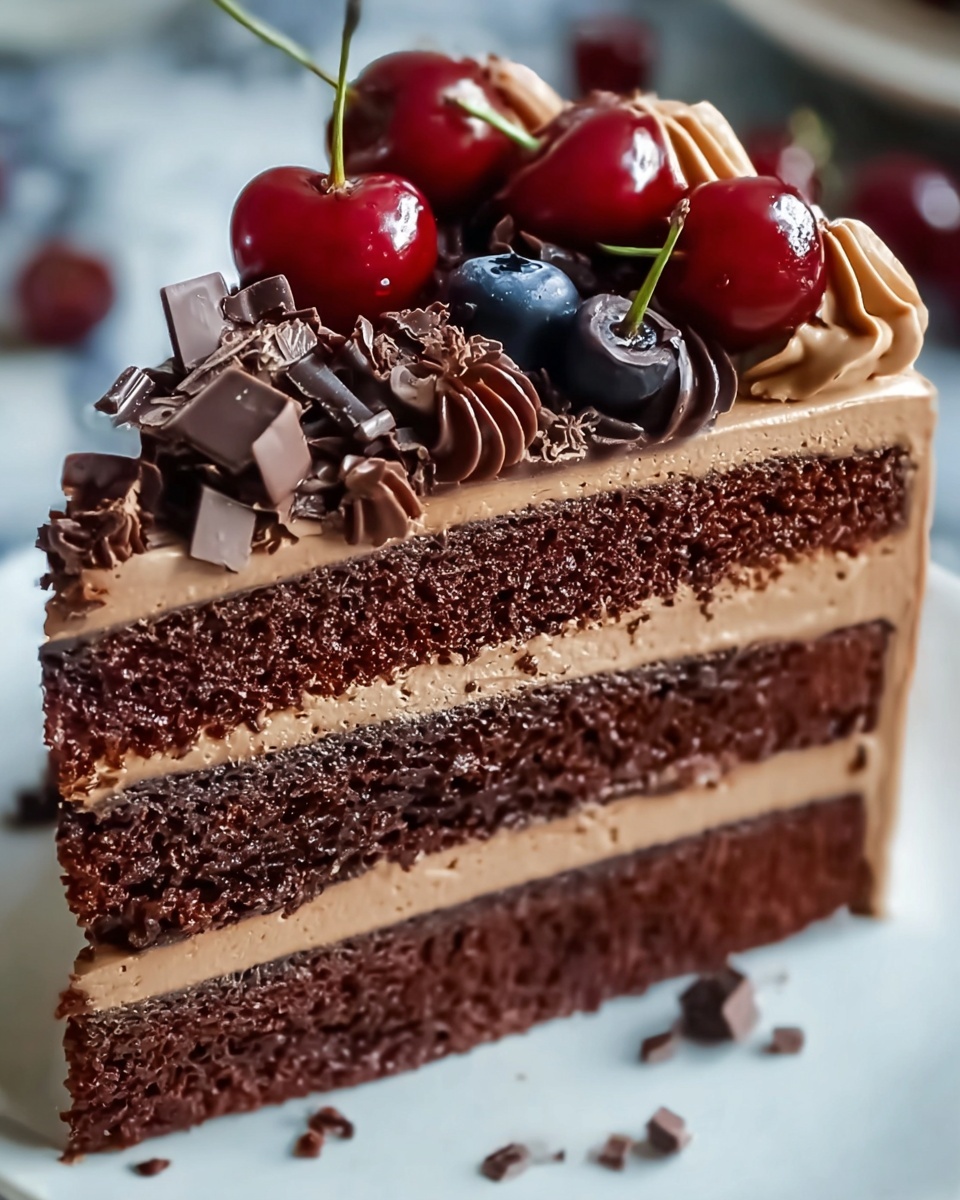
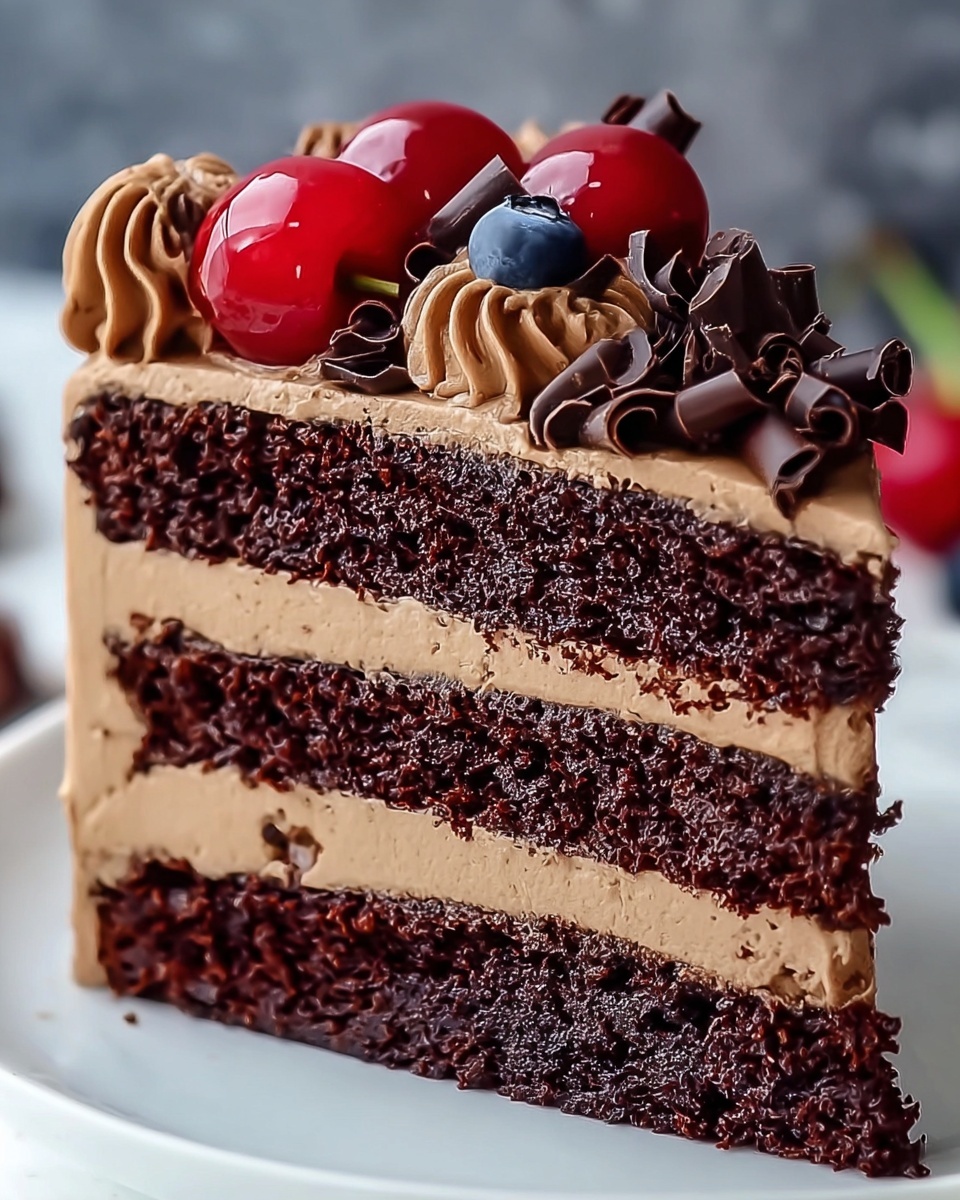
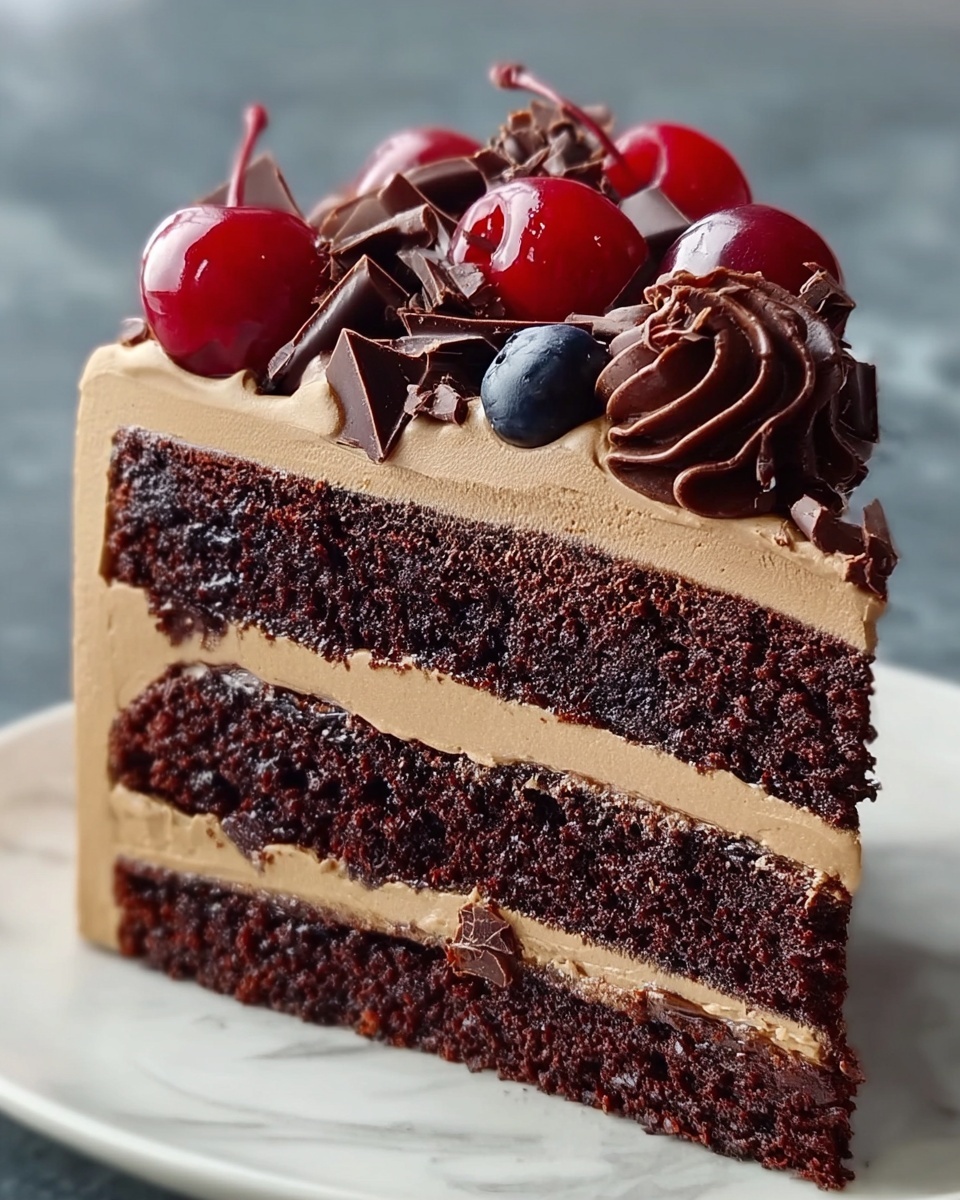
If you have a weakness for rich, decadent desserts that feel like a warm hug on a plate, then this Chocolate Forest Cake Recipe is about to become your new best friend. Imagine layers of moist, intensely chocolatey cake paired with a luxuriously creamy chocolate mousse filling, all crowned with delicate chocolate curls and a sprinkle of powdered sugar that makes every slice a celebration. It’s a dessert that whispers indulgence with every bite, perfect for sharing with loved ones or treating yourself on any special occasion or just because.
Ingredients You’ll Need
The magic of this Chocolate Forest Cake Recipe lies in its simple, approachable ingredients, each playing a crucial role in building flavor, texture, and that irresistible chocolate depth. Whether you’re a baking newbie or a seasoned pro, every item is there for a delicious reason.
- All-purpose flour: Provides structure to your cake, helping it hold together while staying tender.
- Baking powder: Works as a gentle leavening agent to ensure your cake layers rise nicely.
- Baking soda: Adds lift and contributes to a soft crumb in your chocolate cake.
- Unsweetened cocoa powder: The heart of the recipe, delivering deep chocolate flavor and rich color.
- Granulated sugar: Sweetens your cake while keeping it perfectly moist.
- Large eggs: Bind ingredients together and offer richness to the batter.
- Vegetable oil: Keeps the cake incredibly moist and tender without overwhelming flavor.
- Vanilla extract: Enhances the chocolate notes with a hint of warm sweetness.
- Whole milk: Adds creaminess and moisture to create a luscious cake texture.
- Boiling water: Intensifies the cocoa flavor and thins the batter just right for even baking.
- Pinch of salt: Balances all the sweetness and elevates the chocolate nuances.
- Heavy cream: Essential for making the smooth, dreamy chocolate mousse that you’ll spread between cake layers.
- Dark chocolate (70% cocoa): The star in the mousse, imparting bold chocolate richness and silky texture.
- Powdered sugar: Adds sweetness and helps stabilize the mousse, plus dusting for decoration.
- Shaved chocolate or chocolate curls: Gorgeous finishing touches that add texture and a stunning look.
- Fresh mint leaves (optional): Offer a subtle pop of color and a refreshing scent to balance the richness.
How to Make Chocolate Forest Cake Recipe
Step 1: Prepare Your Pans and Oven
Start by preheating your oven to 350°F (175°C). Grease two 9-inch round cake pans, then line the bottoms with parchment paper for easy cake releases. This simple prep step ensures your cakes will come out flawless every time, setting the stage for the perfect layers.
Step 2: Mix the Dry Ingredients
In a medium bowl, whisk together the all-purpose flour, baking powder, baking soda, cocoa powder, and salt. This step evenly distributes leavening agents and cocoa, so your cake bakes evenly with that classic deep chocolate color and flavor that makes this recipe unforgettable.
Step 3: Combine the Wet Ingredients
Using a large bowl, beat granulated sugar, eggs, vegetable oil, and vanilla extract until the mixture is smooth and fluffy. This blend creates a rich, creamy foundation that traps air, helping your cake stay light and moist.
Step 4: Alternate Mixing Wet and Dry
Gradually add the dry ingredients to your wet mixture in batches, alternating with the whole milk. This gentle process prevents overmixing, which can make cakes tough, ensuring the perfect soft crumb essential to a beautiful Chocolate Forest Cake Recipe.
Step 5: Add Boiling Water
Finally, stir in the boiling water slowly. Don’t worry that the batter looks thin at this stage; that’s exactly how it should be. The hot water blooms the cocoa, boosting the chocolate flavor intensity, leading to those incredibly moist and rich cake layers you’re aiming for.
Step 6: Bake the Cake Layers
Pour the batter evenly into your prepared pans and bake for 25-30 minutes. Use the toothpick test to check: when it comes out clean, your cakes are done. Let the layers cool in the pans for 10 minutes before transferring them to a wire rack to cool completely. This gentle cooling helps the cakes set perfectly without cracking.
How to Serve Chocolate Forest Cake Recipe
Garnishes
Dusting the top layer with powdered sugar and adorning the cake with elegant chocolate curls or shavings gives it a sophisticated, bakery-style finish. Fresh mint leaves add a refreshing pop of green and a subtle aroma that beautifully contrasts with the rich chocolate.
Side Dishes
Serve this cake with a scoop of vanilla bean ice cream or a dollop of lightly whipped cream for an extra indulgent experience. Fresh berries, especially raspberries or cherries, complement the chocolate wonderfully by adding a fruity zing that cuts through the richness.
Creative Ways to Present
For a festive touch, place the cake on a rustic wooden board surrounded by edible flowers or edible gold leaf flakes to elevate its elegance. If you want to wow guests, slice the cake into petite rounds and serve individually layered with extra mousse in clear glass cups for an interactive, modern presentation.
Make Ahead and Storage
Storing Leftovers
Once assembled, cover the cake with plastic wrap or store it in an airtight container in the refrigerator. It stays fresh and moist for up to 3 days, allowing you to savor that velvety chocolate bliss a little longer.
Freezing
You can freeze both the unfrosted cake layers and the fully assembled cake. Wrap the layers tightly in plastic wrap and foil, freezing for up to one month. When ready to enjoy, thaw the layers overnight in the fridge, then assemble with the mousse and decorations fresh for best results.
Reheating
This cake is best enjoyed chilled due to the mousse filling, but if you prefer to take the chill off, let slices sit at room temperature for about 20 minutes before serving. Avoid microwaving, as it can alter the texture of the chocolate mousse and cake.
FAQs
Can I use a different type of chocolate for the mousse?
Absolutely! While dark chocolate with 70% cocoa is ideal for a rich, balanced flavor, you can experiment with milk chocolate for a sweeter mousse or even white chocolate for a unique twist, just adjust the sugar accordingly.
Is it necessary to use boiling water in the cake batter?
Yes, the boiling water ‘blooms’ the cocoa powder, greatly enhancing the chocolate flavor and ensuring the cake layers are moist and tender. It’s a simple trick that really makes a difference.
Can I make this recipe gluten-free?
To make this cake gluten-free, substitute the all-purpose flour with a certified gluten-free blend that includes xanthan gum or another binding agent. The texture will be slightly different but still delicious.
How long does the mousse take to set?
After whipping the chocolate mousse, it’s best to chill it in the refrigerator for at least 1-2 hours to firm up before assembling the cake. This helps it hold its shape beautifully between the cake layers.
Can I use frozen berries as a garnish?
While fresh berries are preferred for their texture and flavor, you can use frozen berries if you thaw and drain them well to avoid excess moisture on the cake. They still provide a lovely tart contrast to the rich chocolate.
Final Thoughts
This Chocolate Forest Cake Recipe is more than just a dessert; it’s a celebration of everything great about chocolate and the joy of sharing a lovingly homemade treat with those you care about. Whether you’re baking for a special occasion or simply craving an exquisite chocolate indulgence, this recipe promises to delight and impress. Give it a try—you won’t regret the rich, velvety rewards waiting for you at the end of each slice.
Print
Chocolate Forest Cake Recipe
- Prep Time: 20 minutes
- Cook Time: 30 minutes
- Total Time: 50 minutes
- Yield: 10-12 servings
- Category: Dessert
- Method: Baking
- Cuisine: International
Description
A rich and decadent Chocolate Forest Cake featuring moist chocolate layers paired with smooth, creamy chocolate mousse. Perfect for celebrations or indulgent desserts, this cake combines deep cocoa flavor with a light, airy mousse and elegant chocolate decorations.
Ingredients
For the Cake:
- 1 ¾ cups all-purpose flour
- 1 ½ tsp baking powder
- ½ tsp baking soda
- ¾ cup unsweetened cocoa powder
- 1 ¼ cups granulated sugar
- 2 large eggs
- ½ cup vegetable oil
- 1 tsp vanilla extract
- 1 cup whole milk
- ½ cup boiling water
- Pinch of salt
For the Chocolate Mousse:
- 1 ½ cups heavy cream
- 8 oz dark chocolate (70% cocoa), chopped
- 1 tsp vanilla extract
- 2 tbsp powdered sugar
For the Decoration:
- Powdered sugar, for dusting
- Shaved chocolate or chocolate curls
- Fresh mint leaves (optional)
Instructions
- Preheat Oven and Prepare Pans: Preheat your oven to 350°F (175°C). Grease and line two 9-inch round cake pans with parchment paper to ensure easy removal of the cakes later.
- Mix Dry Ingredients: In a medium bowl, whisk together the all-purpose flour, baking powder, baking soda, unsweetened cocoa powder, and a pinch of salt until fully combined.
- Beat Wet Ingredients: In a large bowl, beat together the granulated sugar, eggs, vegetable oil, and vanilla extract until the mixture becomes smooth and fluffy, which helps incorporate air for a lighter cake texture.
- Combine Wet and Dry Ingredients: Gradually add the dry ingredients to the wet ingredients, alternating with the whole milk. Mix gently until all ingredients are just combined to avoid overworking the batter.
- Add Boiling Water: Stir in the boiling water carefully; the batter will be thin, which is normal and ensures a moist cake once baked.
- Divide Batter and Bake: Evenly divide the thin batter between the two prepared cake pans. Place them in the oven and bake for 25-30 minutes, or until a toothpick inserted into the center comes out clean.
- Cool Cakes: Allow the cakes to cool in their pans for 10 minutes after baking. Then transfer to a wire rack to cool completely, which prepares them for assembling with mousse.
- Prepare Chocolate Mousse: While the cakes cool, heat the heavy cream in a saucepan until just simmering. Pour it over the chopped dark chocolate and let sit for 2 minutes. Stir gently until smooth and creamy. Let cool slightly, then beat in vanilla extract and powdered sugar. Chill the mousse until firm but spreadable.
- Assemble the Cake: Once the cakes are completely cooled, spread a generous layer of chocolate mousse on top of one cake layer. Place the second layer on top and cover the entire cake with the remaining mousse, smoothing it evenly.
- Decorate: Dust the assembled cake with powdered sugar, garnish with shaved chocolate or chocolate curls, and add fresh mint leaves for a touch of color and freshness.
- Chill and Serve: Refrigerate the cake for at least 2 hours to set the mousse before slicing and serving for the best texture and flavor.
Notes
- Use boiling water to ensure a moist, tender crumb for the cake layers.
- The thin batter is normal and leads to a rich, moist texture once baked.
- Make sure to cool the cakes completely before adding mousse to avoid melting or runny filling.
- Chill the mousse adequately to achieve the right consistency for spreading and layering.
- Decorations such as fresh mint are optional but add a refreshing contrast to the rich chocolate flavor.


