
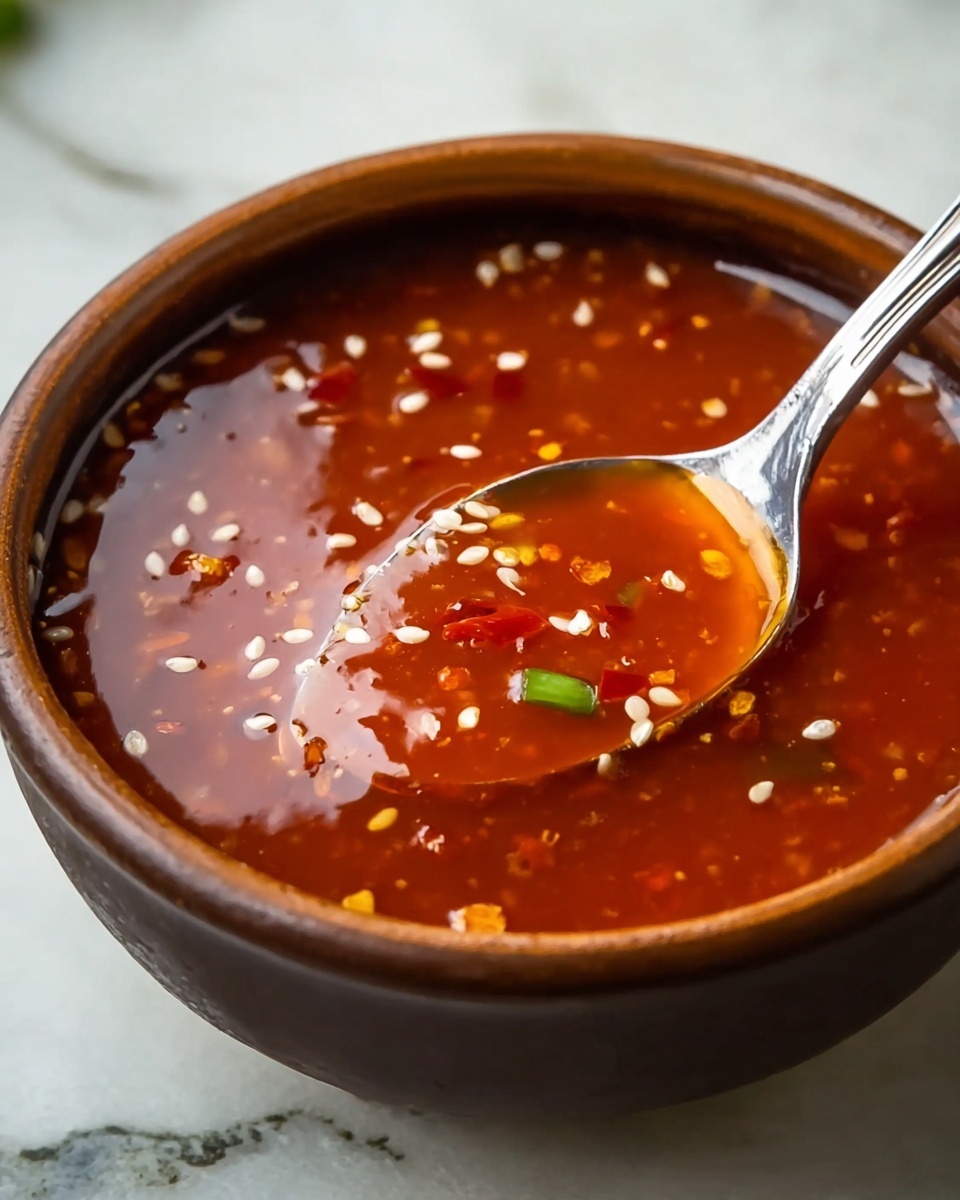
If you’ve ever craved that irresistible, tangy-sweet kick from your favorite Chinese takeout, this Chinese Sweet and Sour Sauce Recipe is your new go-to. It’s a vibrant, perfectly balanced sauce that brings together the zing of rice vinegar, the mellow richness of brown sugar, and the familiar comforting notes from ketchup and soy sauce. Whether you’re drizzling it over crispy tofu, glazing your stir-fry, or simply using it as a dip, this sauce transforms any dish into a celebration of classic Chinese flavors. What’s best? It’s incredibly easy to make at home with just a handful of ingredients.
Ingredients You’ll Need
Creating this perfect Chinese Sweet and Sour Sauce Recipe calls for simple ingredients that you probably have already on your kitchen shelf. Each one plays a vital role, from the acidity and sweetness to that velvety texture and color that makes the sauce so inviting.
- Rice vinegar: Adds a clean, sharp tang that brightens the entire sauce.
- Brown sugar: Provides rich sweetness and depth with its caramel undertones.
- Ketchup: Brings tomato sweetness and a subtle smokiness, adding that familiar, comforting flavor.
- Soy sauce: Infuses a touch of salty umami that balances the sweet elements perfectly.
- Cornstarch: Helps thicken the sauce to a luscious, glossy finish without altering flavor.
- Water: Used to create the cornstarch slurry for smooth thickening.
How to Make Chinese Sweet and Sour Sauce Recipe
Step 1: Combine the Base Ingredients
Start by placing the rice vinegar, brown sugar, ketchup, and soy sauce in a small saucepan over medium heat. Stir everything together gently as the brown sugar dissolves completely. Watching the mixture lightly simmer is key — this is when all those flavors begin to meld beautifully.
Step 2: Prepare the Thickening Slurry
While your mixture is heating, whisk together the cornstarch and water in a small bowl until fully combined. This slurry will thicken your sauce just right without clumping or drying out, making sure every spoonful clings perfectly to your favorite dishes.
Step 3: Thicken the Sauce
Gradually pour the cornstarch slurry into the simmering saucepan, stirring constantly to prevent any lumps from forming. Let it cook for 2 to 3 minutes, keeping an eye on the consistency — you want it thick enough to coat the back of a spoon but still pourable and glossy.
Step 4: Cool and Serve
Once thickened, remove the sauce from heat and let it cool slightly. Cooling not only enhances the flavors but also helps the sauce settle into that silky texture that’s simply irresistible.
How to Serve Chinese Sweet and Sour Sauce Recipe
Garnishes
Fresh garnishes like finely chopped green onions or toasted sesame seeds add that extra visual appeal and a subtle crunch that make the sauce even more memorable. A sprinkle of red chili flakes can bring in a gentle heat contrast if you like things a bit spicy.
Side Dishes
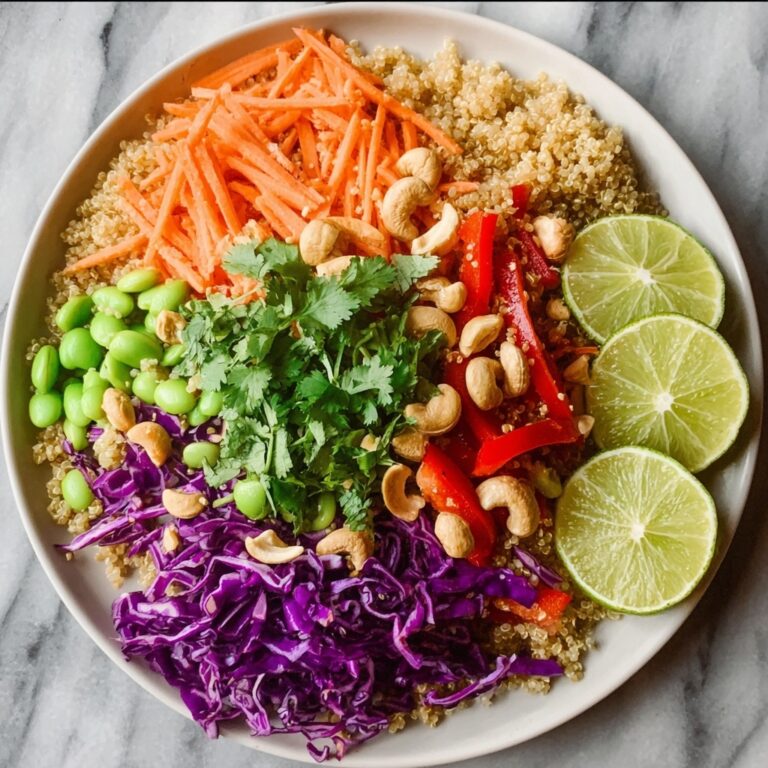
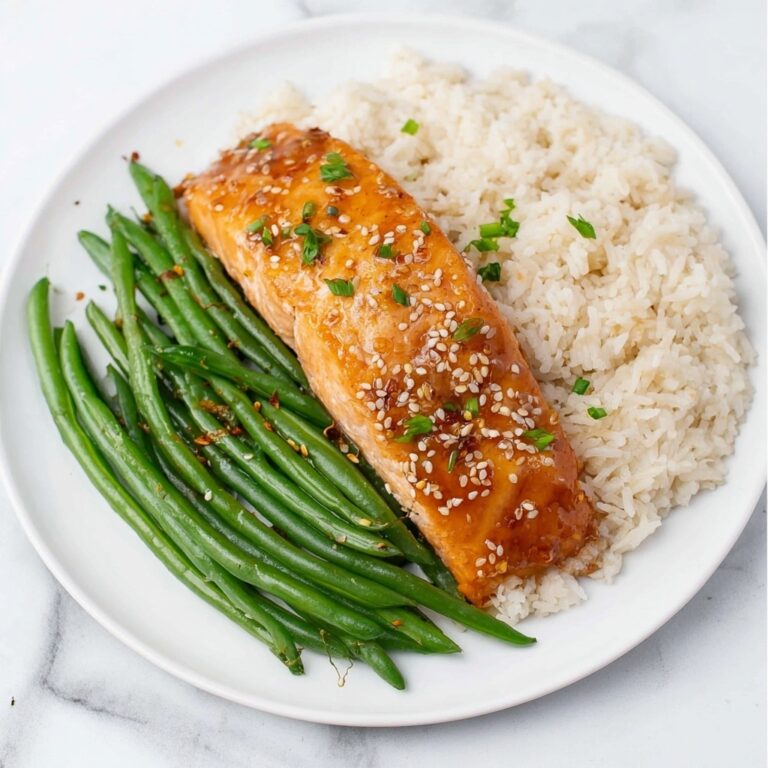
This sauce pairs famously with crispy fried tofu, tempura veggies, or even lightly battered chicken for a classic vibe. Steamed jasmine rice or fried rice provides the perfect neutral canvas, allowing the sweet and sour notes to shine. Stir-fried crunchy bell peppers and pineapple chunks also make lovely complements, bringing sweetness and freshness to every bite.
Creative Ways to Present
Beyond the usual, try using this Chinese Sweet and Sour Sauce Recipe as a glaze for roasted vegetables or drizzle it over a vibrant noodle bowl. Even as a dipping sauce for spring rolls or dumplings, it turns an everyday snack into something special that’s bursting with balanced flavor.
Make Ahead and Storage
Storing Leftovers
This sauce keeps wonderfully in an airtight container in the refrigerator for up to one week. Always give it a good stir before using, as some settling or slight thickening can happen, but it never loses its delicious charm.
Freezing
If you want to keep it longer, you can freeze the sweet and sour sauce in small portions. Thaw in the fridge overnight and stir well to bring back its alluring texture. Just avoid freezing for more than a month to maintain its bright flavors.
Reheating
Reheat gently over low heat on the stovetop, stirring constantly to prevent scorching. You can also warm it in the microwave in short bursts, stirring in between. If the sauce thickens too much upon reheating, add a splash of water to loosen it up.
FAQs
Can I make this Chinese Sweet and Sour Sauce Recipe gluten-free?
Absolutely! Simply use gluten-free soy sauce or tamari, and you’ll have the same delicious sauce without worrying about gluten.
What can I add if I want a fruitier flavor?
Try adding a few tablespoons of pineapple juice during the initial cooking stage — it lends a lovely fruity sweetness that amps up the traditional flavor beautifully.
Is this sauce vegan?
Yes, it is completely vegan, making it a versatile choice that fits perfectly into plant-based meals without sacrificing any authentic taste.
Can I double or triple the recipe?
Definitely! Just multiply the ingredients accordingly and follow the same steps. Larger batches are great for family meals or meal prepping.
How thick should the sauce be?
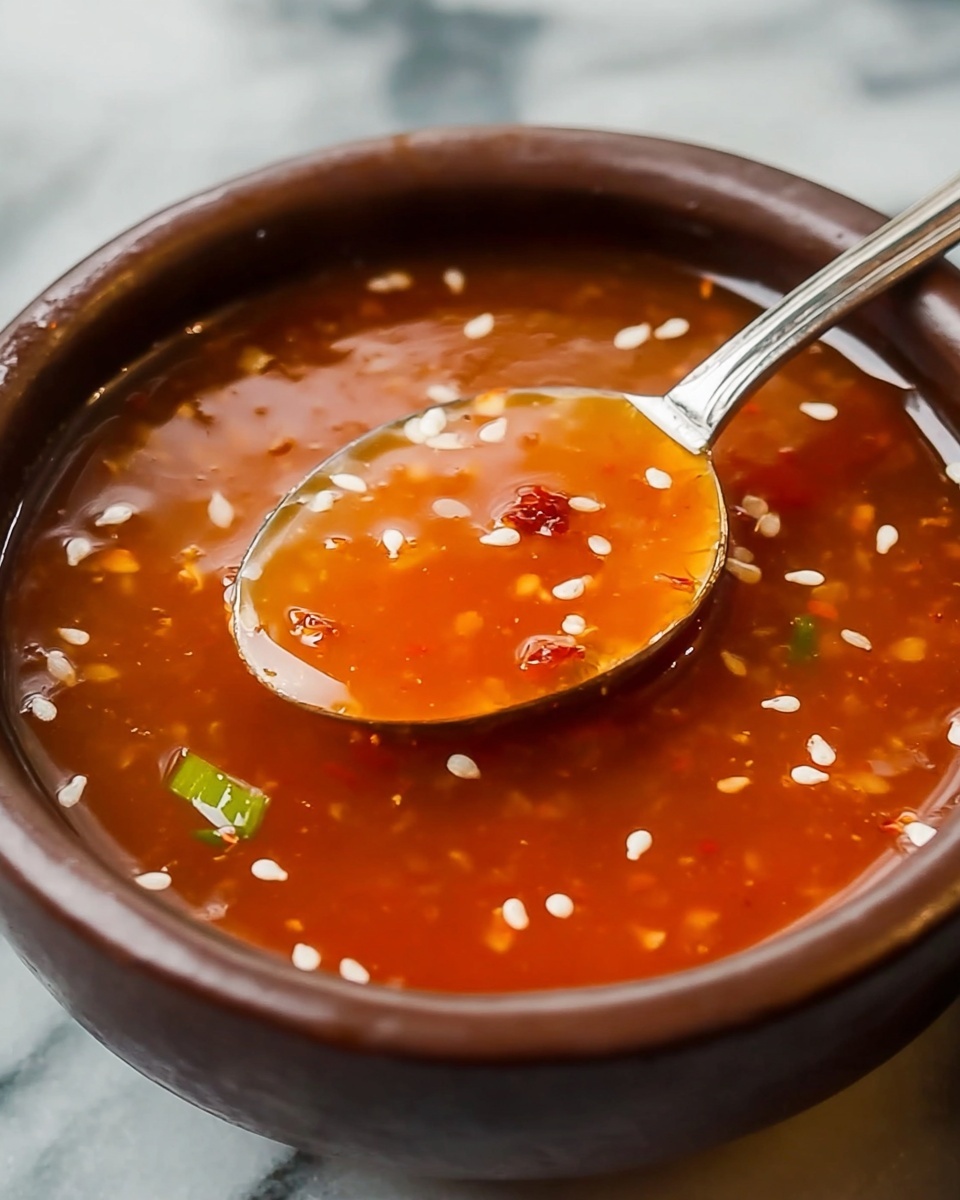
When done, the sauce should be syrupy and coat the back of a spoon but still remain pourable. It shouldn’t be too watery or overly gelled — just smooth and glossy.
Final Thoughts
Trust me, once you make this Chinese Sweet and Sour Sauce Recipe, you’ll wonder how you ever lived without it. Its perfect balance of sweet, tangy, and savory notes brightens any meal and makes cooking at home feel like a treat. So go ahead, whip it up, and share the love with your friends and family — this sauce is pure magic in a bowl.
Print
Chinese Sweet and Sour Sauce Recipe
- Prep Time: 5 minutes
- Cook Time: 5 minutes
- Total Time: 10 minutes
- Yield: 6 servings
- Category: Sauce
- Method: Stovetop
- Cuisine: Chinese
- Diet: Vegan
Description
This classic Chinese Sweet and Sour Sauce is a vibrant and tangy condiment perfect for enhancing your favorite dishes. Made with a blend of rice vinegar, brown sugar, ketchup, and soy sauce, it delivers a perfect balance of sweetness and acidity. Thickened with cornstarch, this sauce is easy to prepare on the stovetop and versatile enough to be used as a dipping sauce, glaze, or stir-fry addition. Ideal for vegan diets, it’s a homemade alternative to store-bought versions that taste fresher and more flavorful.
Ingredients
Ingredients
- 1/2 cup rice vinegar
- 1/2 cup brown sugar (packed)
- 1/4 cup ketchup
- 1 tablespoon soy sauce
- 1 tablespoon cornstarch
- 2 tablespoons water
Instructions
- Combine base ingredients: In a small saucepan over medium heat, combine the rice vinegar, brown sugar, ketchup, and soy sauce. Stir the mixture continuously until the sugar dissolves fully and the sauce begins to simmer gently.
- Prepare cornstarch slurry: In a small bowl, whisk together the cornstarch and water until smooth and no lumps remain, creating a slurry to help thicken the sauce.
- Thicken the sauce: Slowly pour the cornstarch slurry into the simmering sauce while stirring constantly to prevent lumps. Continue cooking for 2 to 3 minutes, allowing the sauce to thicken to your desired consistency.
- Finish and serve: Remove the saucepan from heat and let the sweet and sour sauce cool slightly before using. This sauce can be served warm or at room temperature with your favorite dishes.
Notes
- You can double the recipe for larger meals without altering the cooking method.
- Store leftover sauce in an airtight container in the refrigerator for up to one week to maintain freshness.
- For a fruitier variation, add a few tablespoons of pineapple juice to the sauce during step one before simmering.


